
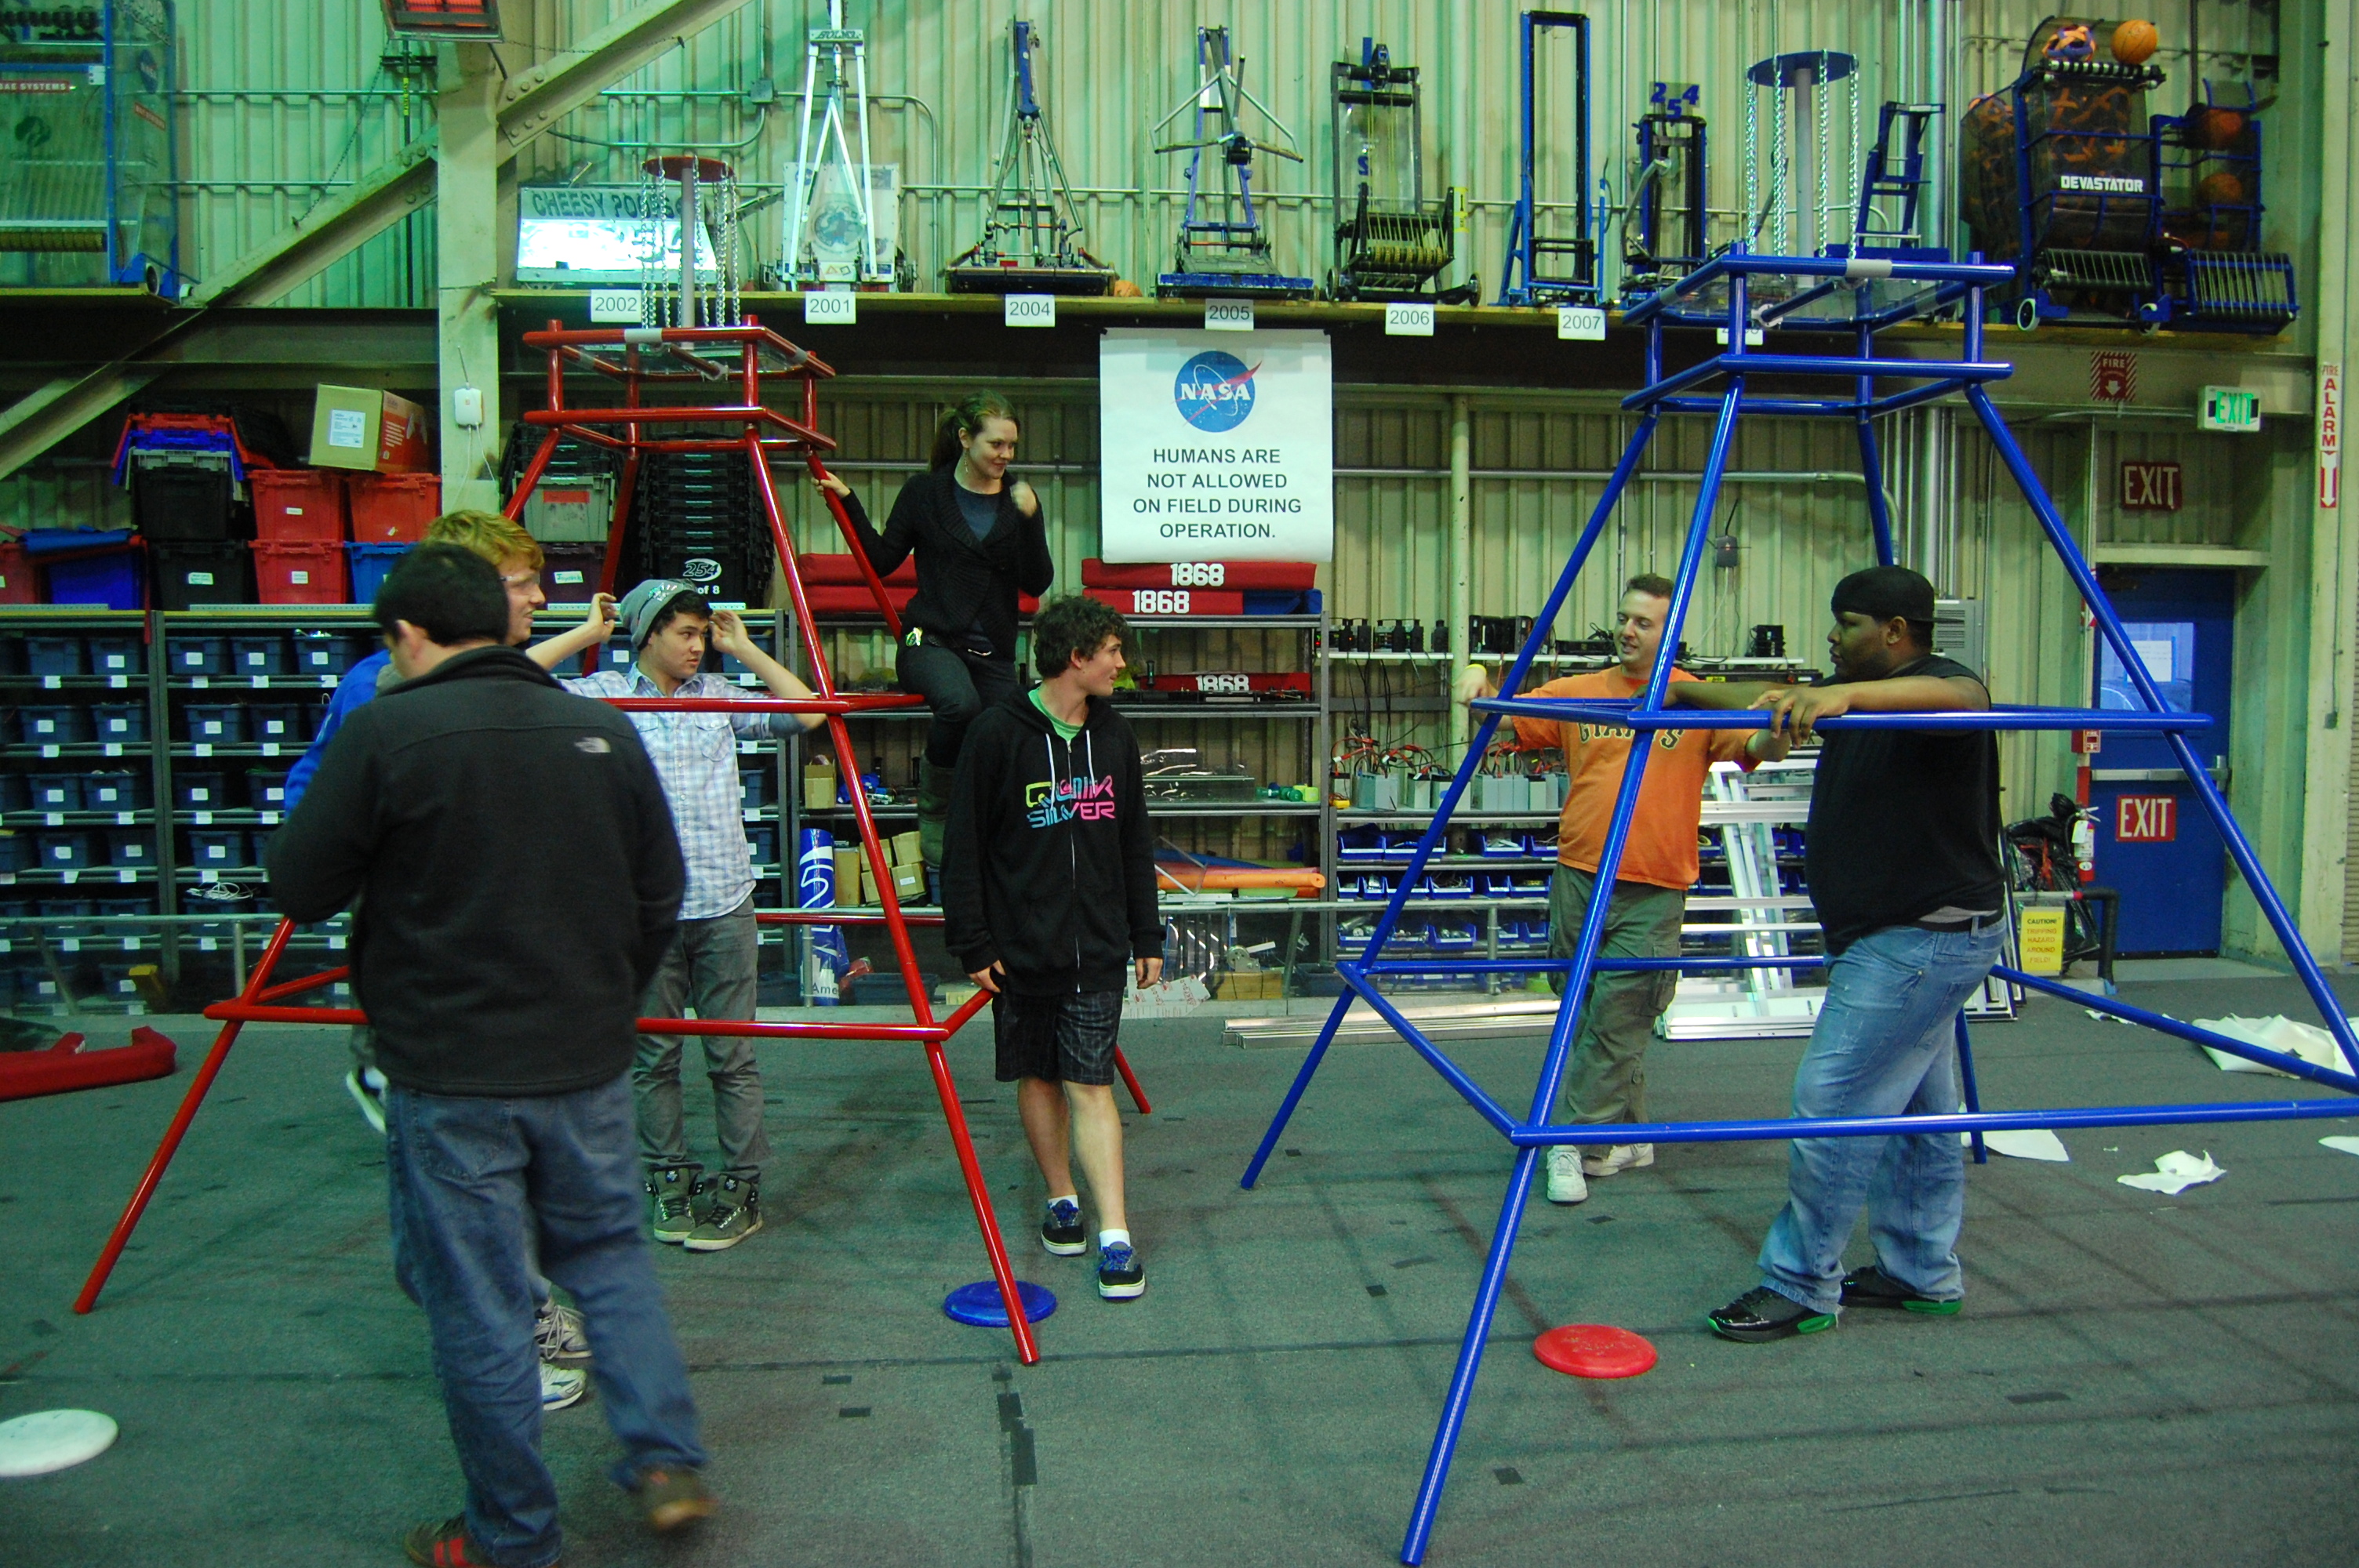
Blog - February 2013
Driver Practice, Competition Preparation, and Debugging
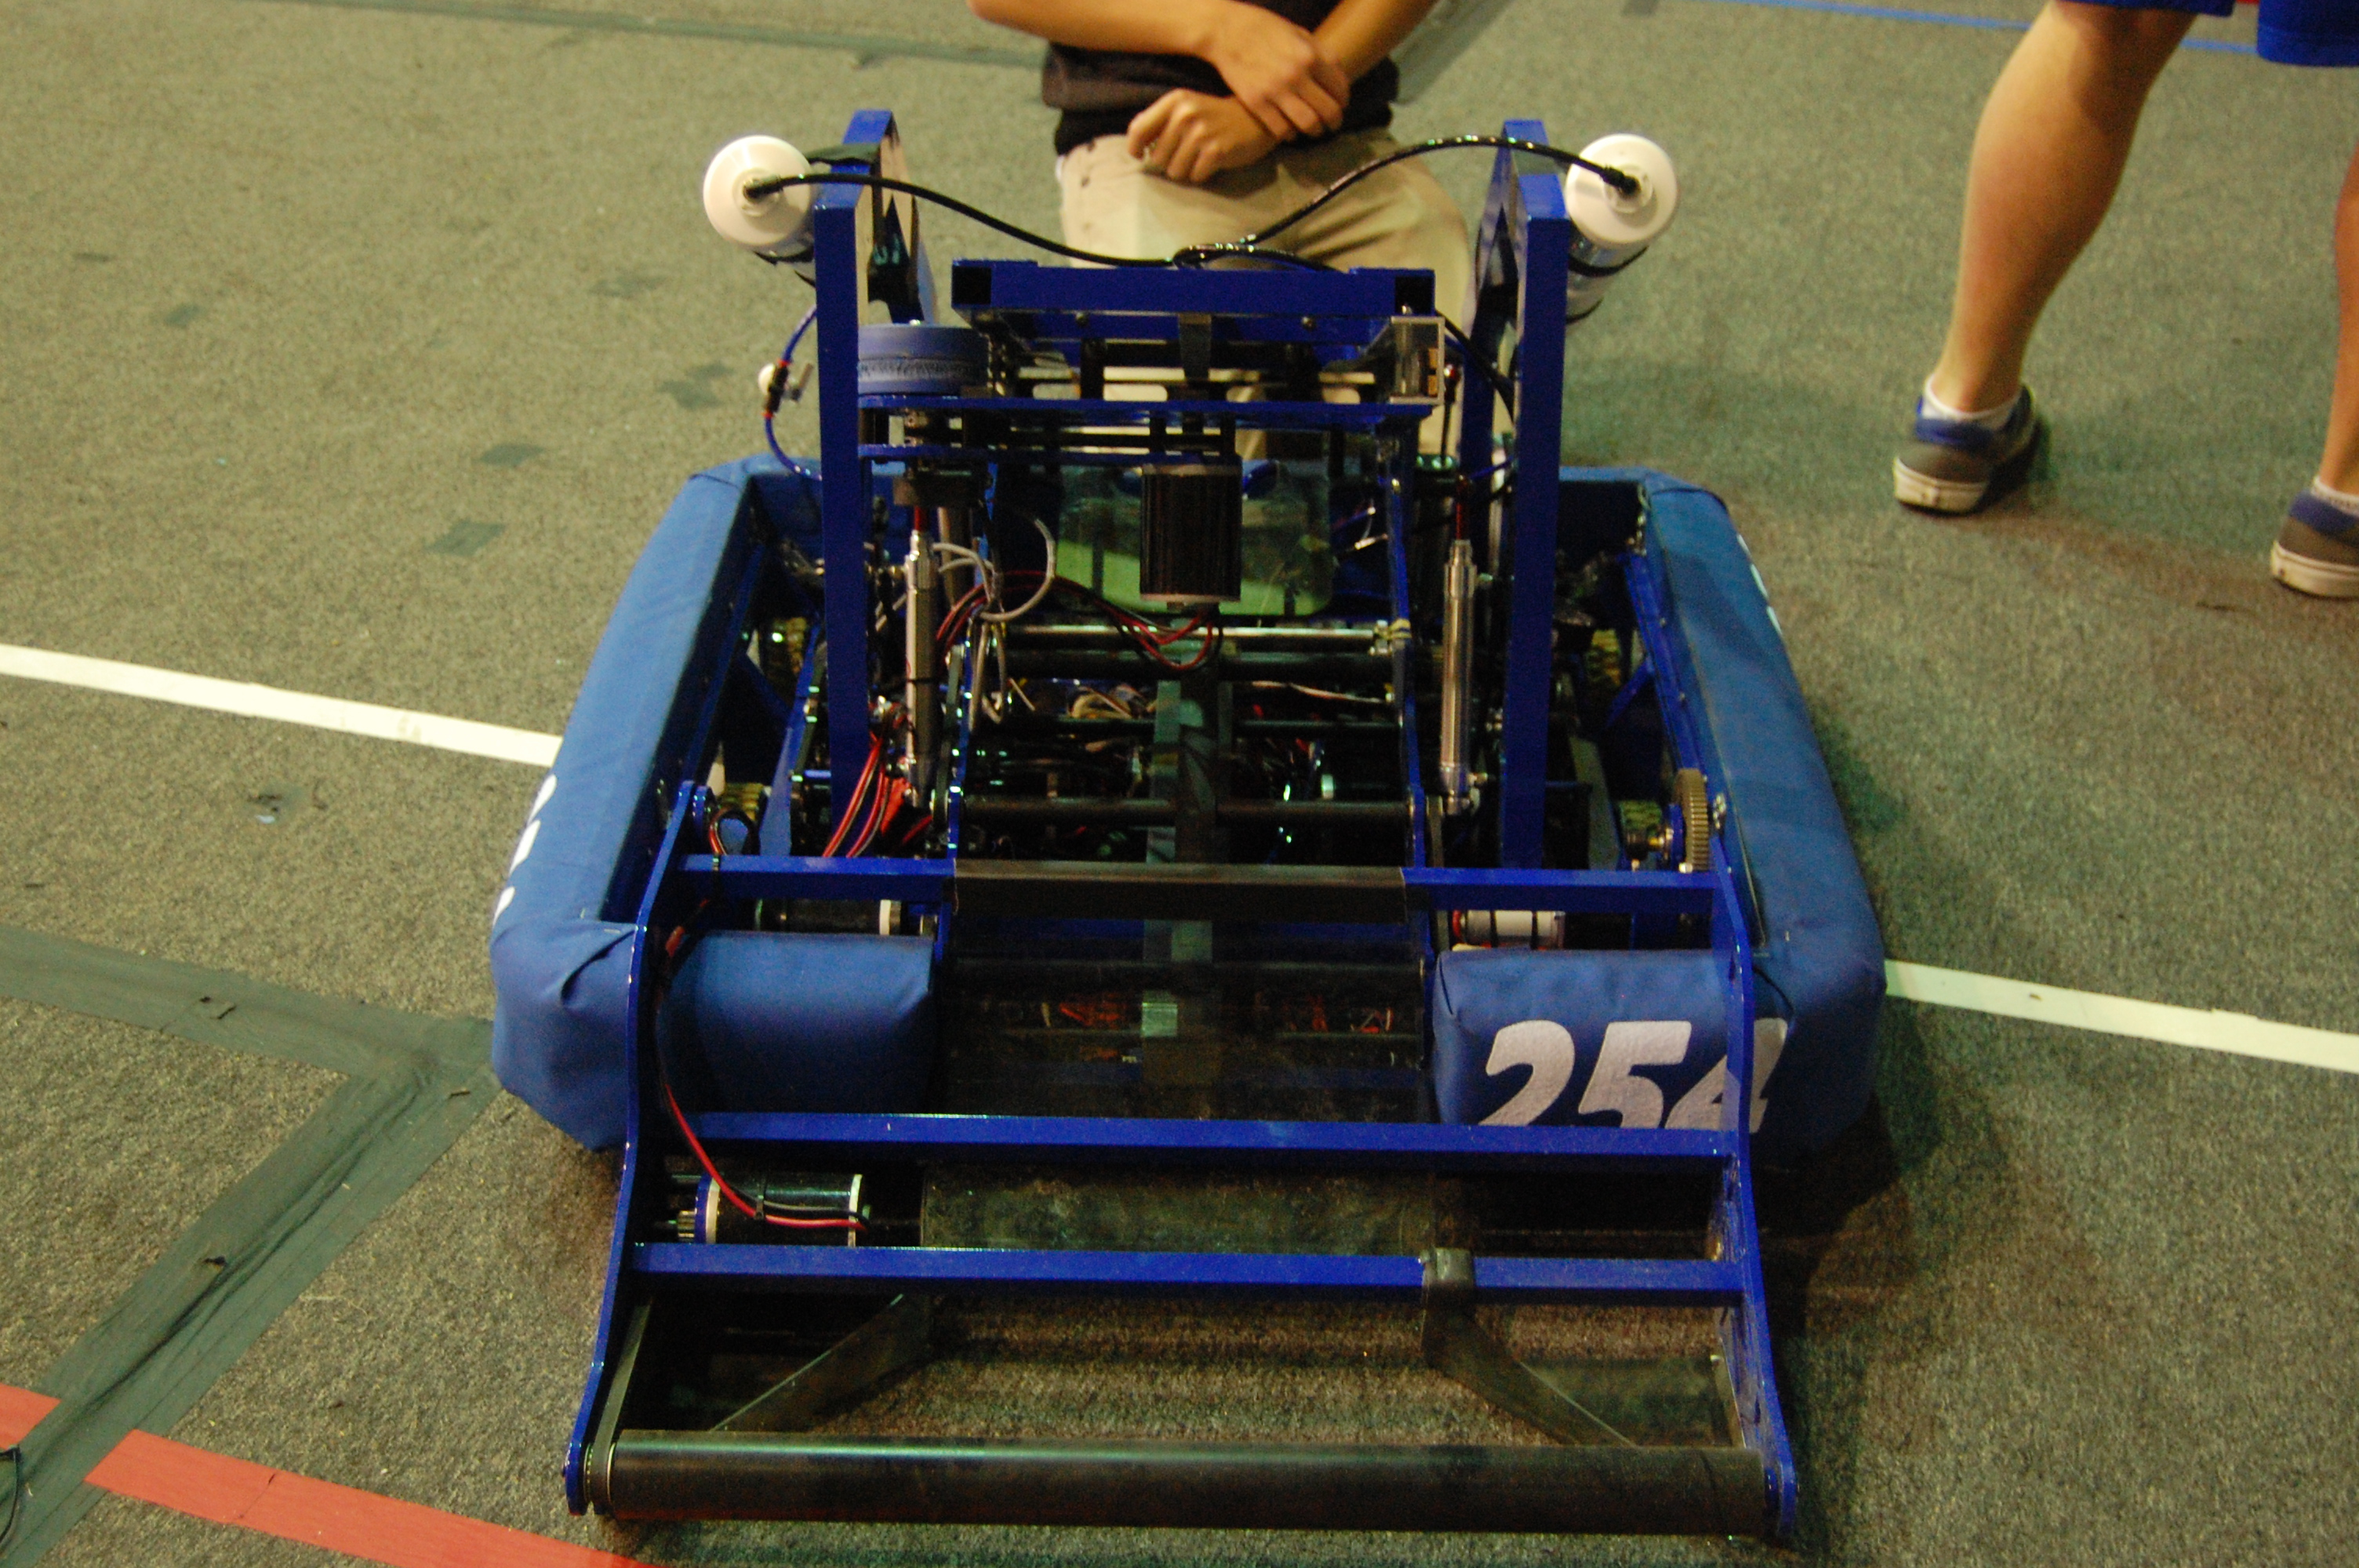
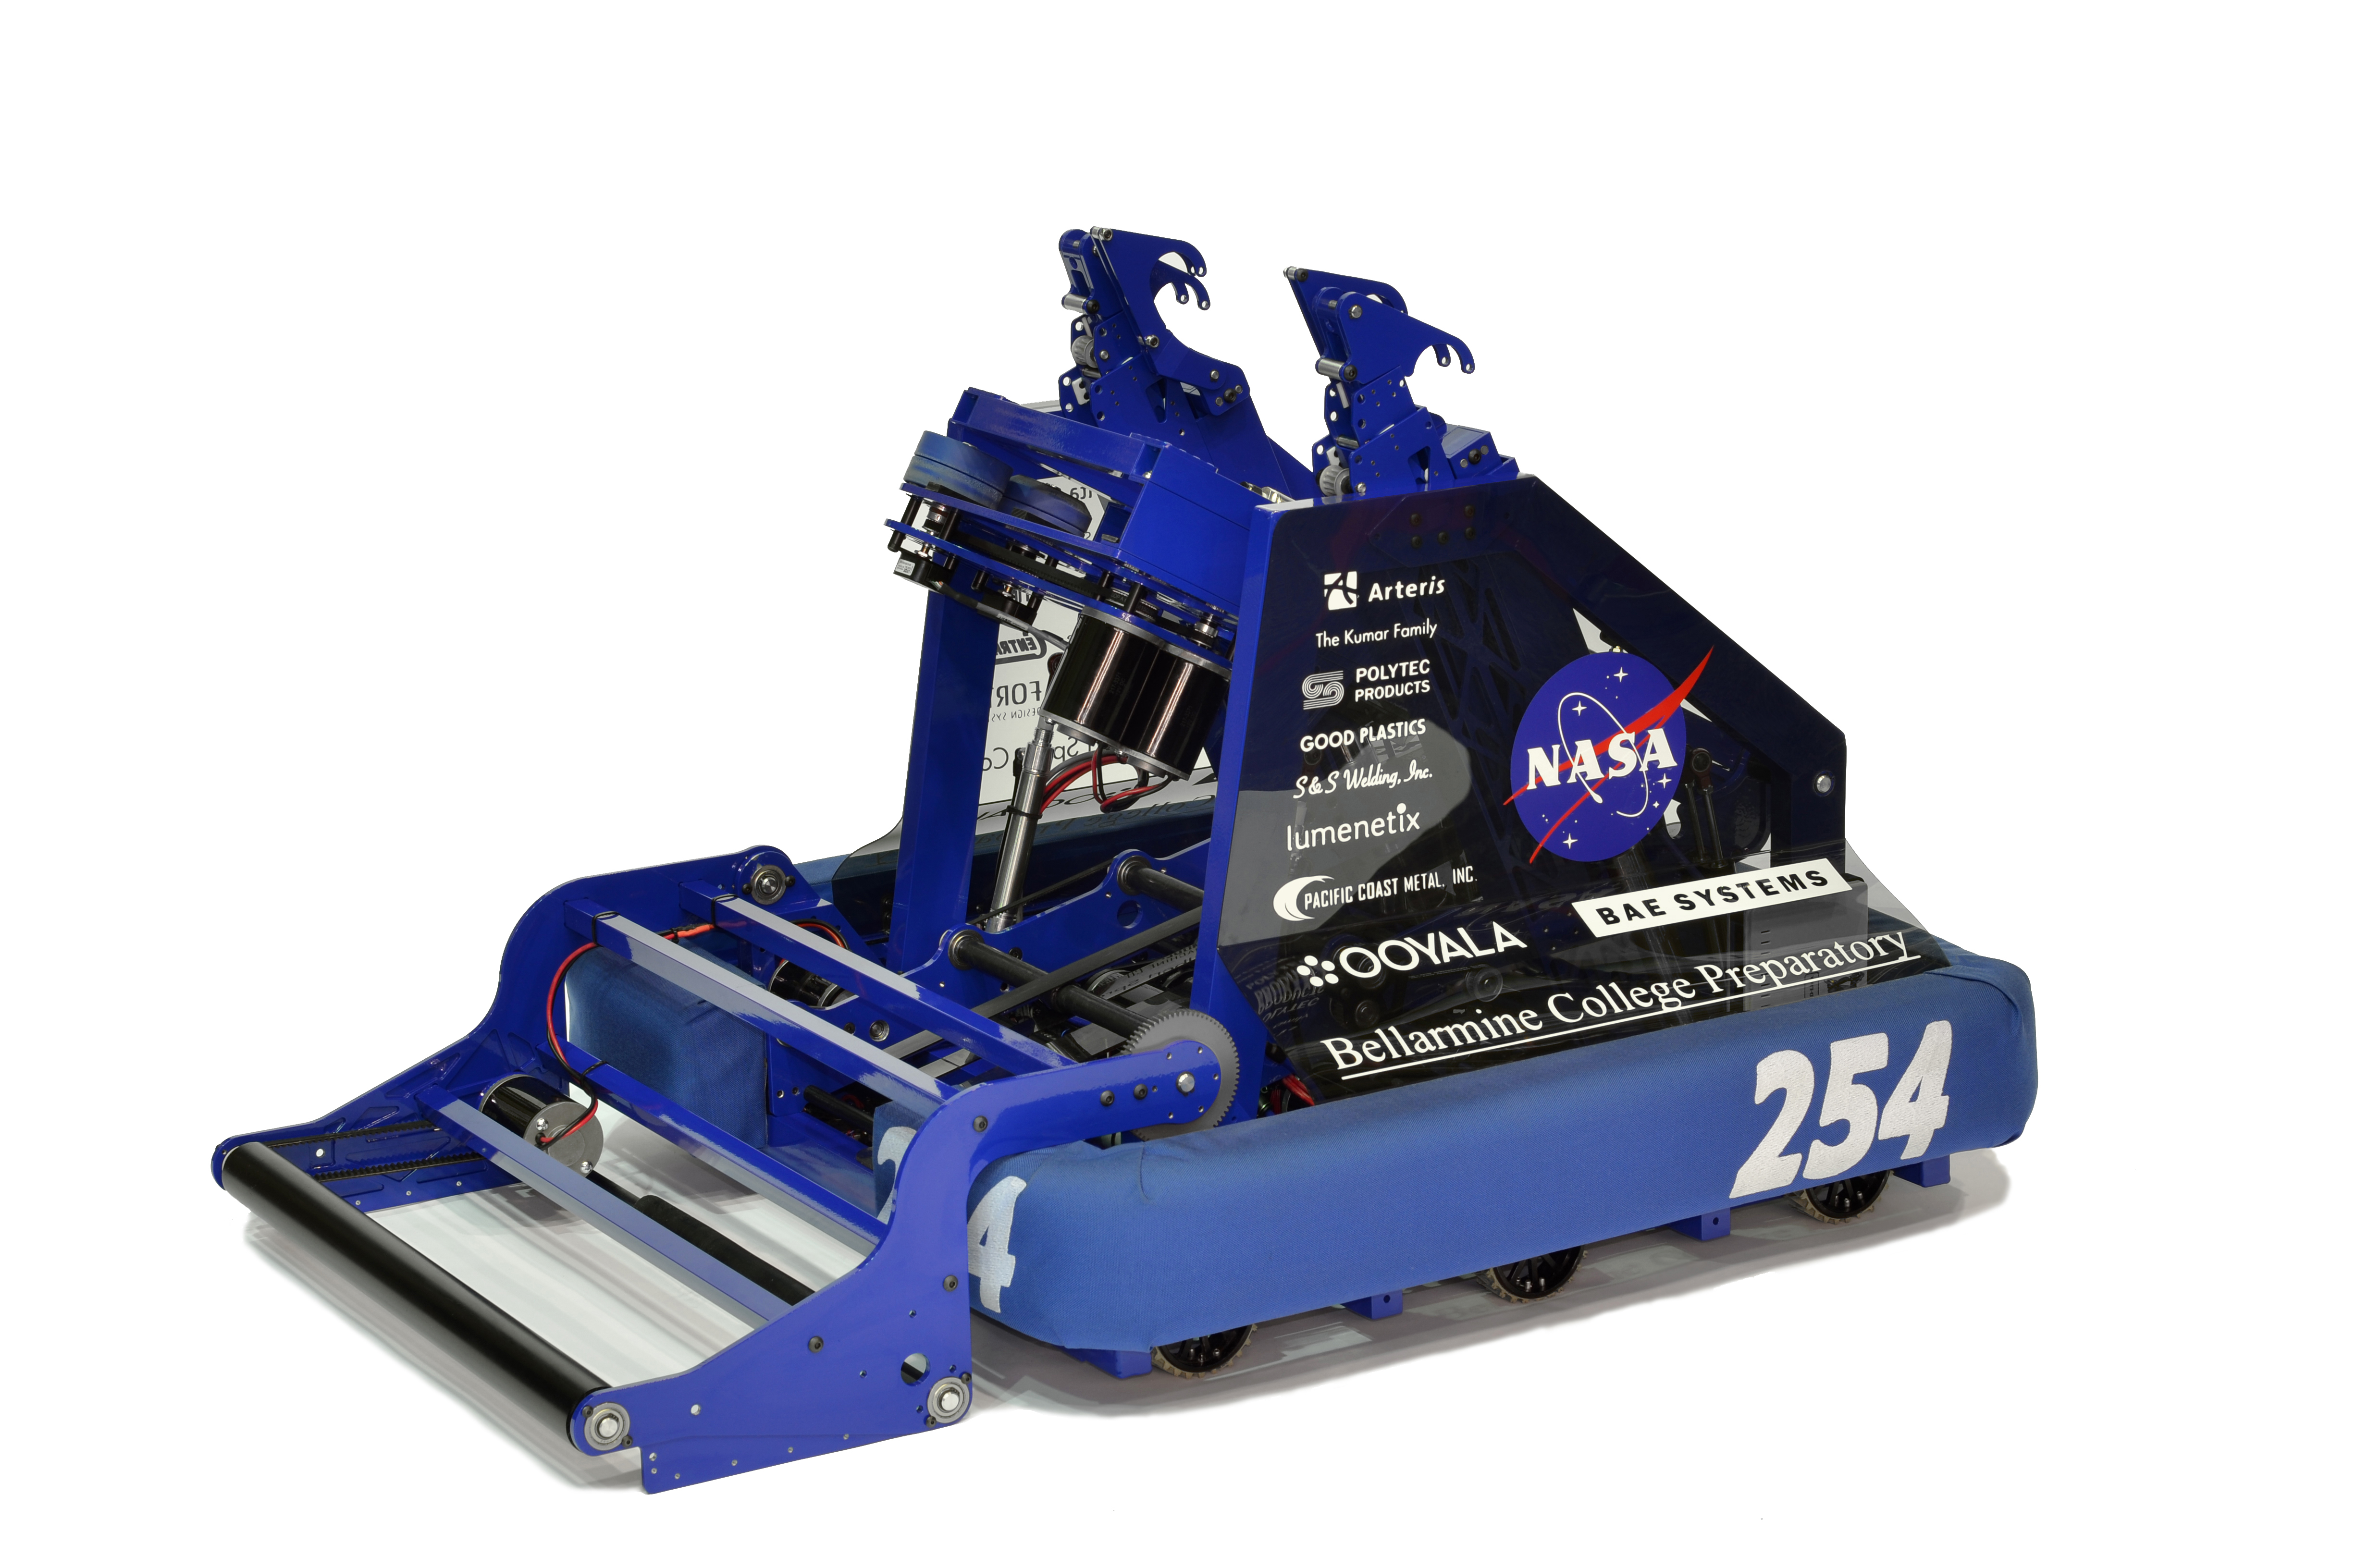
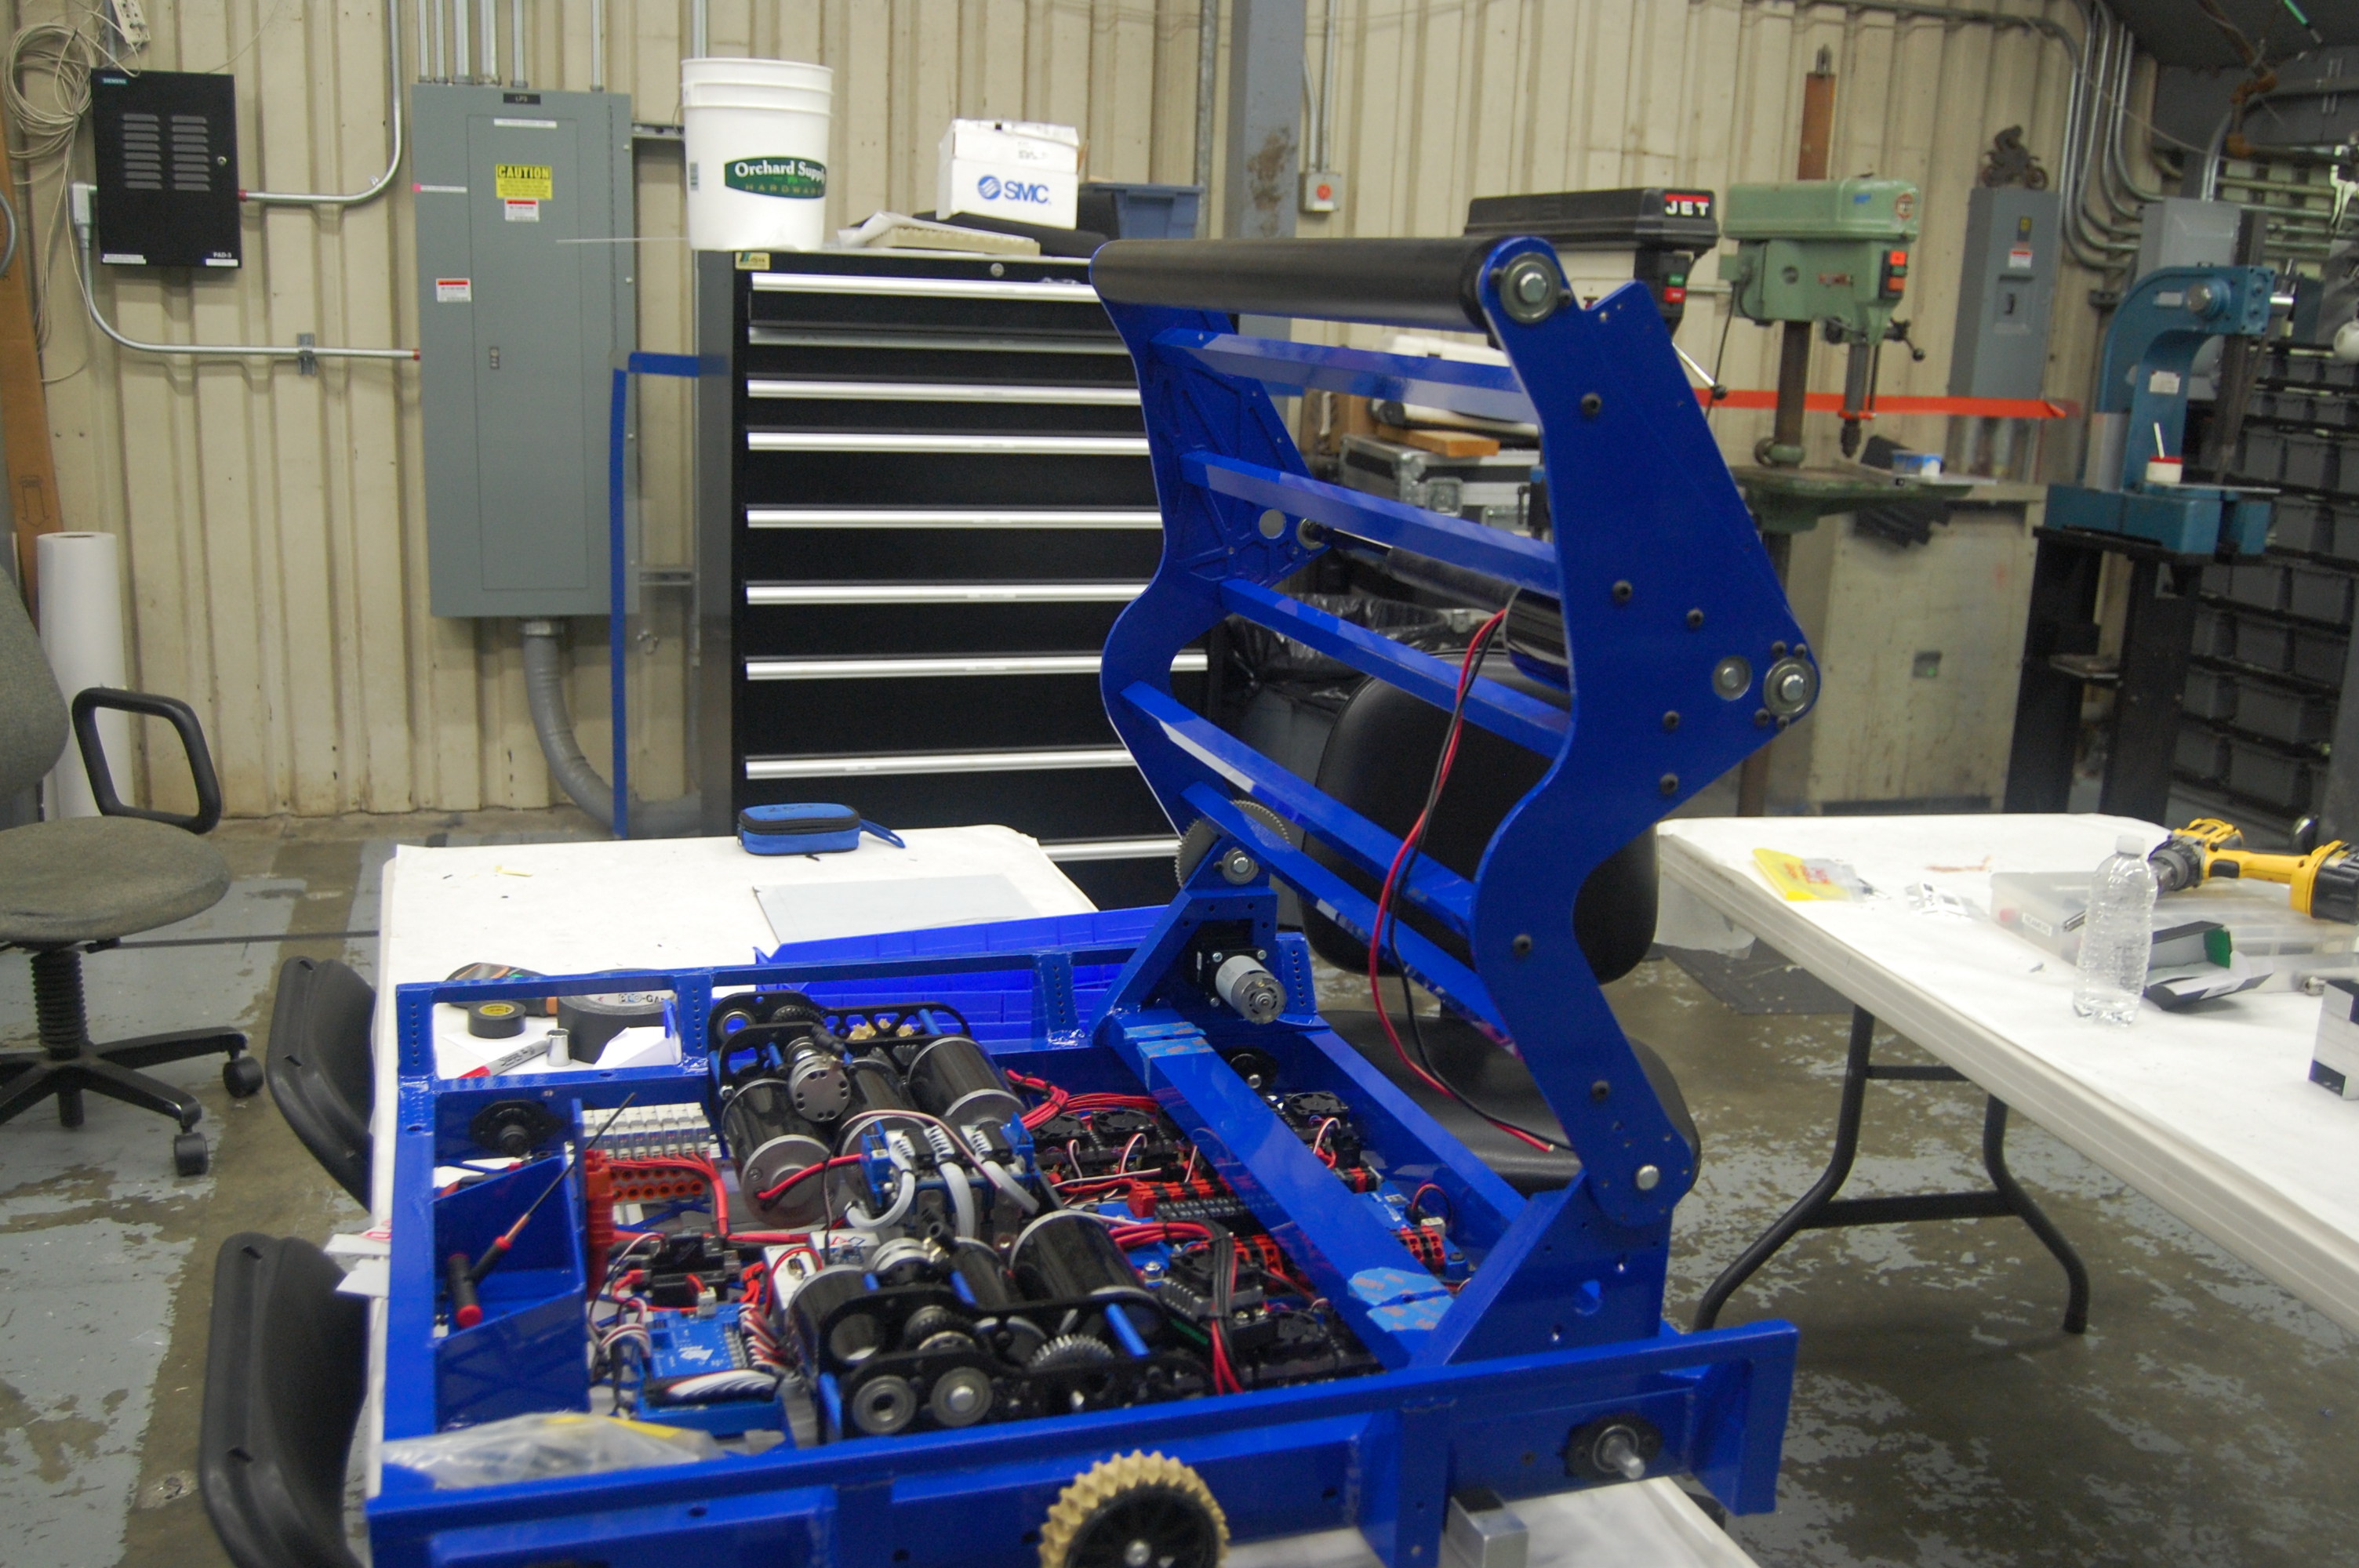
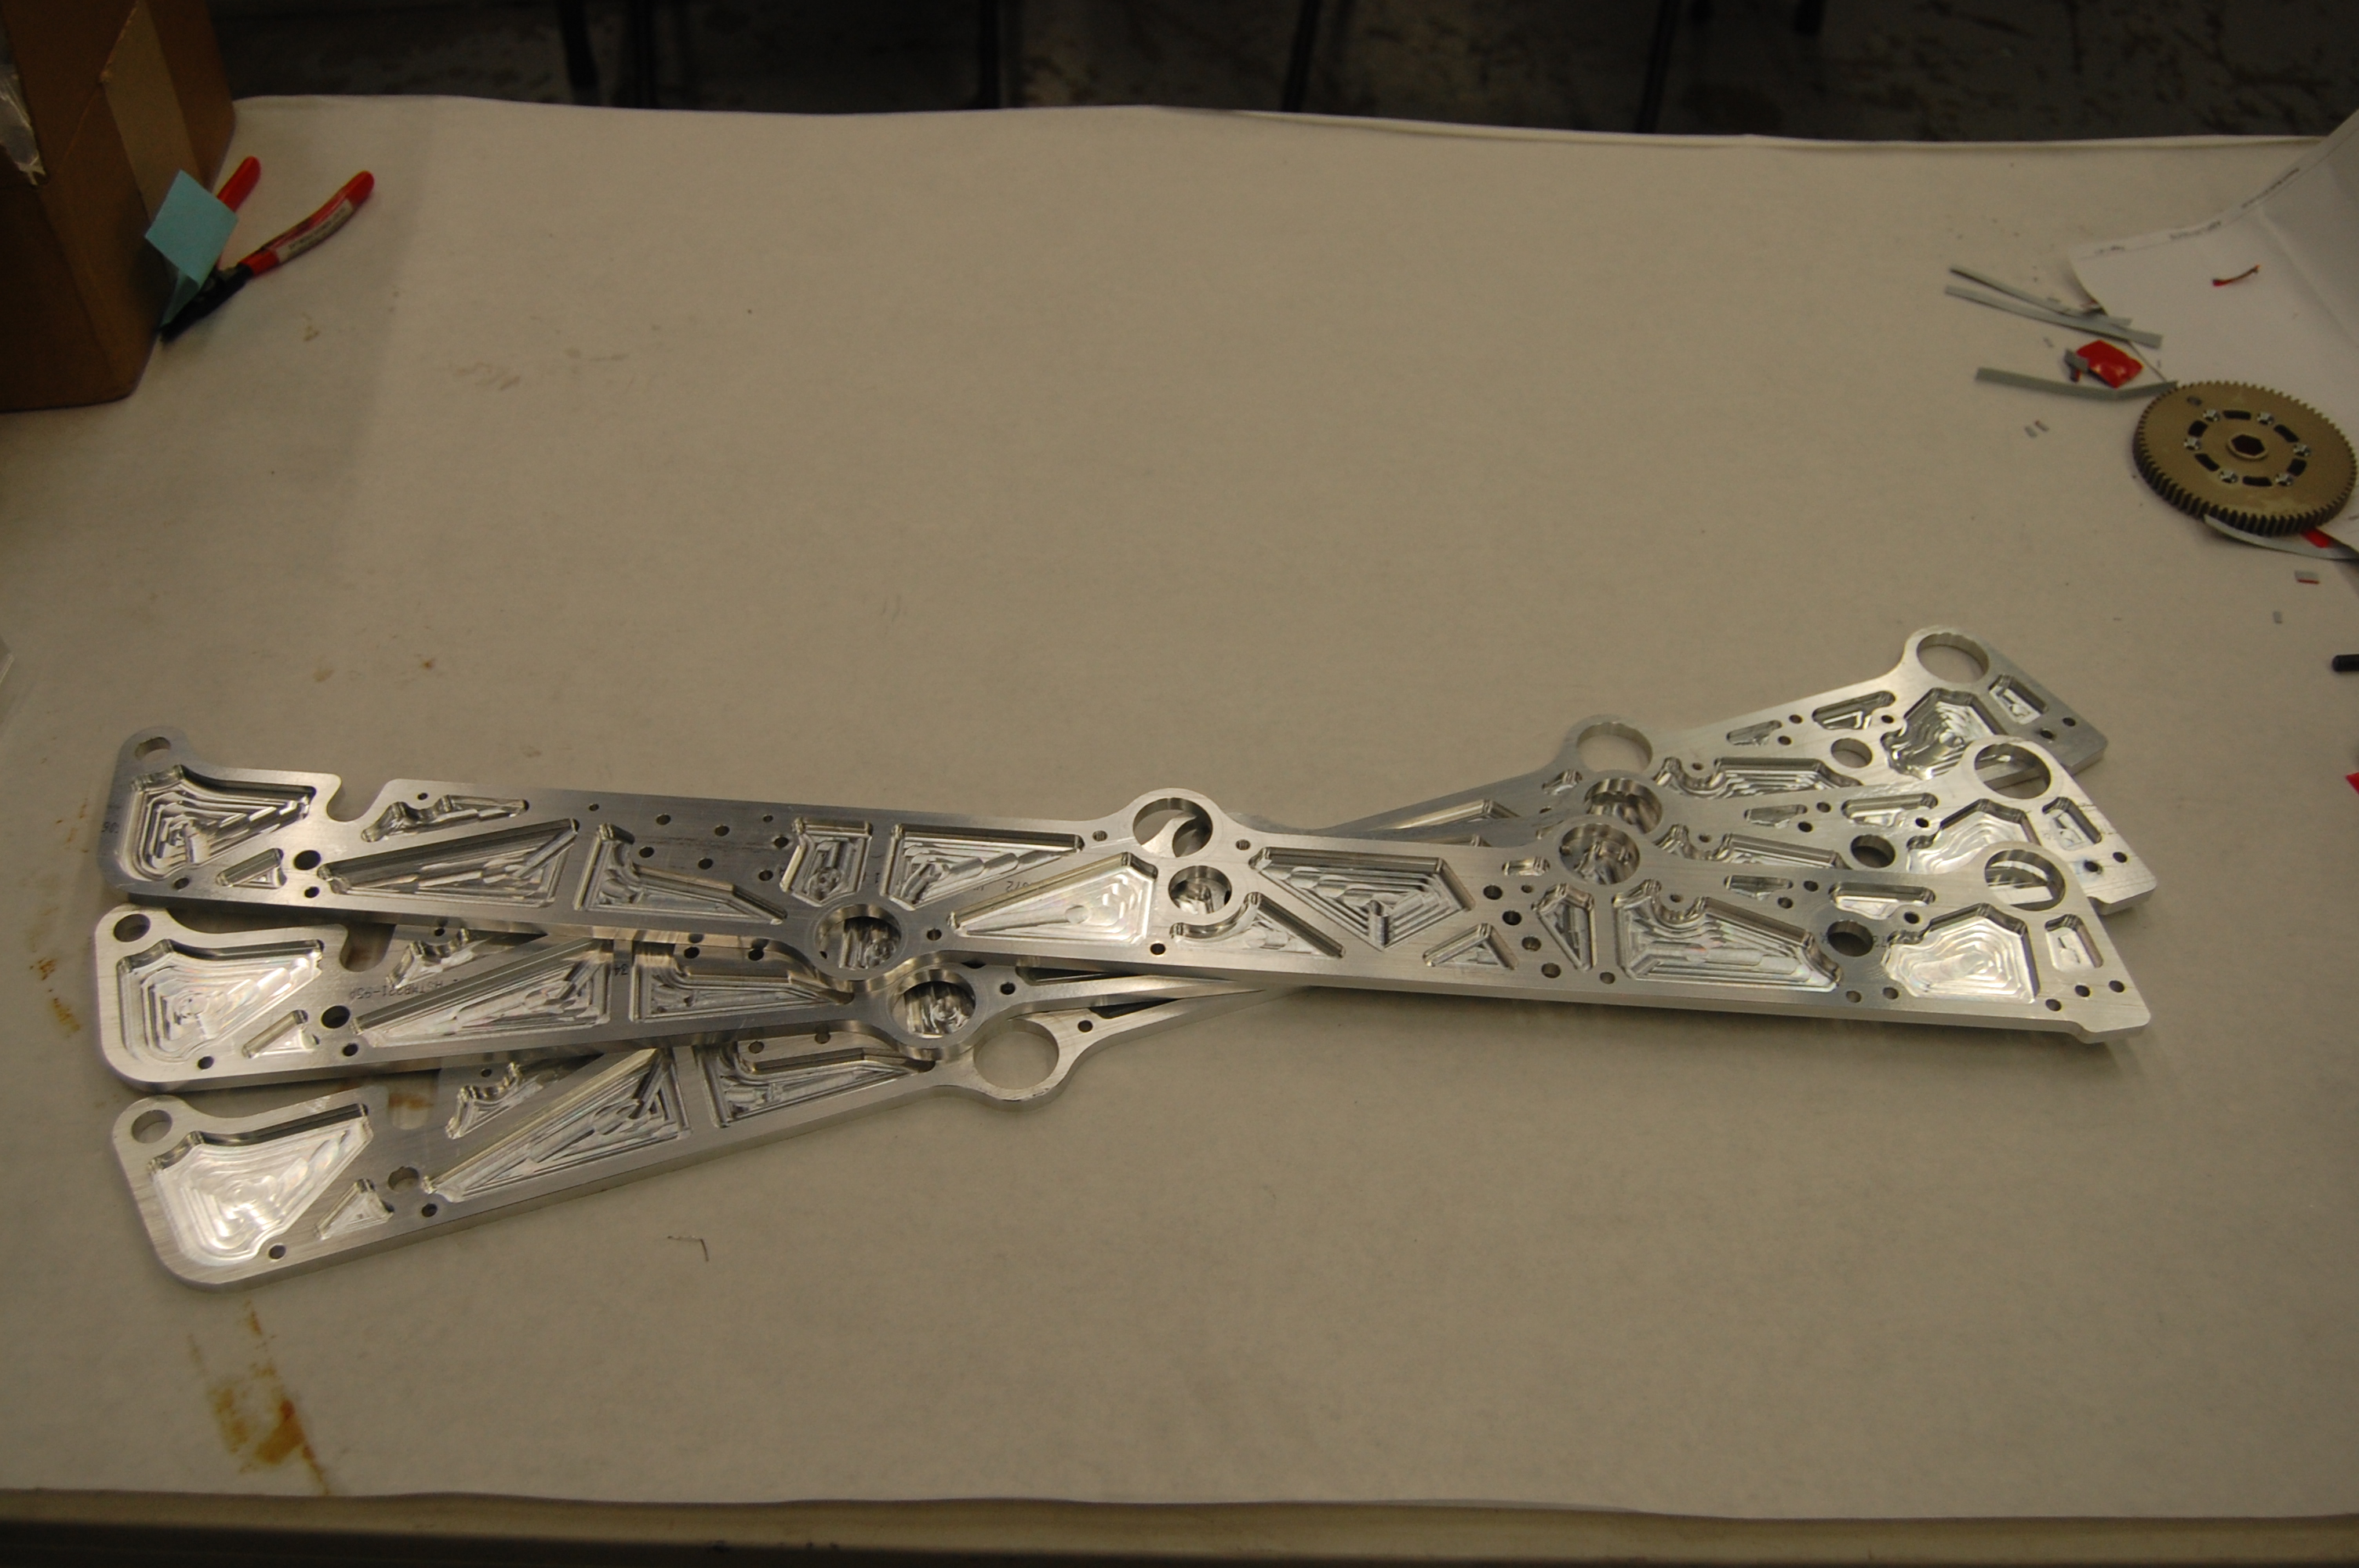
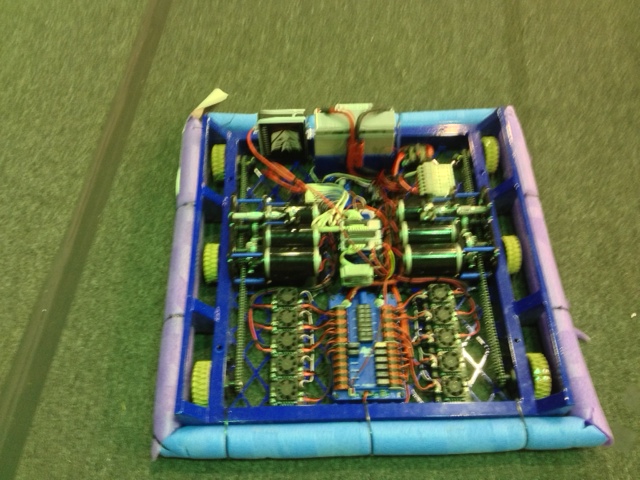
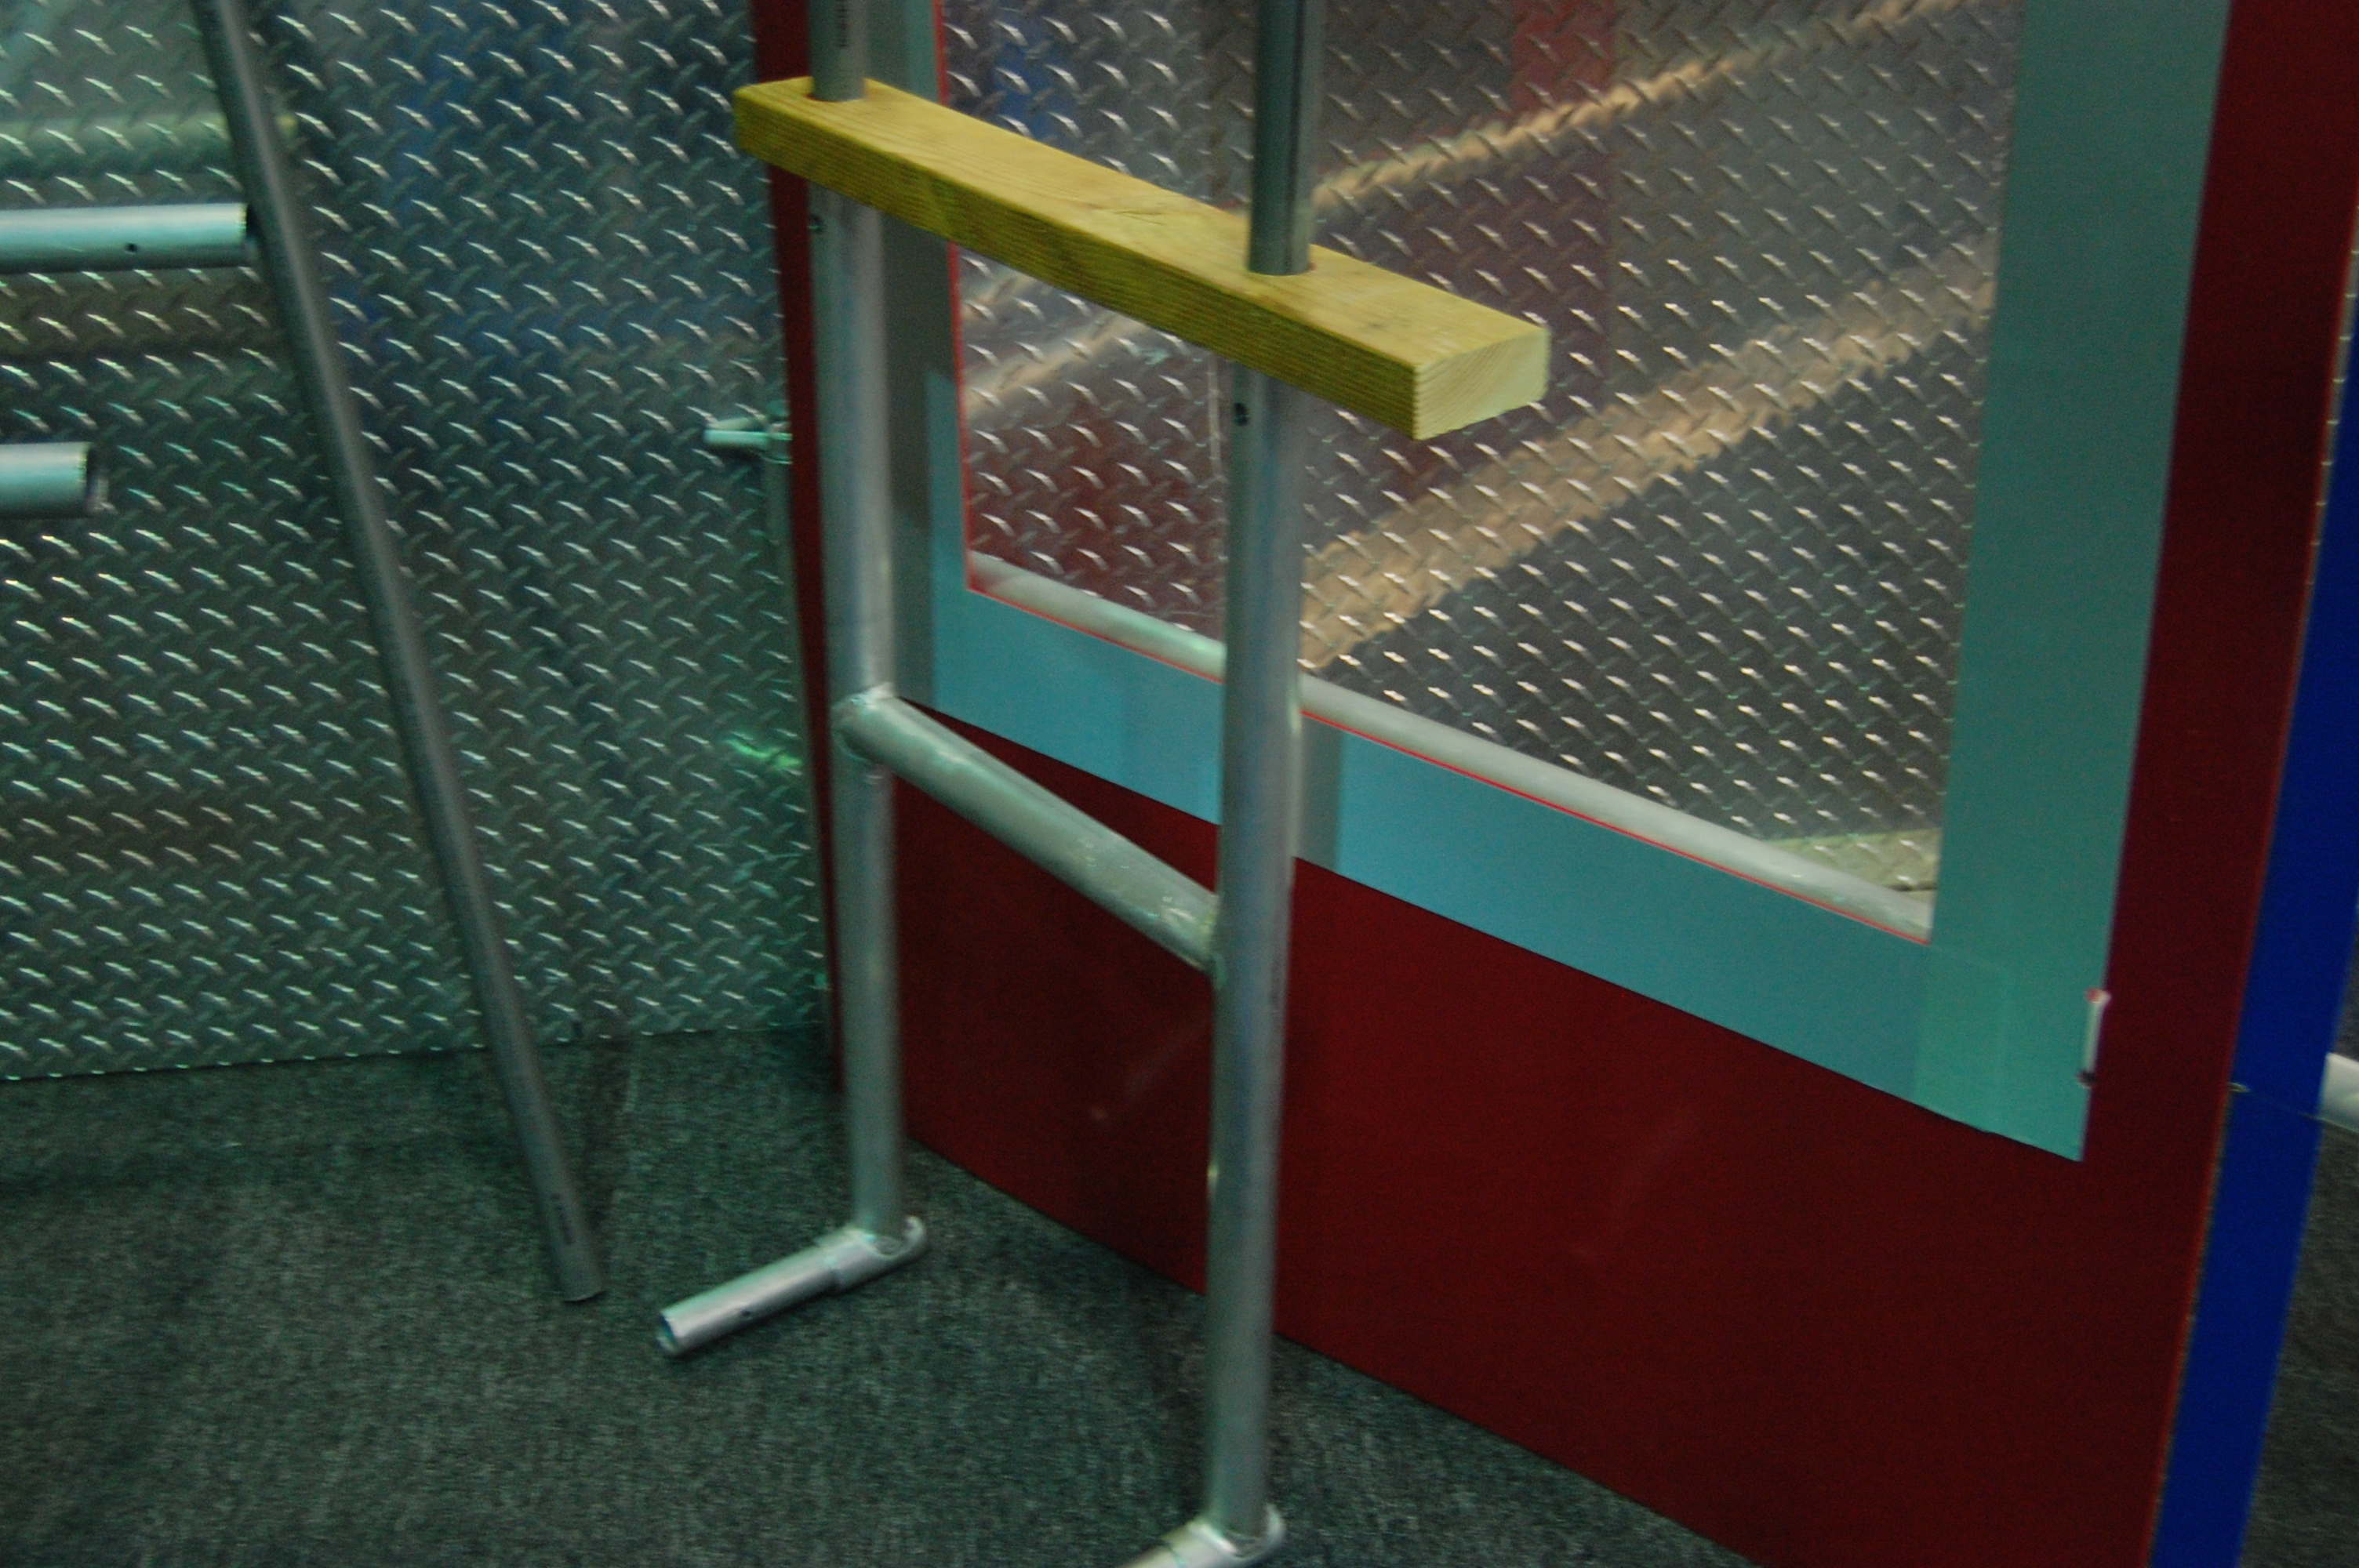
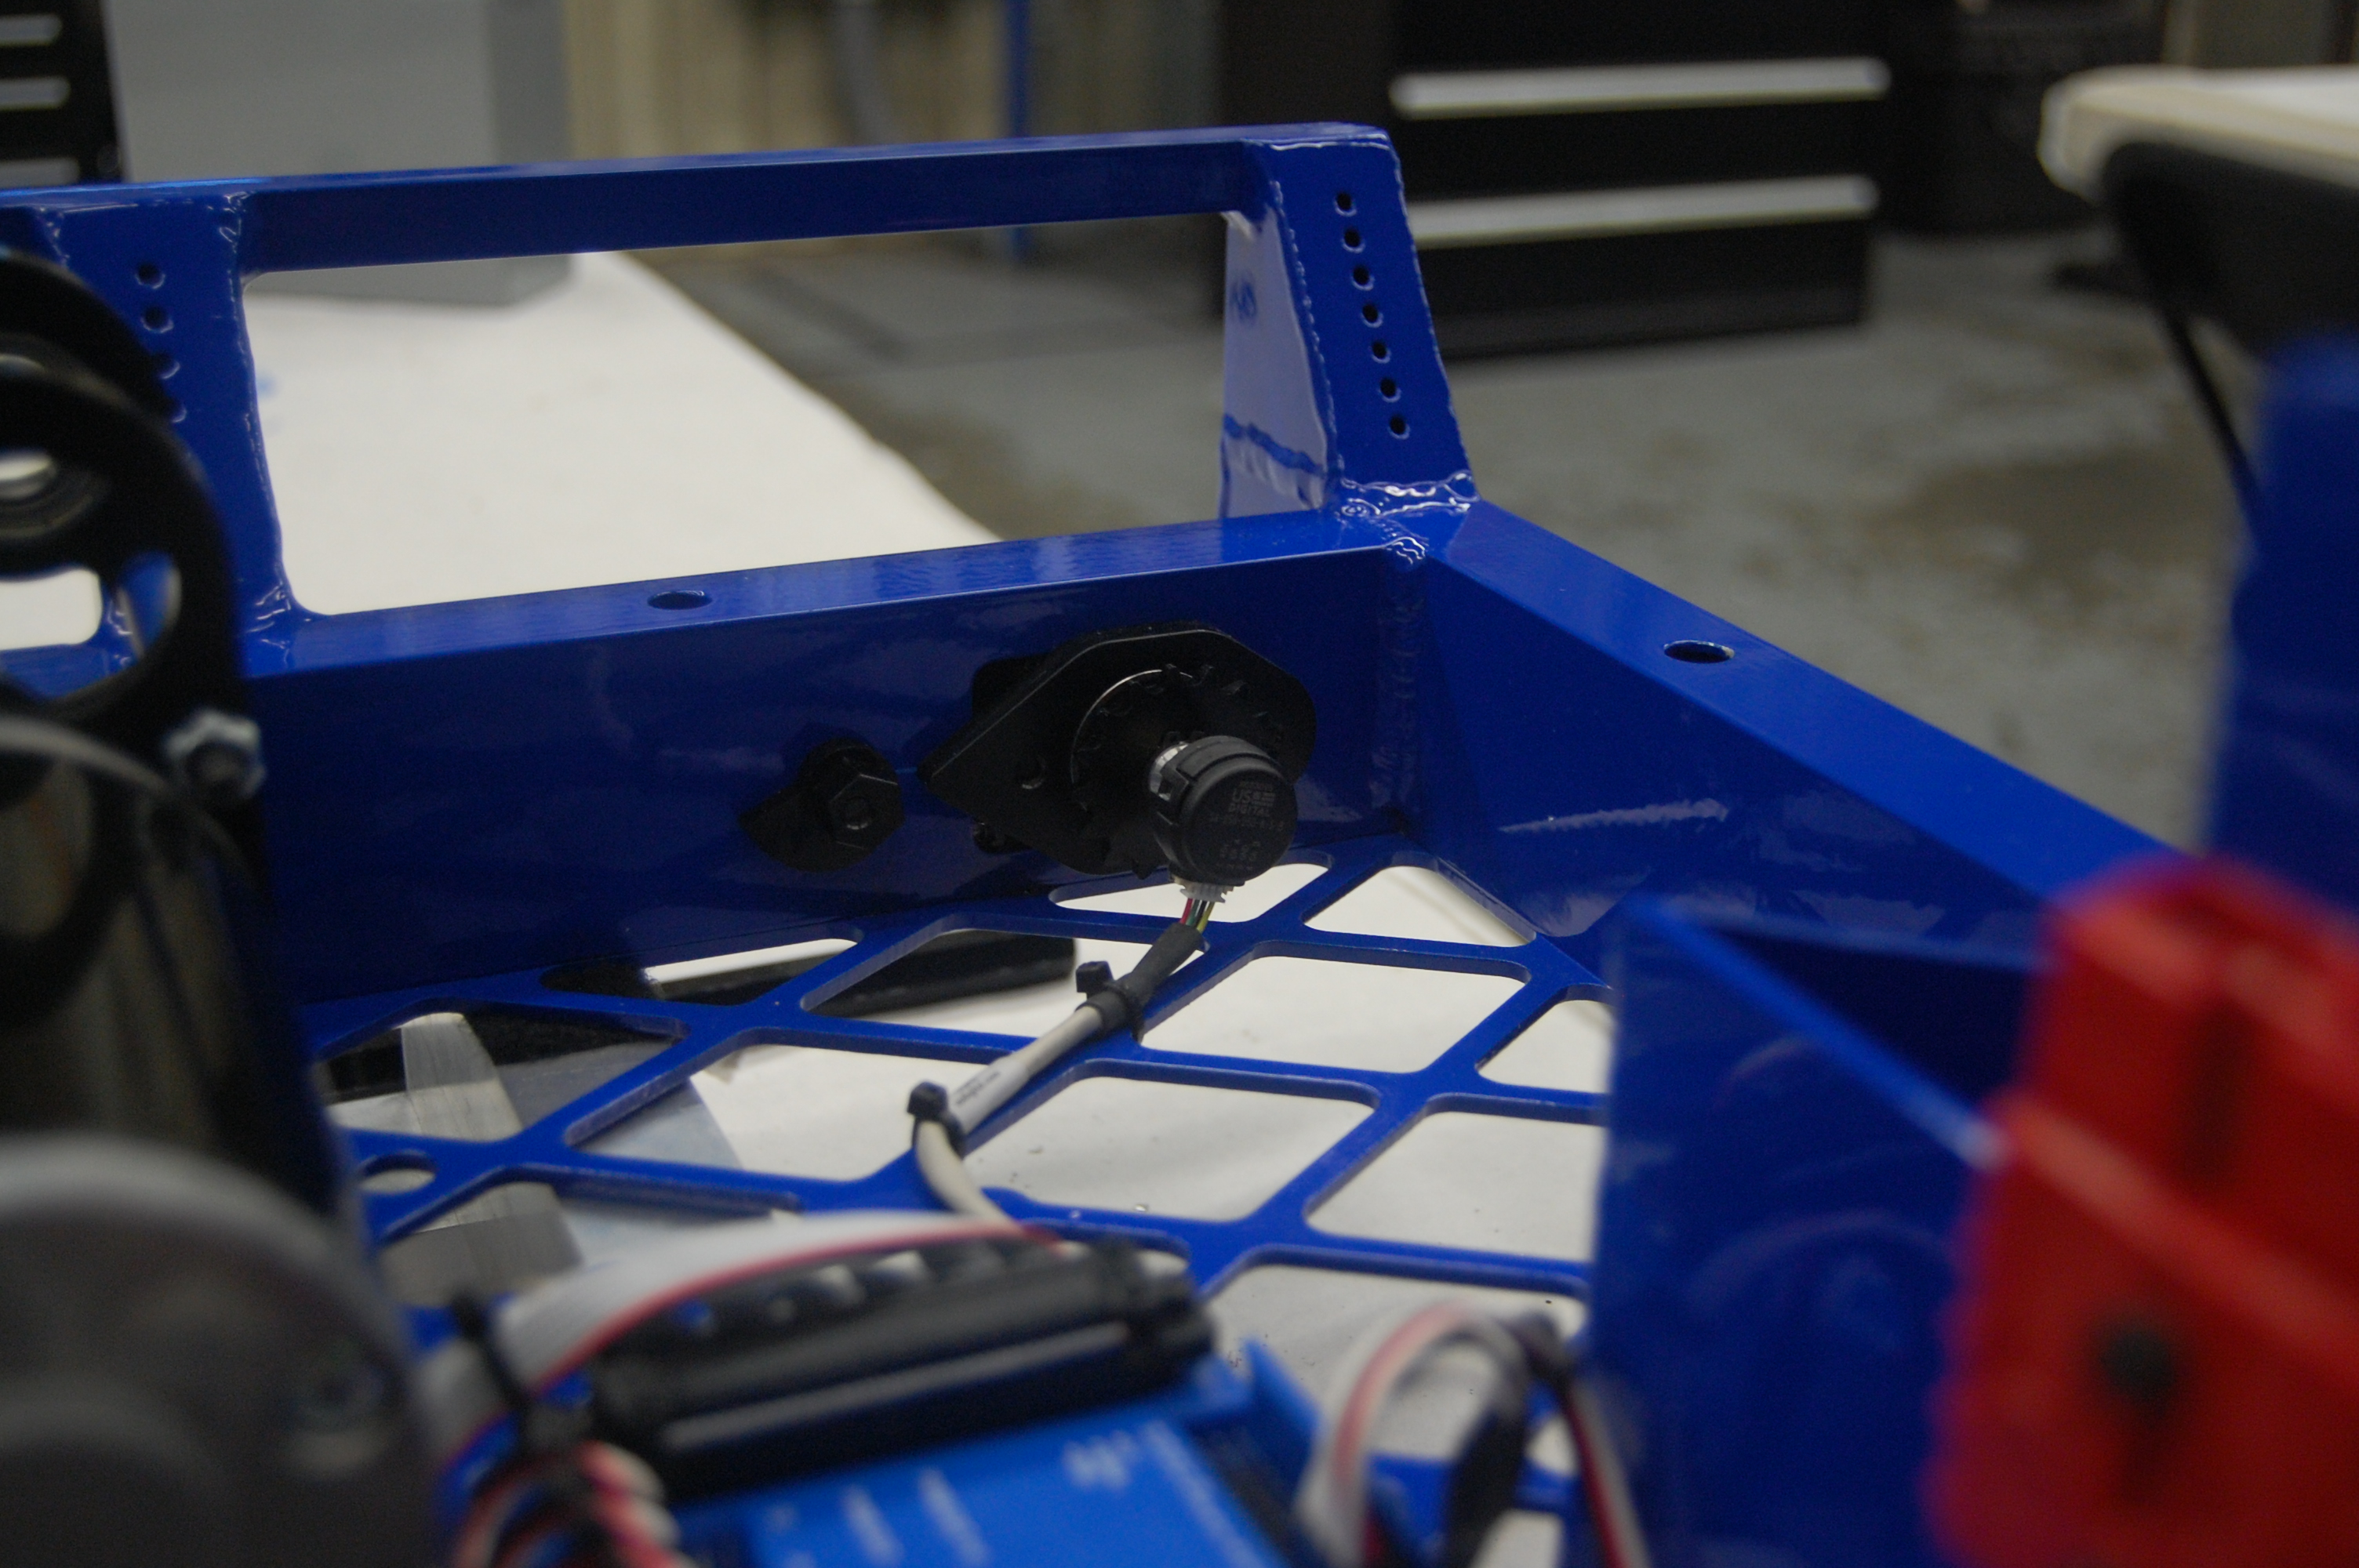
 Robot
Robot
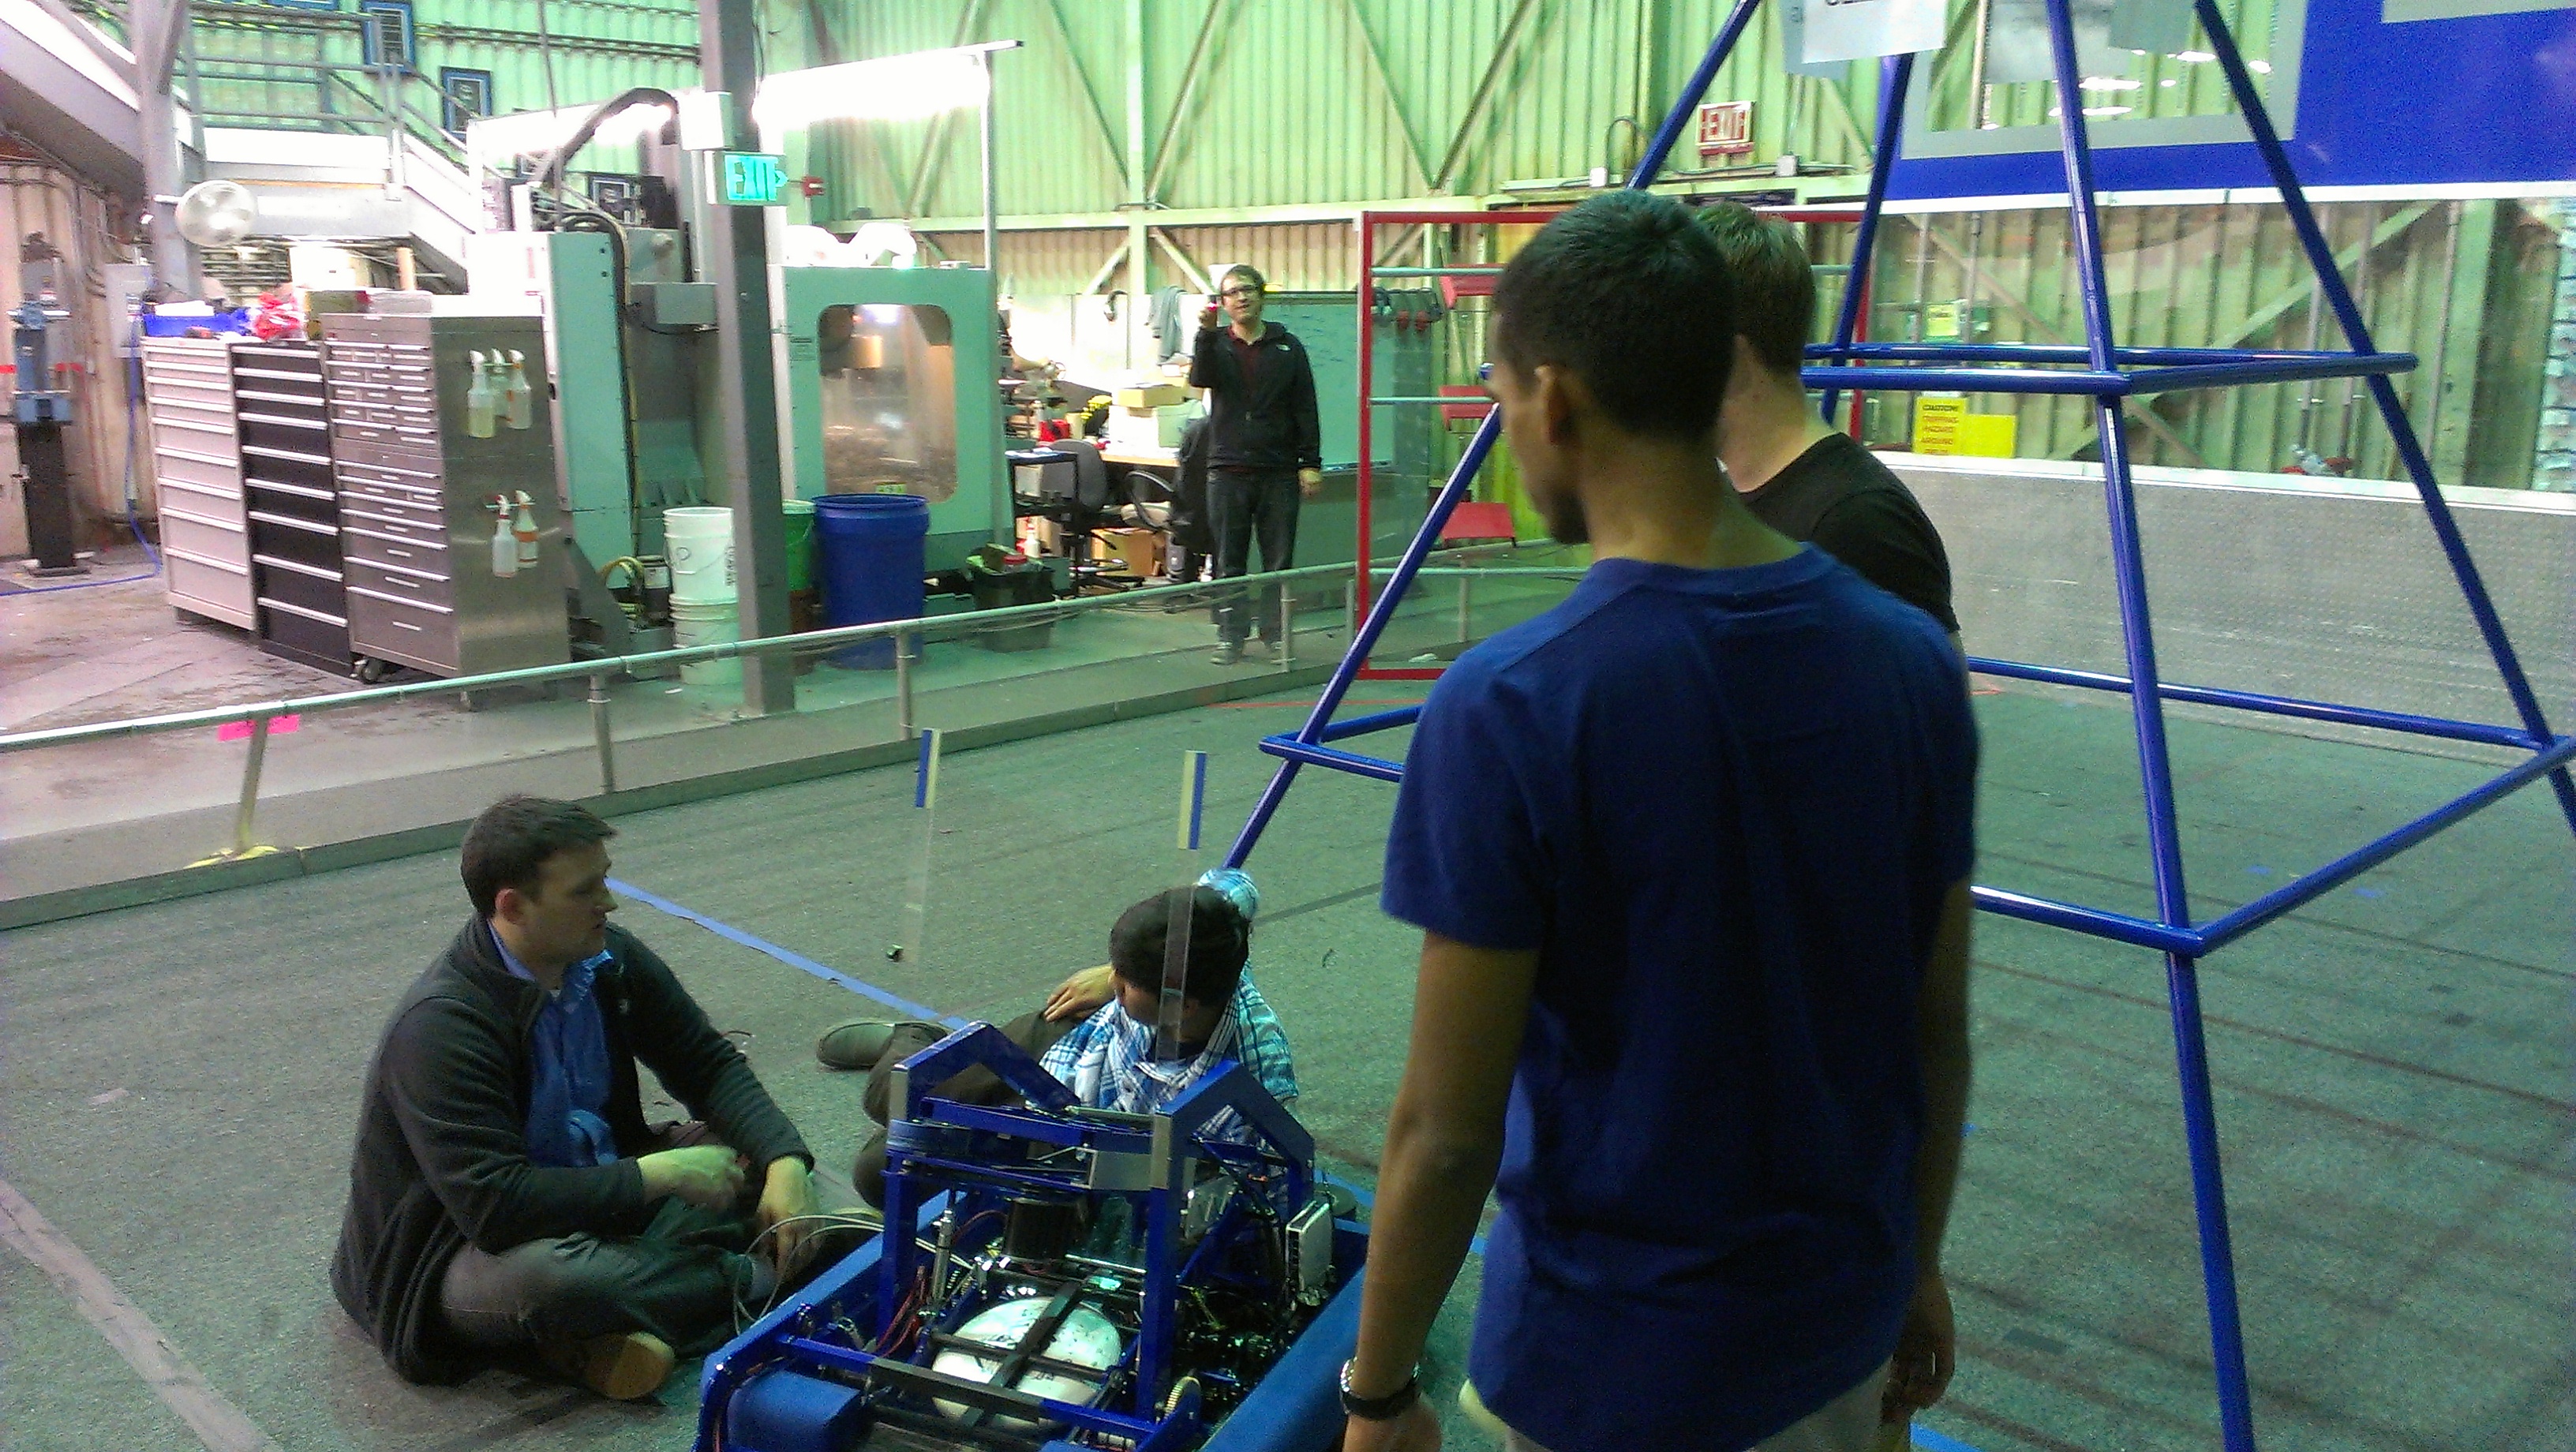
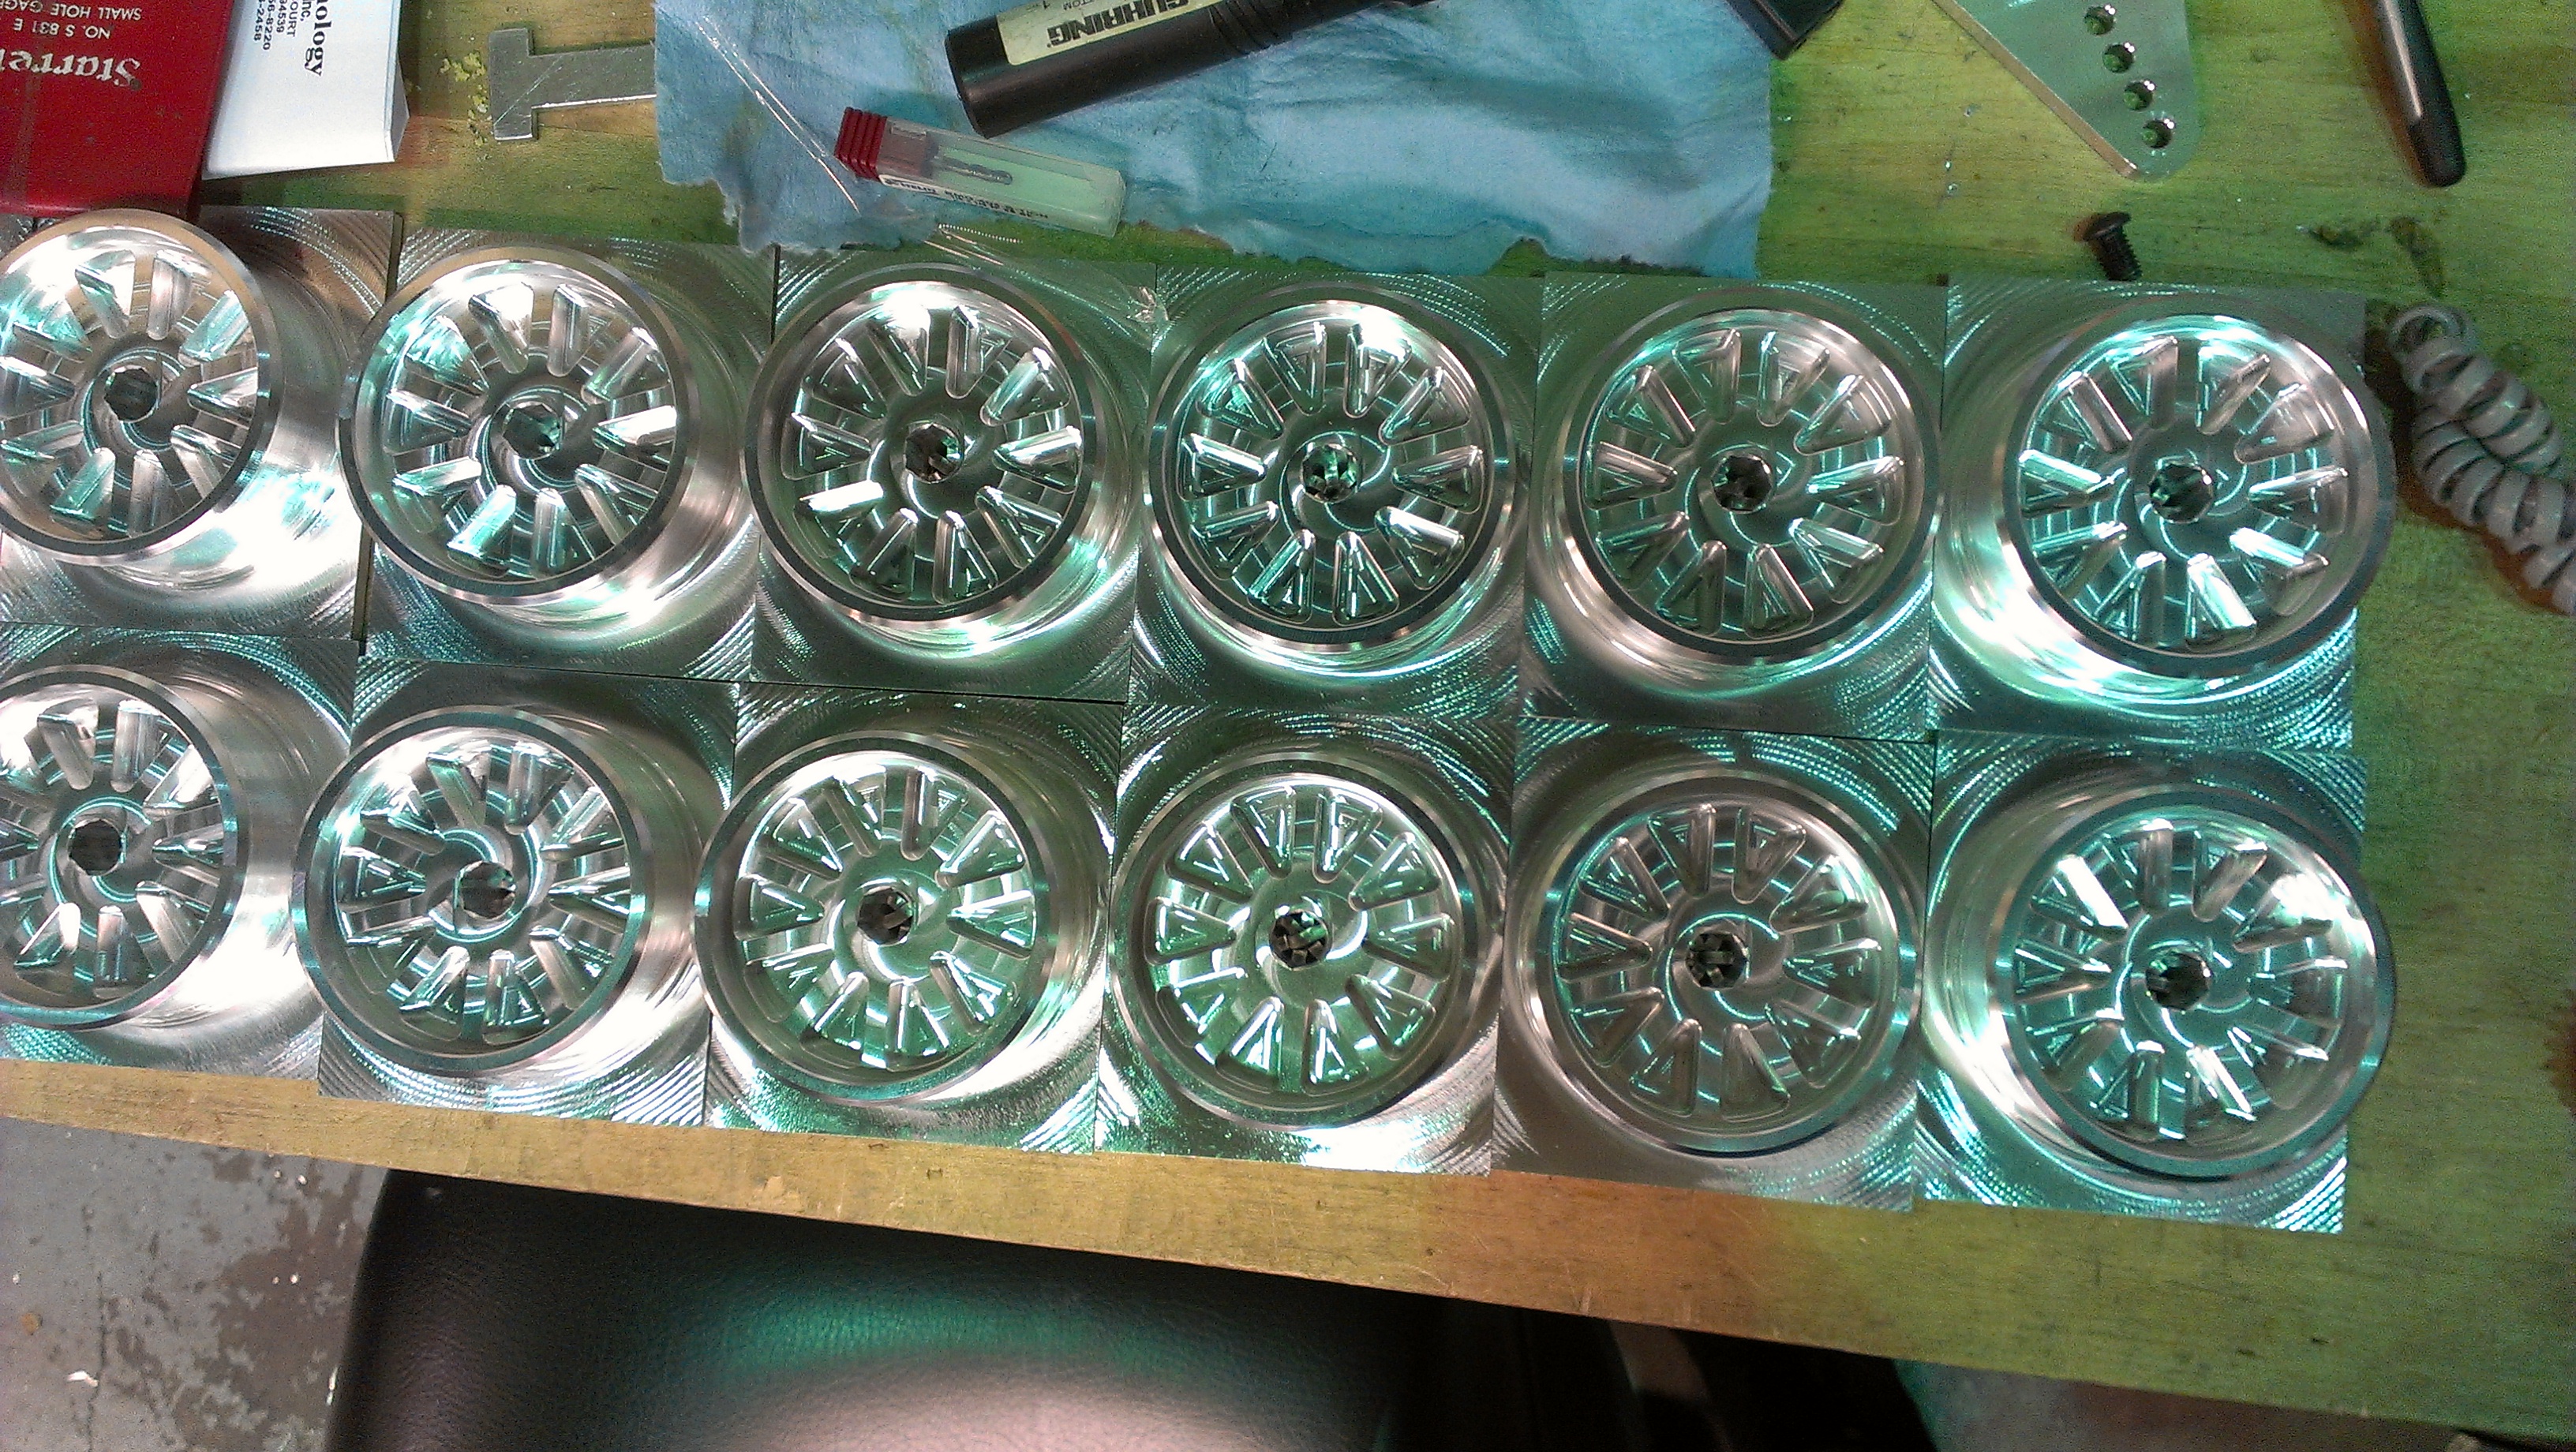
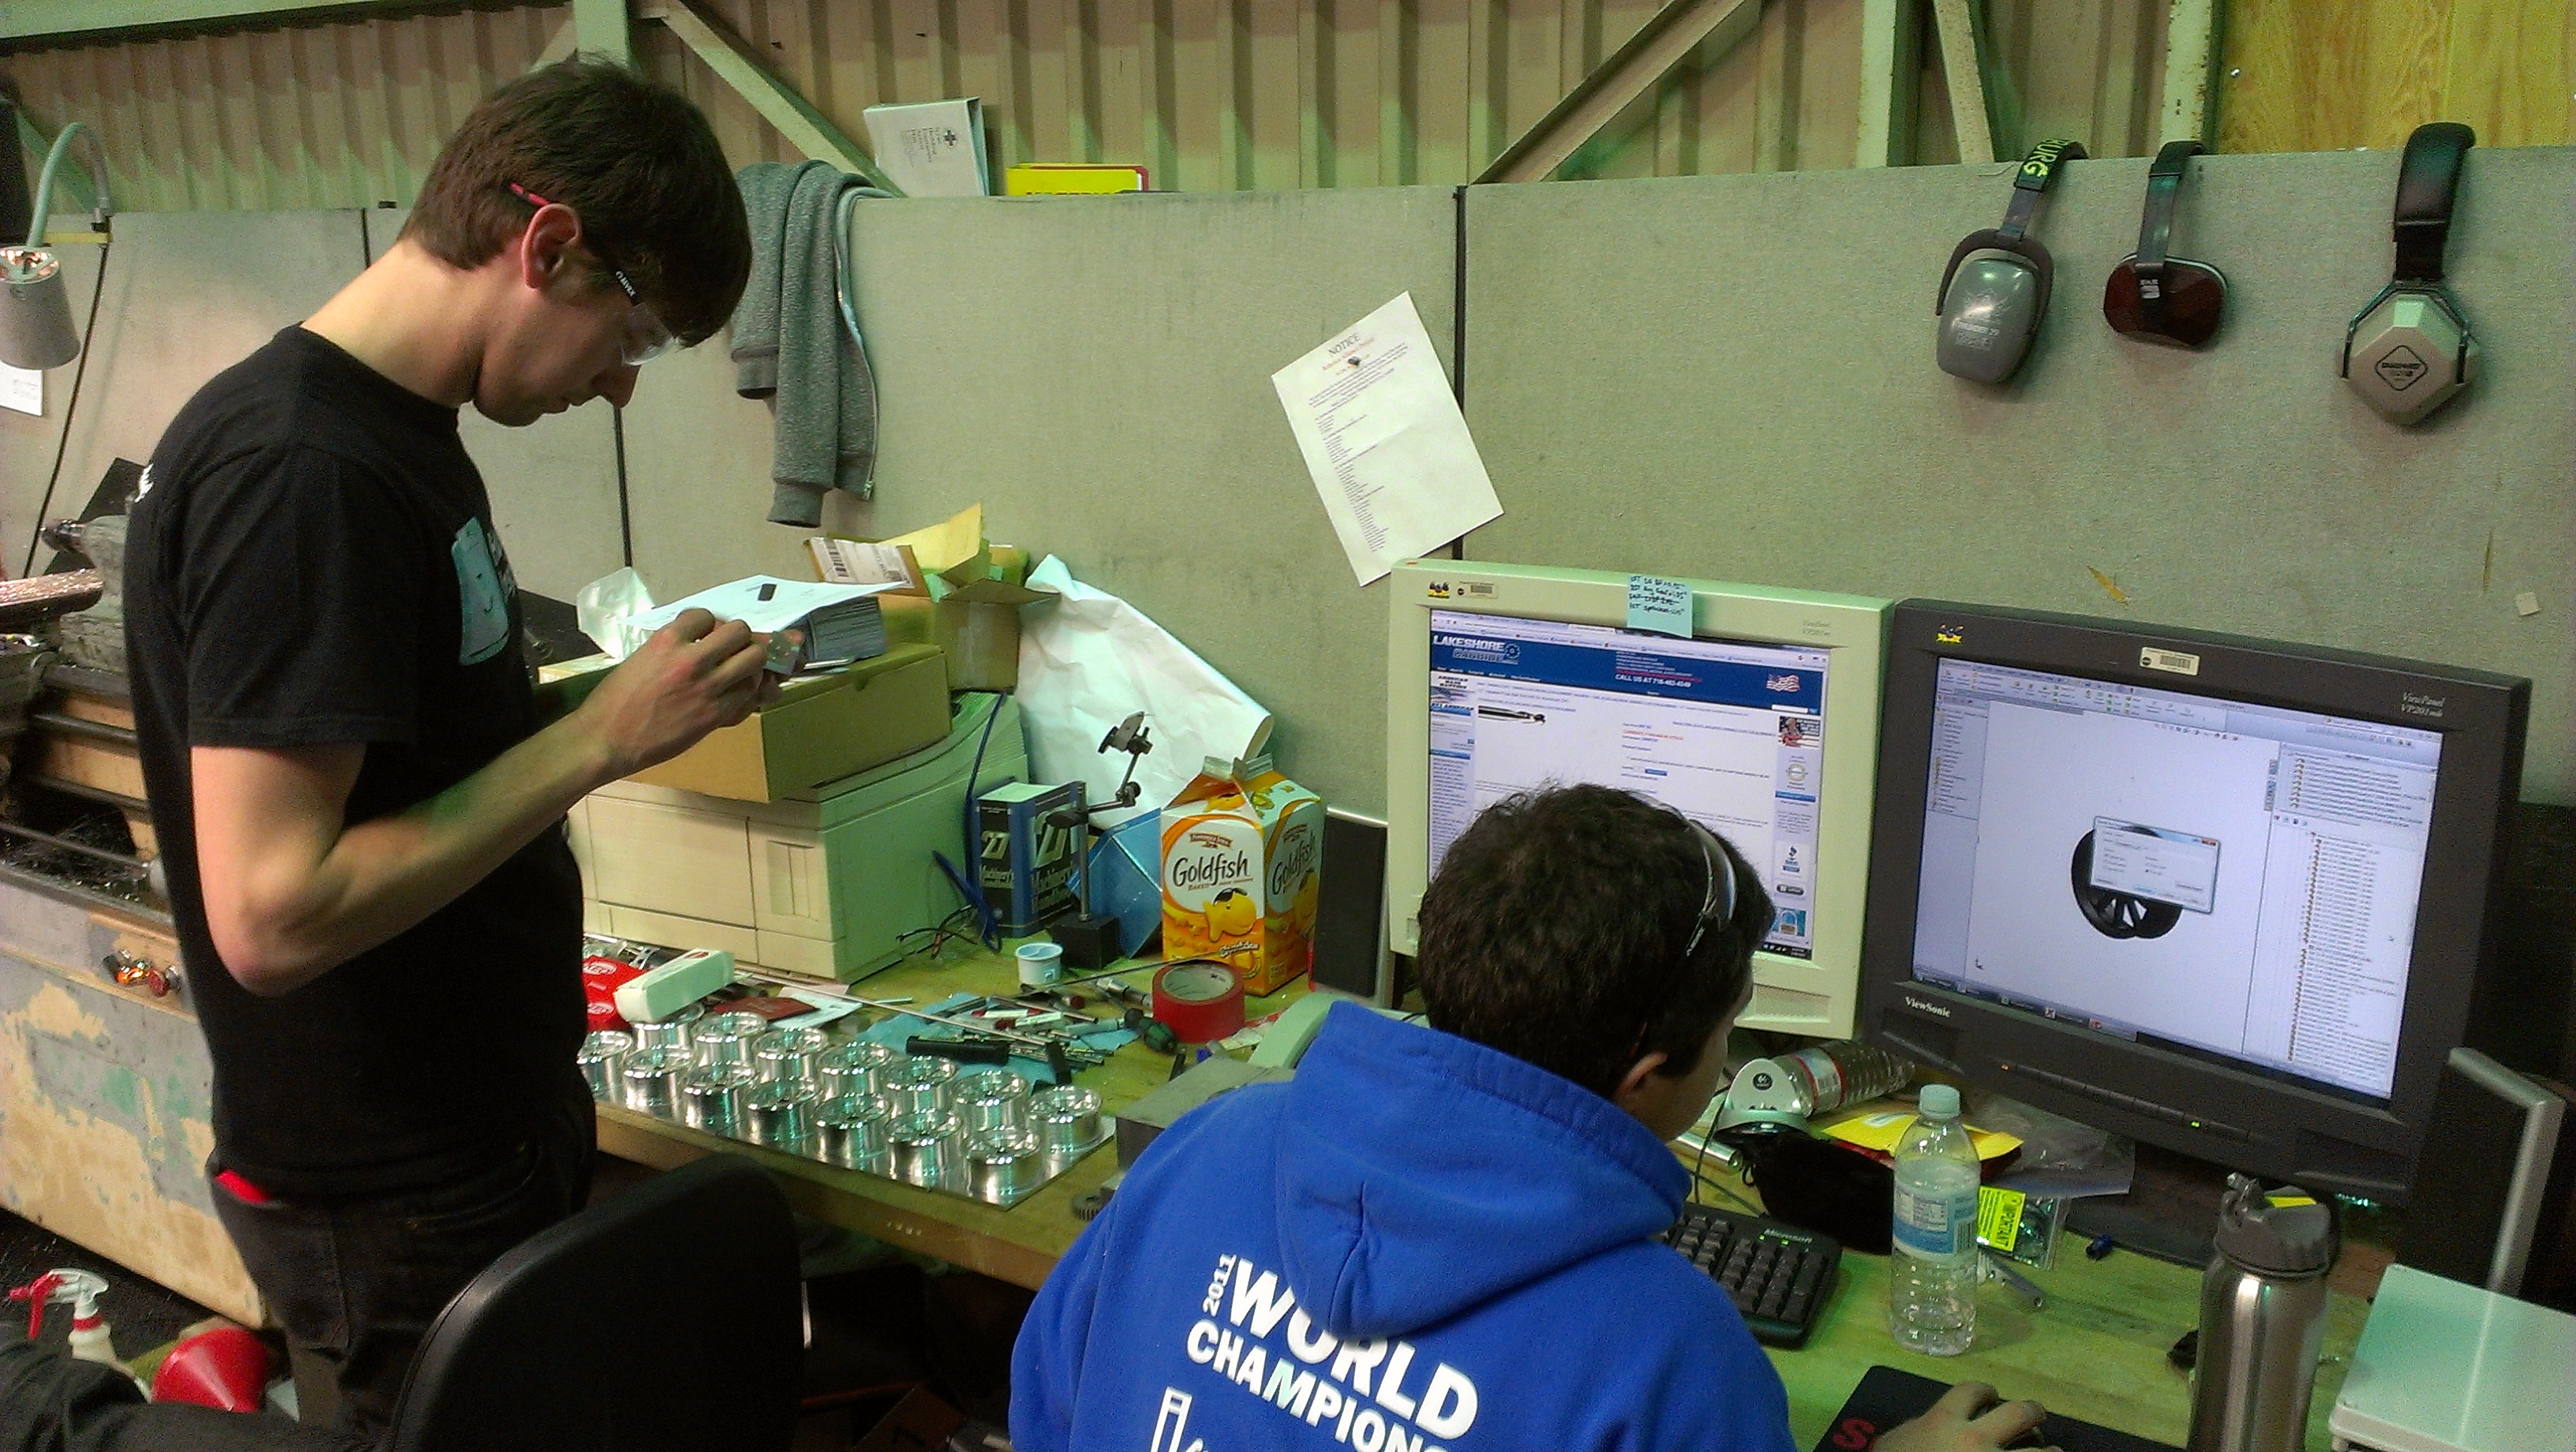
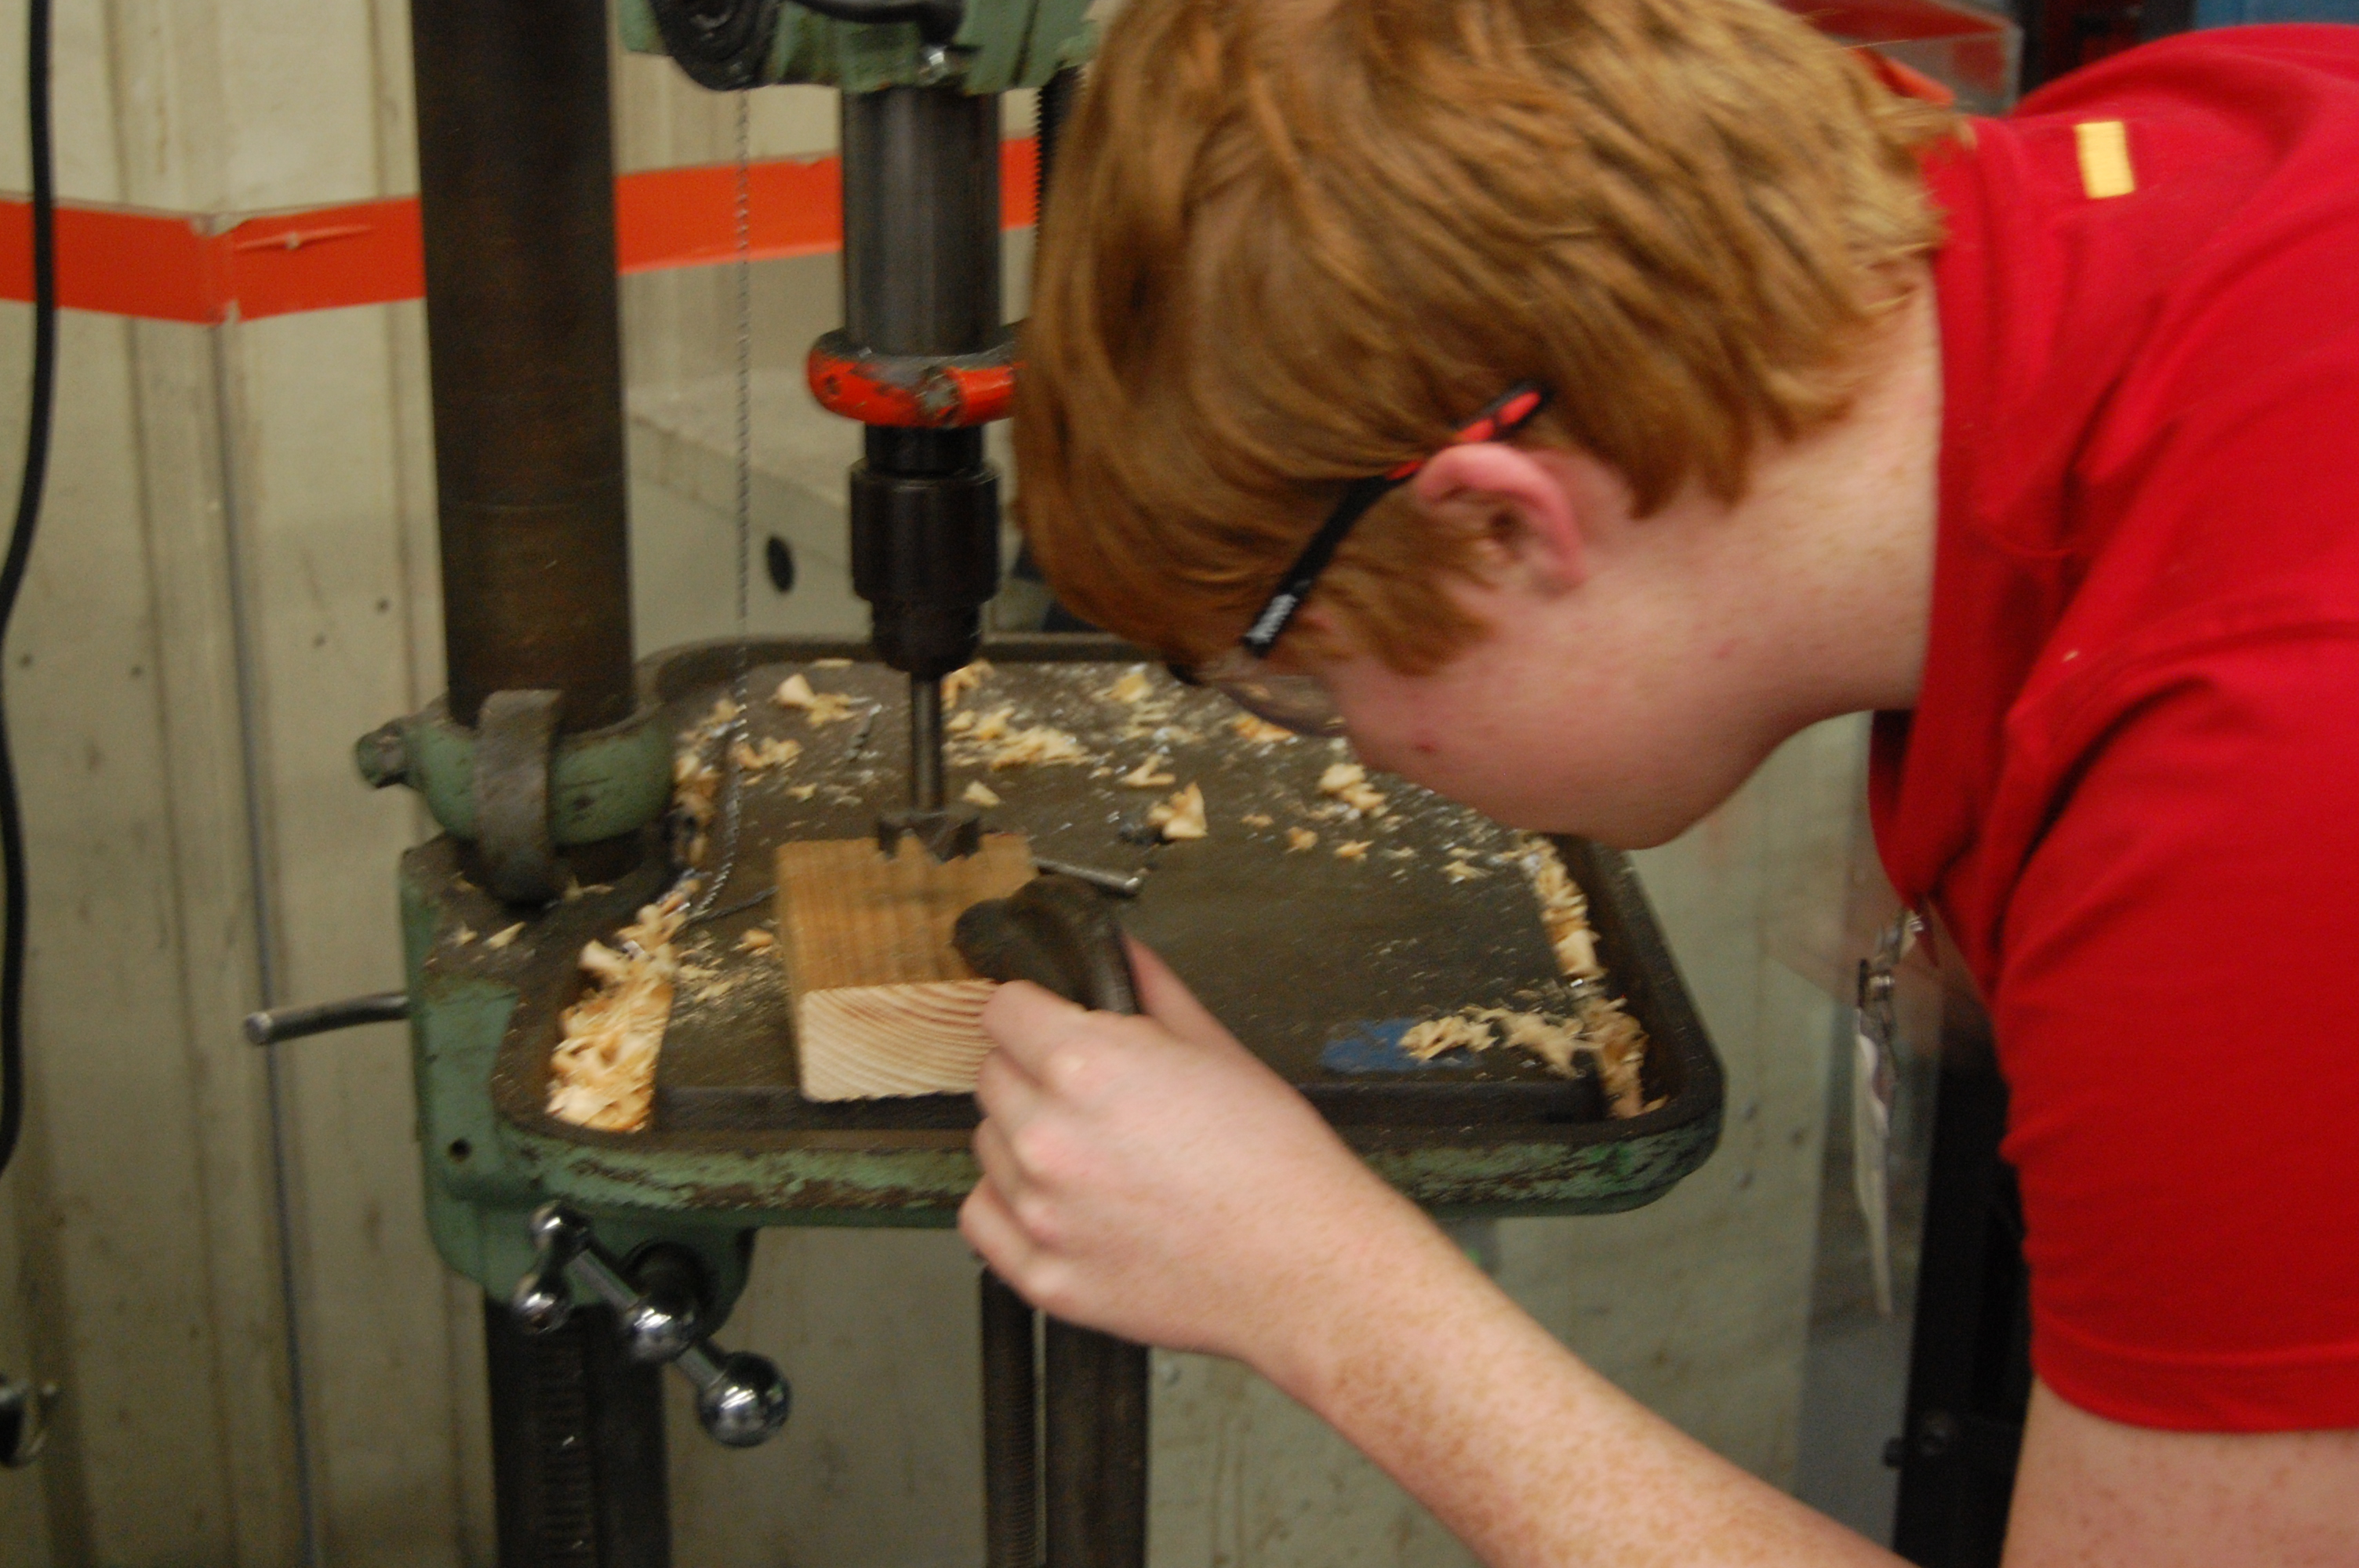
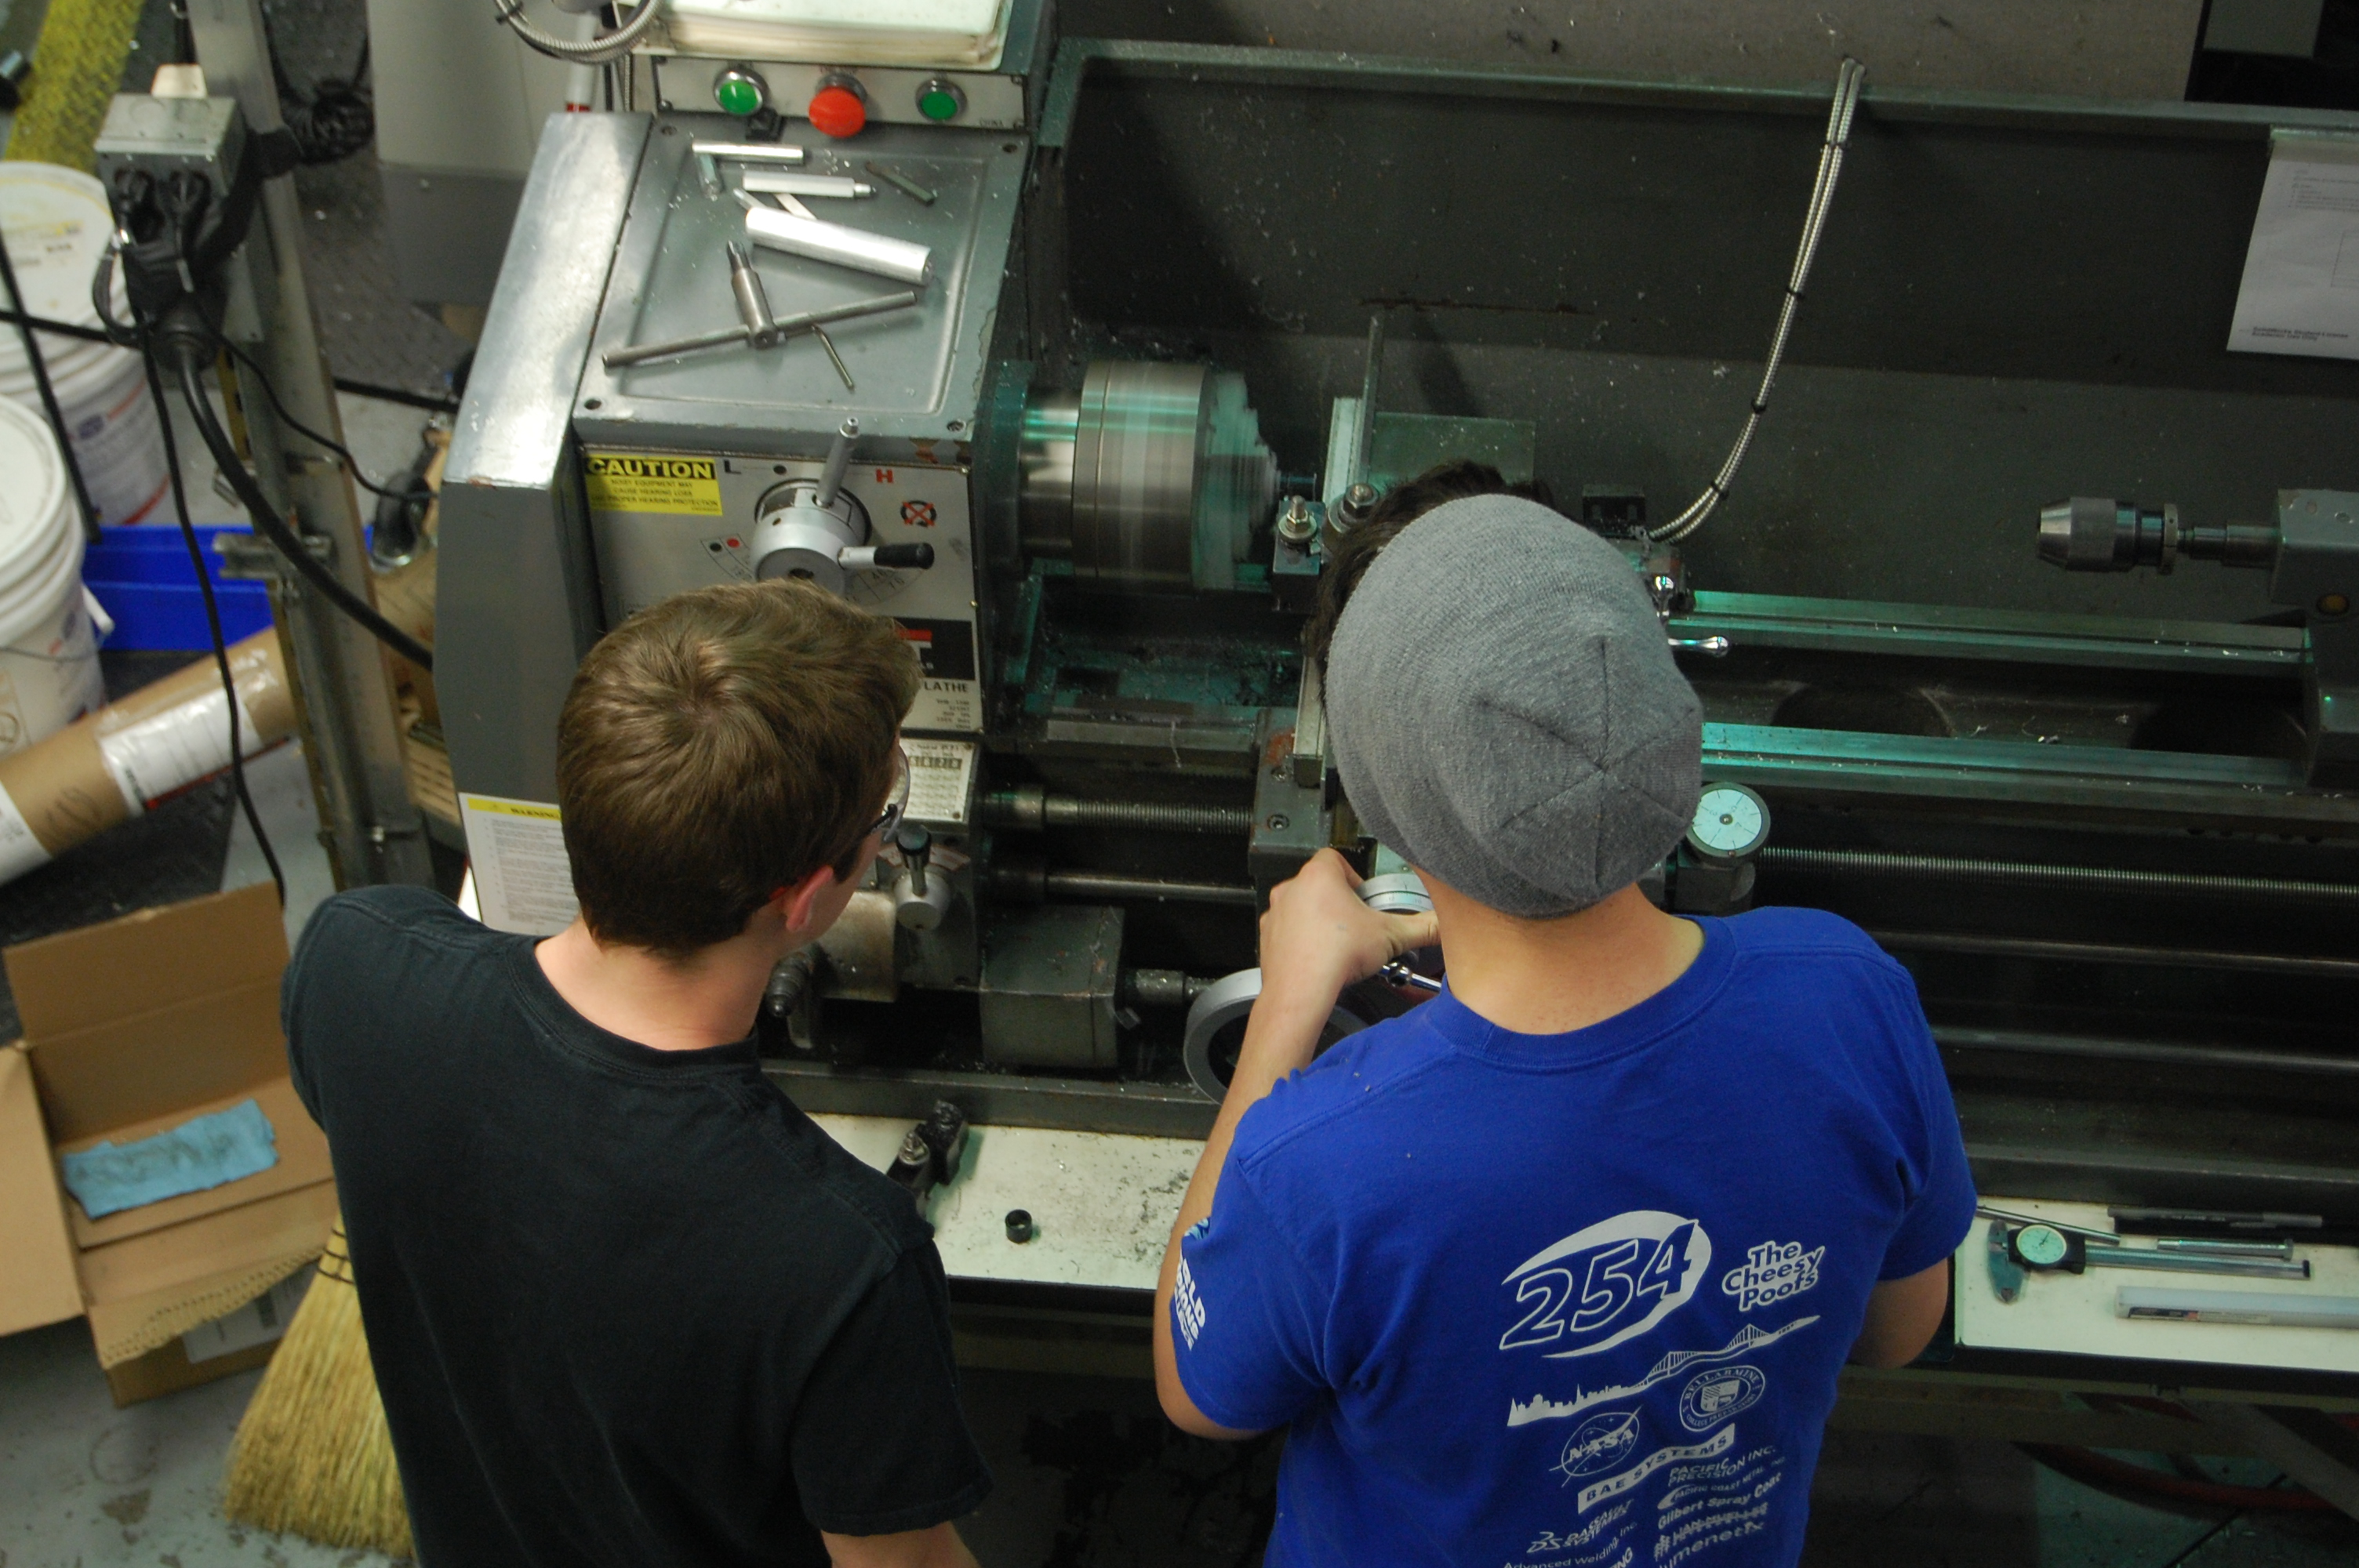
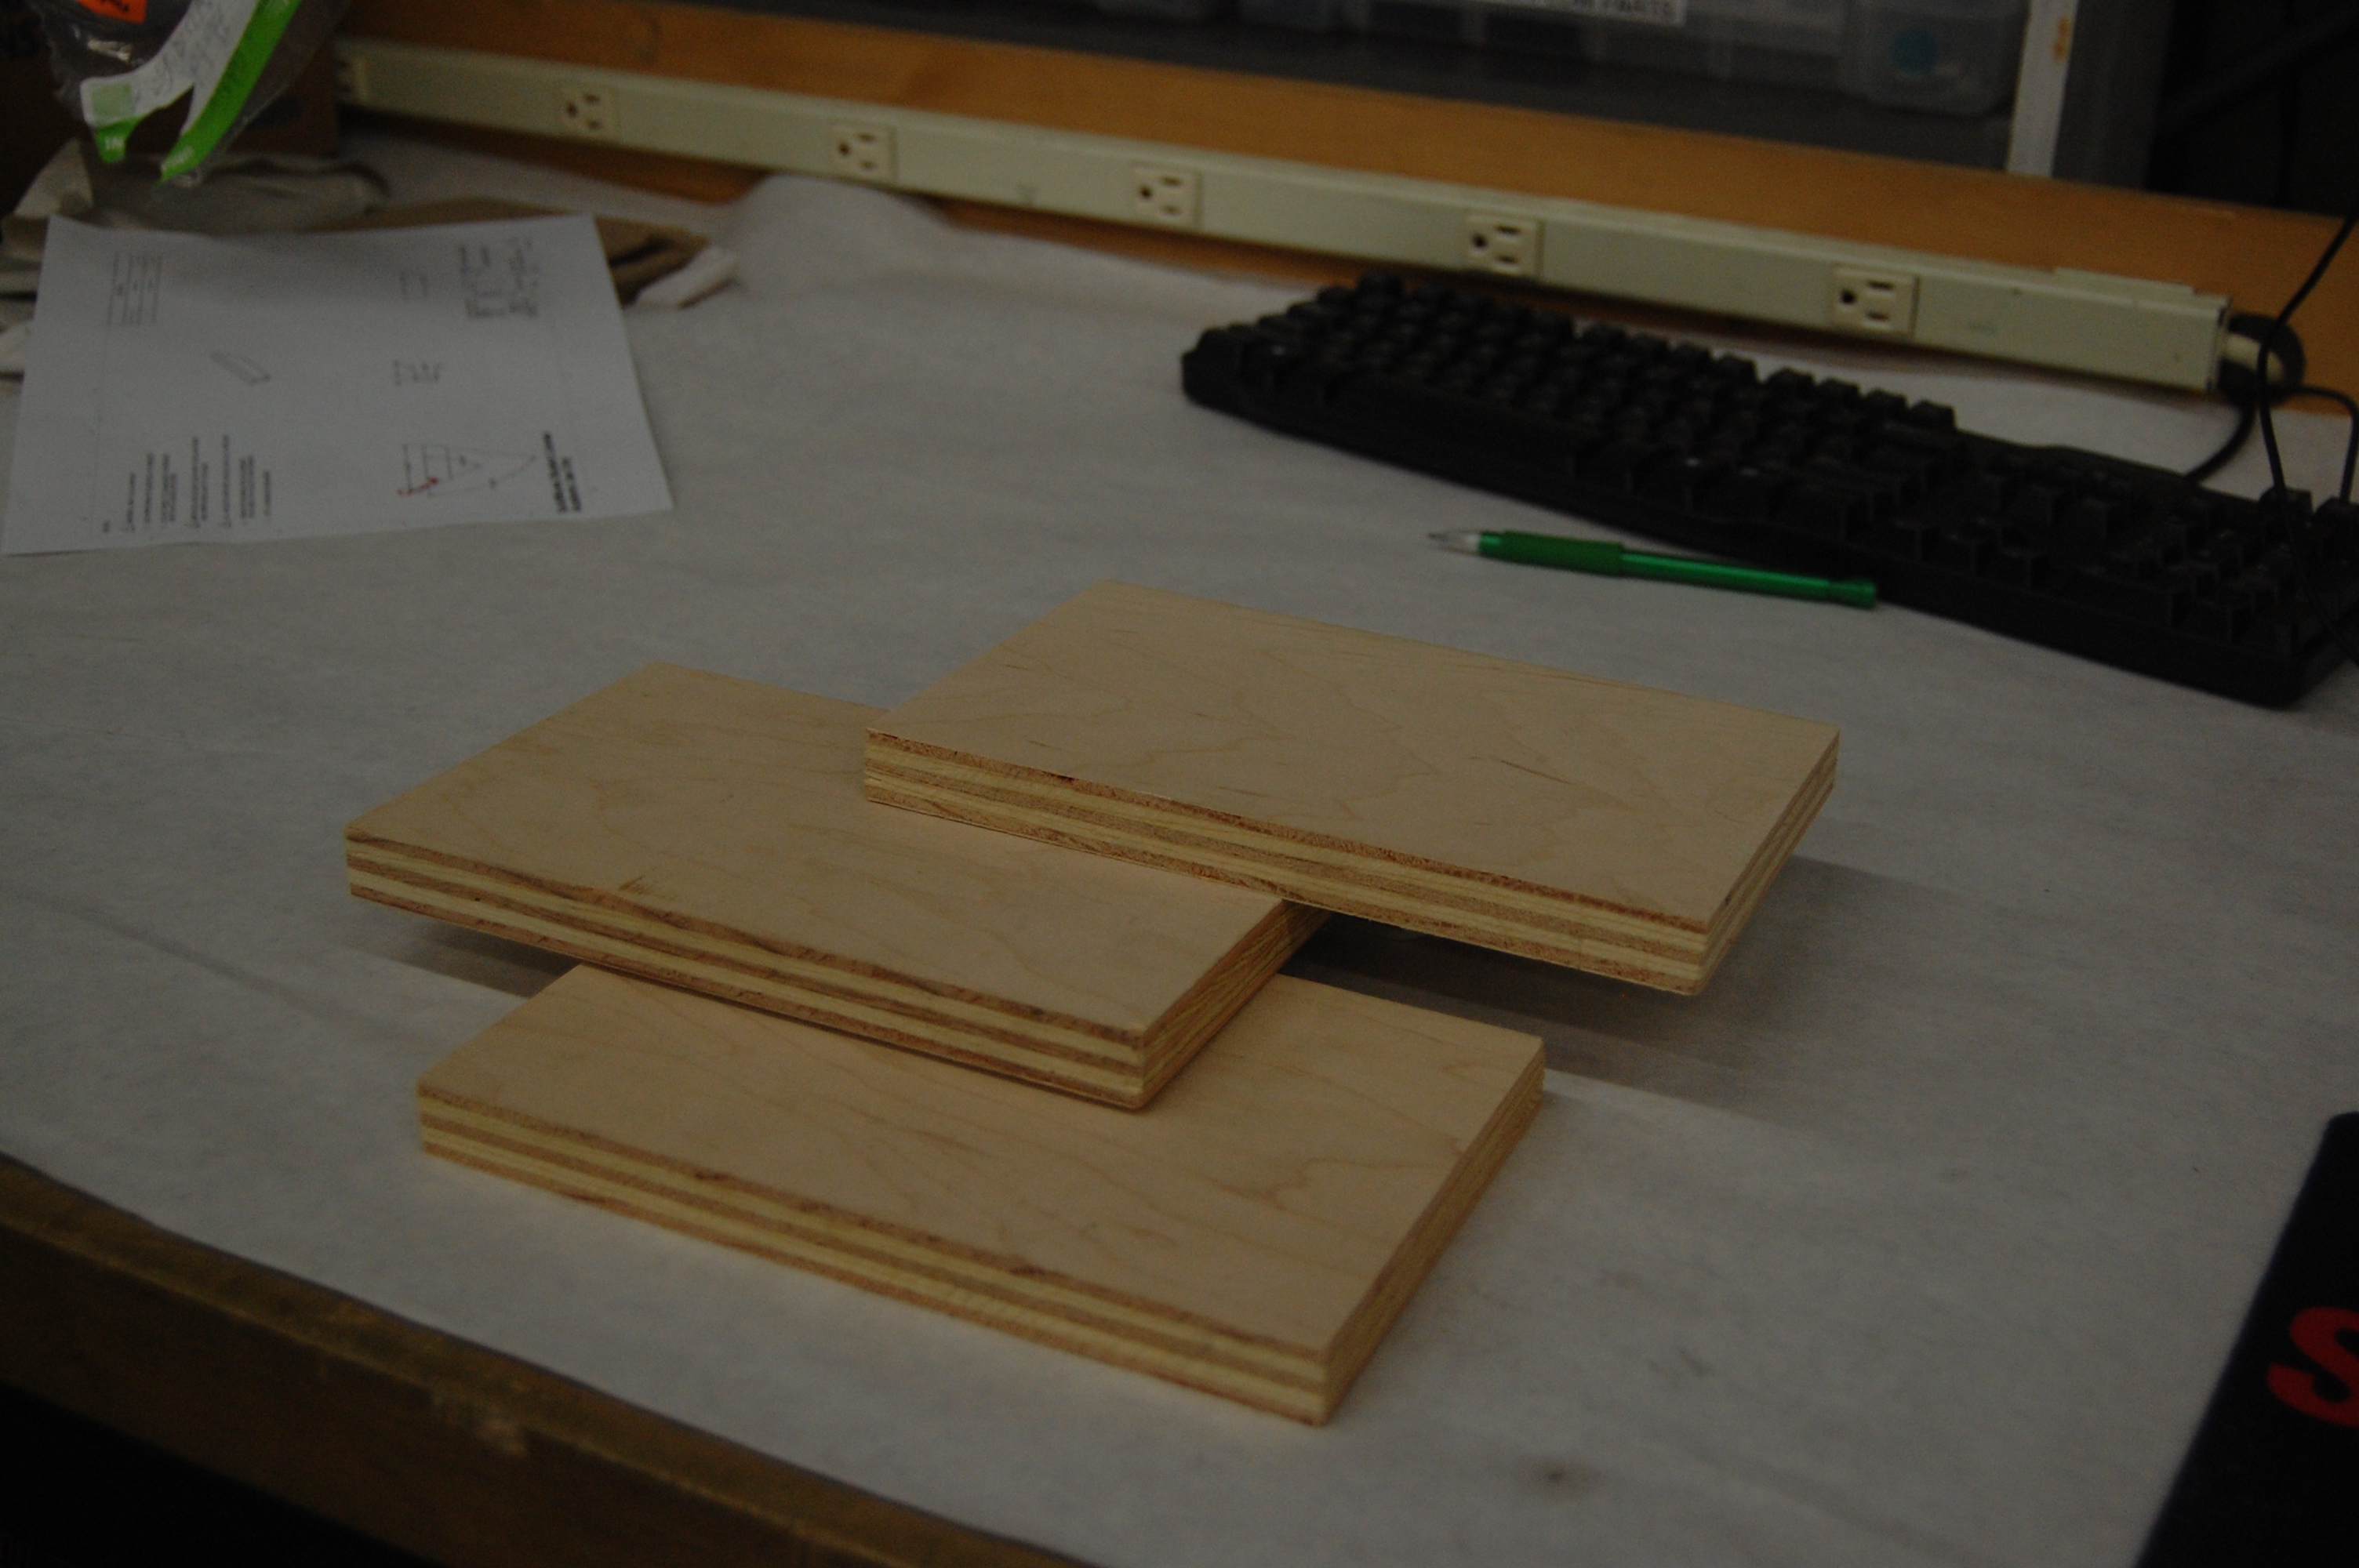
The robot wheels got partially machined today. They are currently still being worked on. Drivers practiced driving around and other students continued debugging the shooter. This was a result of the fact that the shooter kept jamming, because it would intake one frisbee on top of another. Some of the robot parts were turned on the lathe.
Programming
The programmers rewrote a fair amount of logic for the robot’s subsystems, specifically, the intake and the shooter. The shooter’s two S5 encoders were removed due to space constraints on the robot, so the shooter wheel speeds will operate on an open loop controller. Instead of the old shooter state controller logic, individual commands will call specific functions. In addition, the intake raising and lowering was given an open loop as well.
The programmers also continued working on autonomous mode functions. Below is video of a five-frisbee autonomous sequence.
Competition Prep
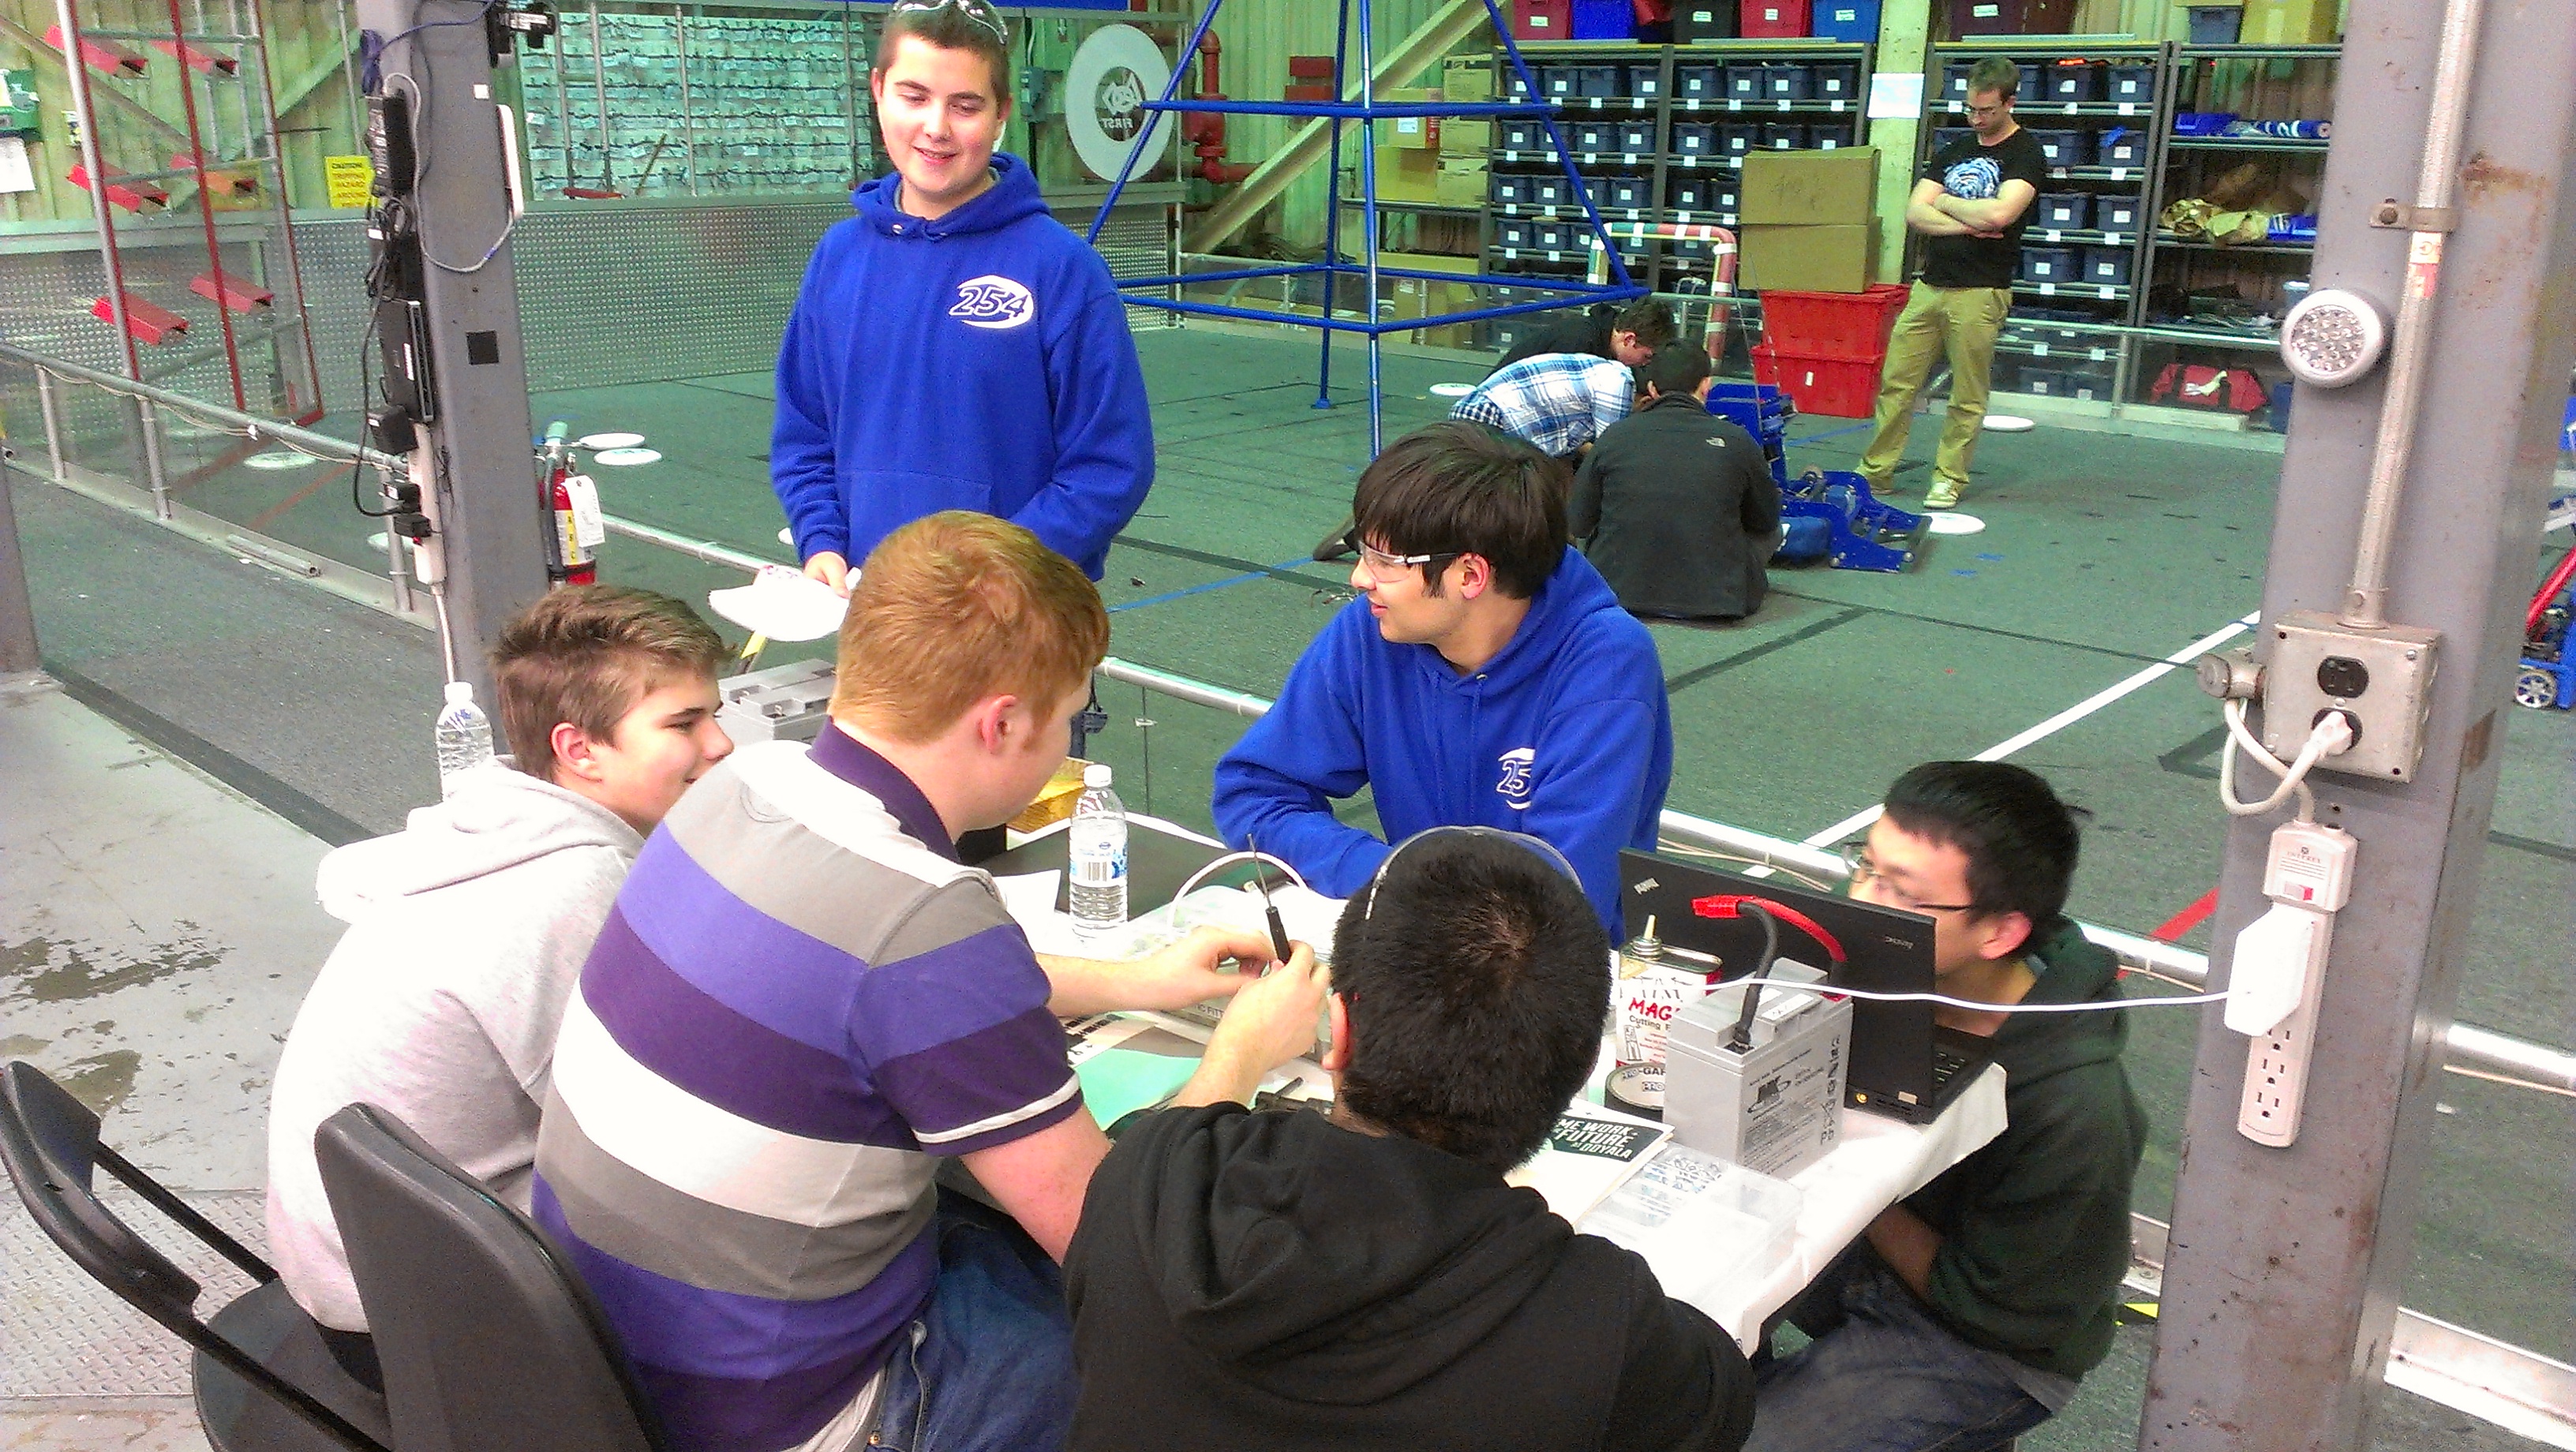
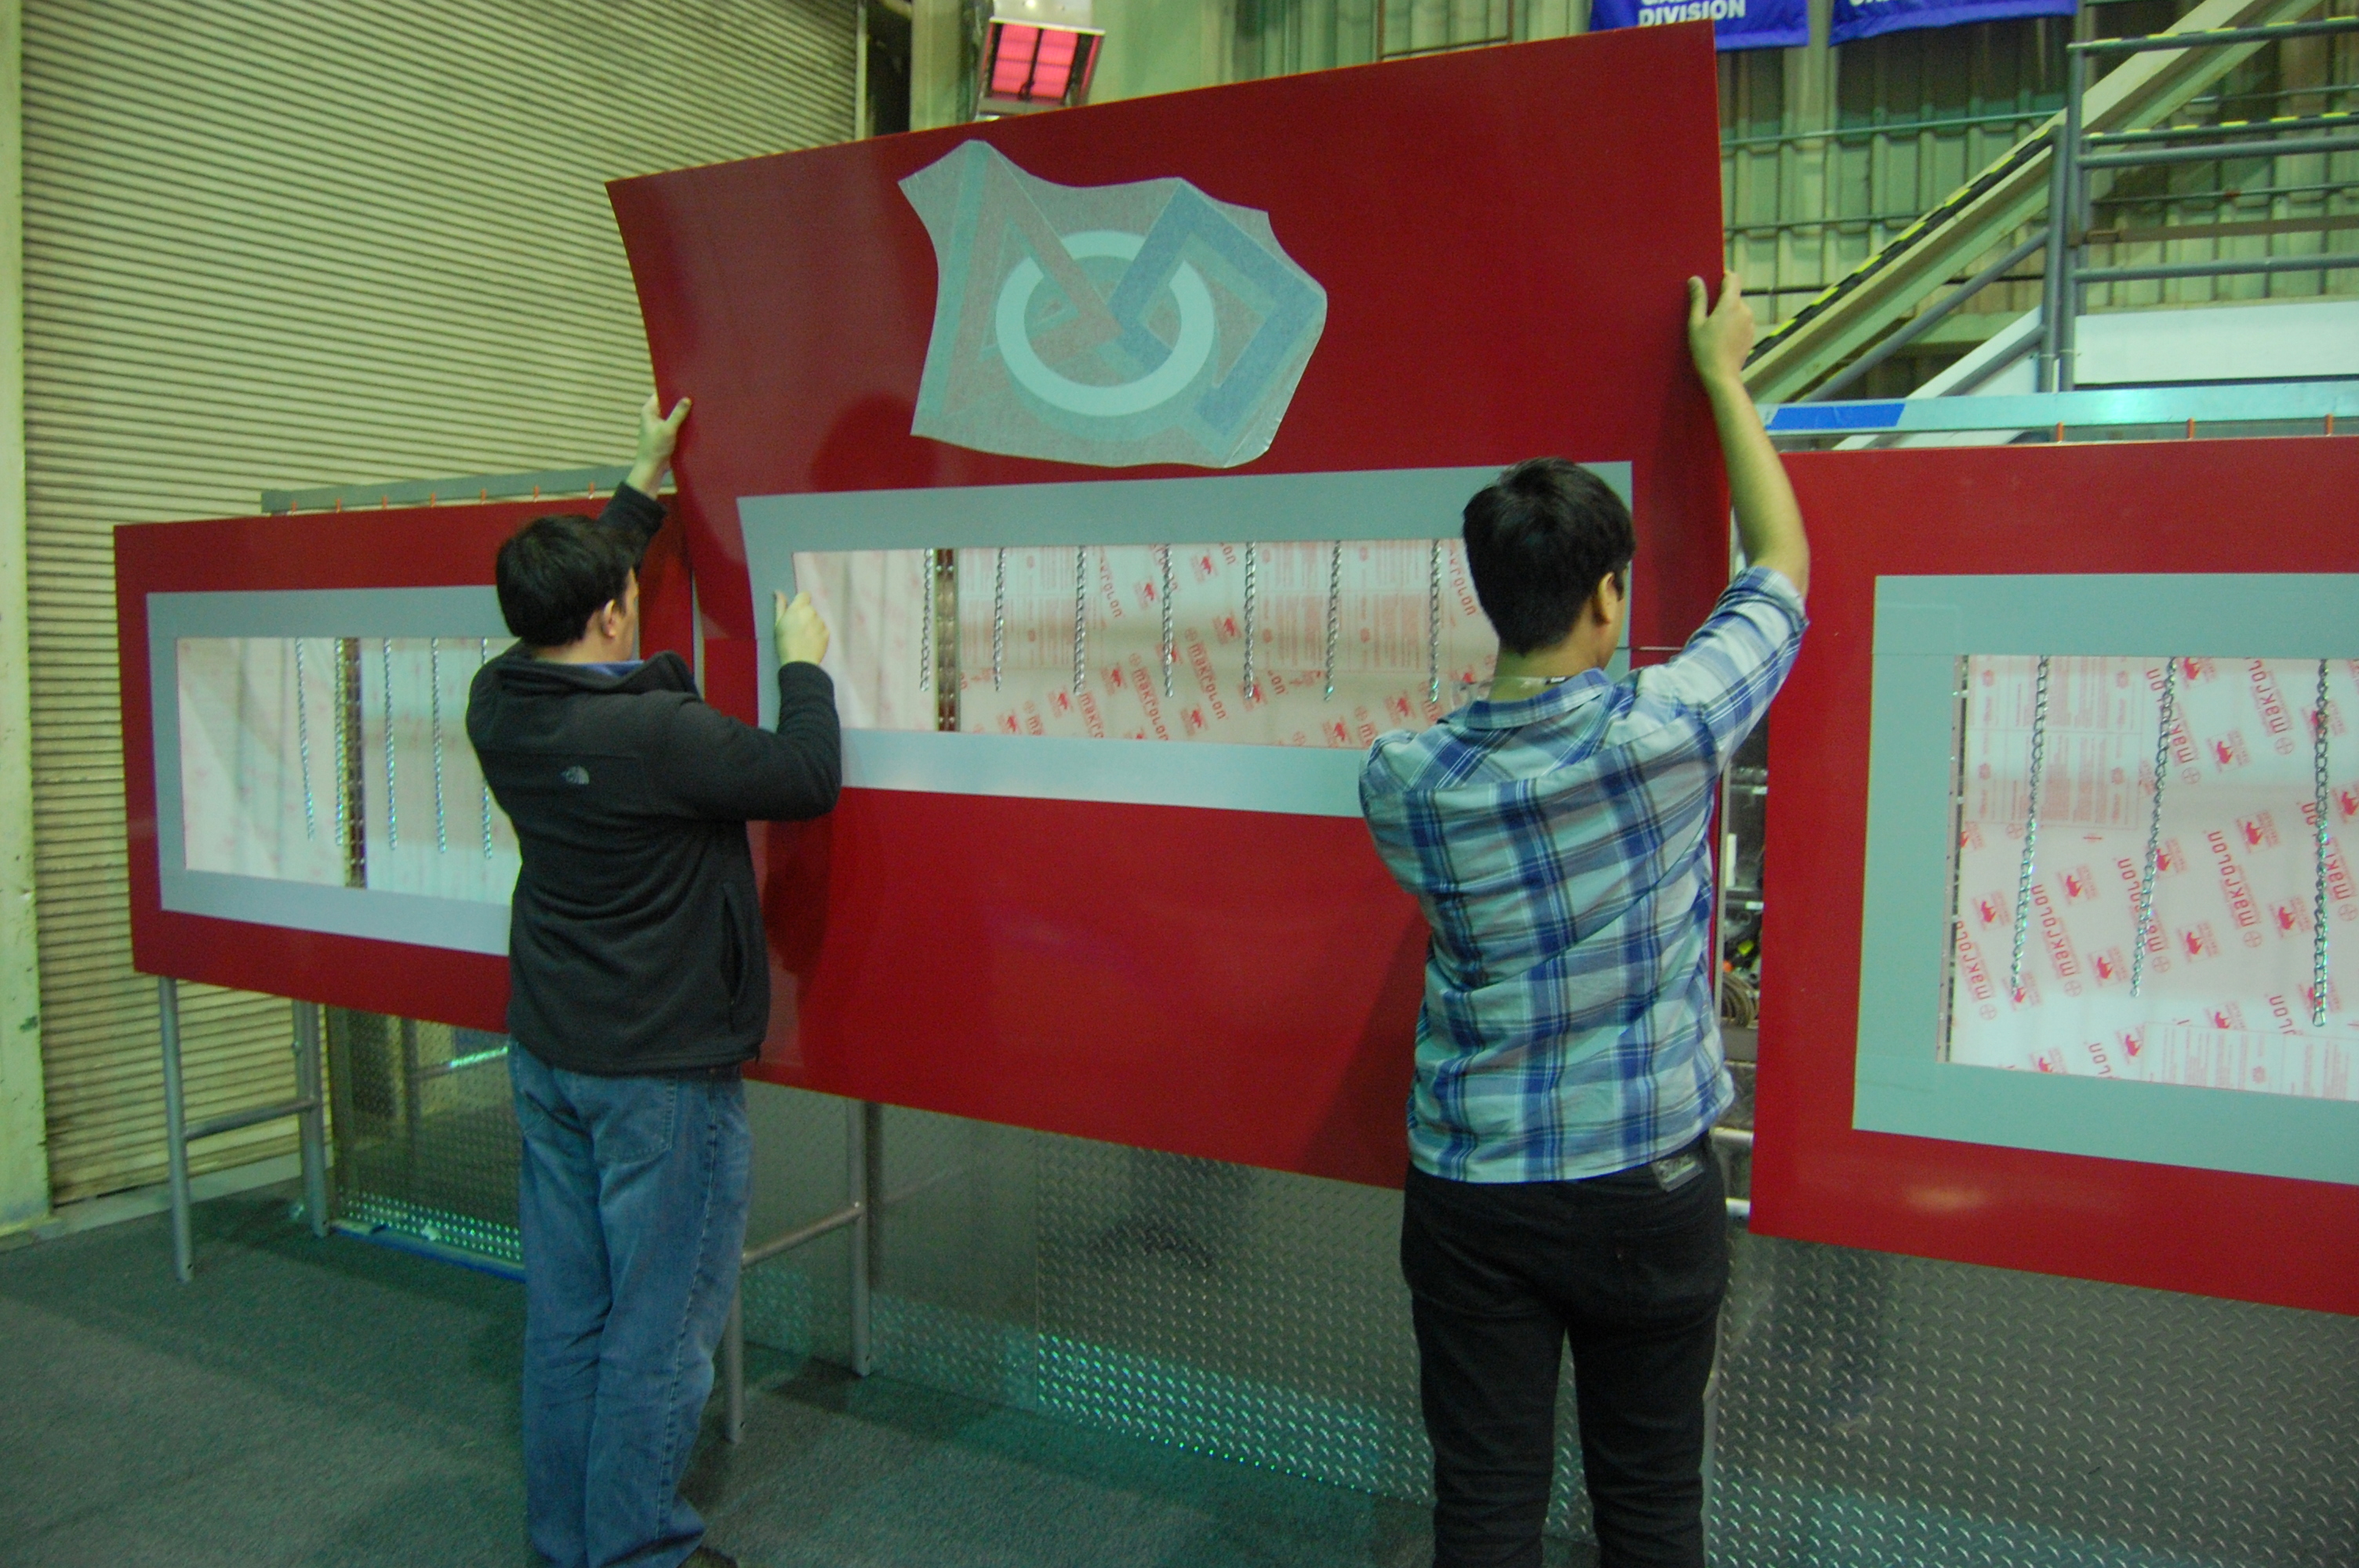
The competition tool chest was inventoried and organized, so that we will be ready to take it to San Diego next week. One of the robot stands was also completed, the other is still in progress, and will likely be finished tonight.
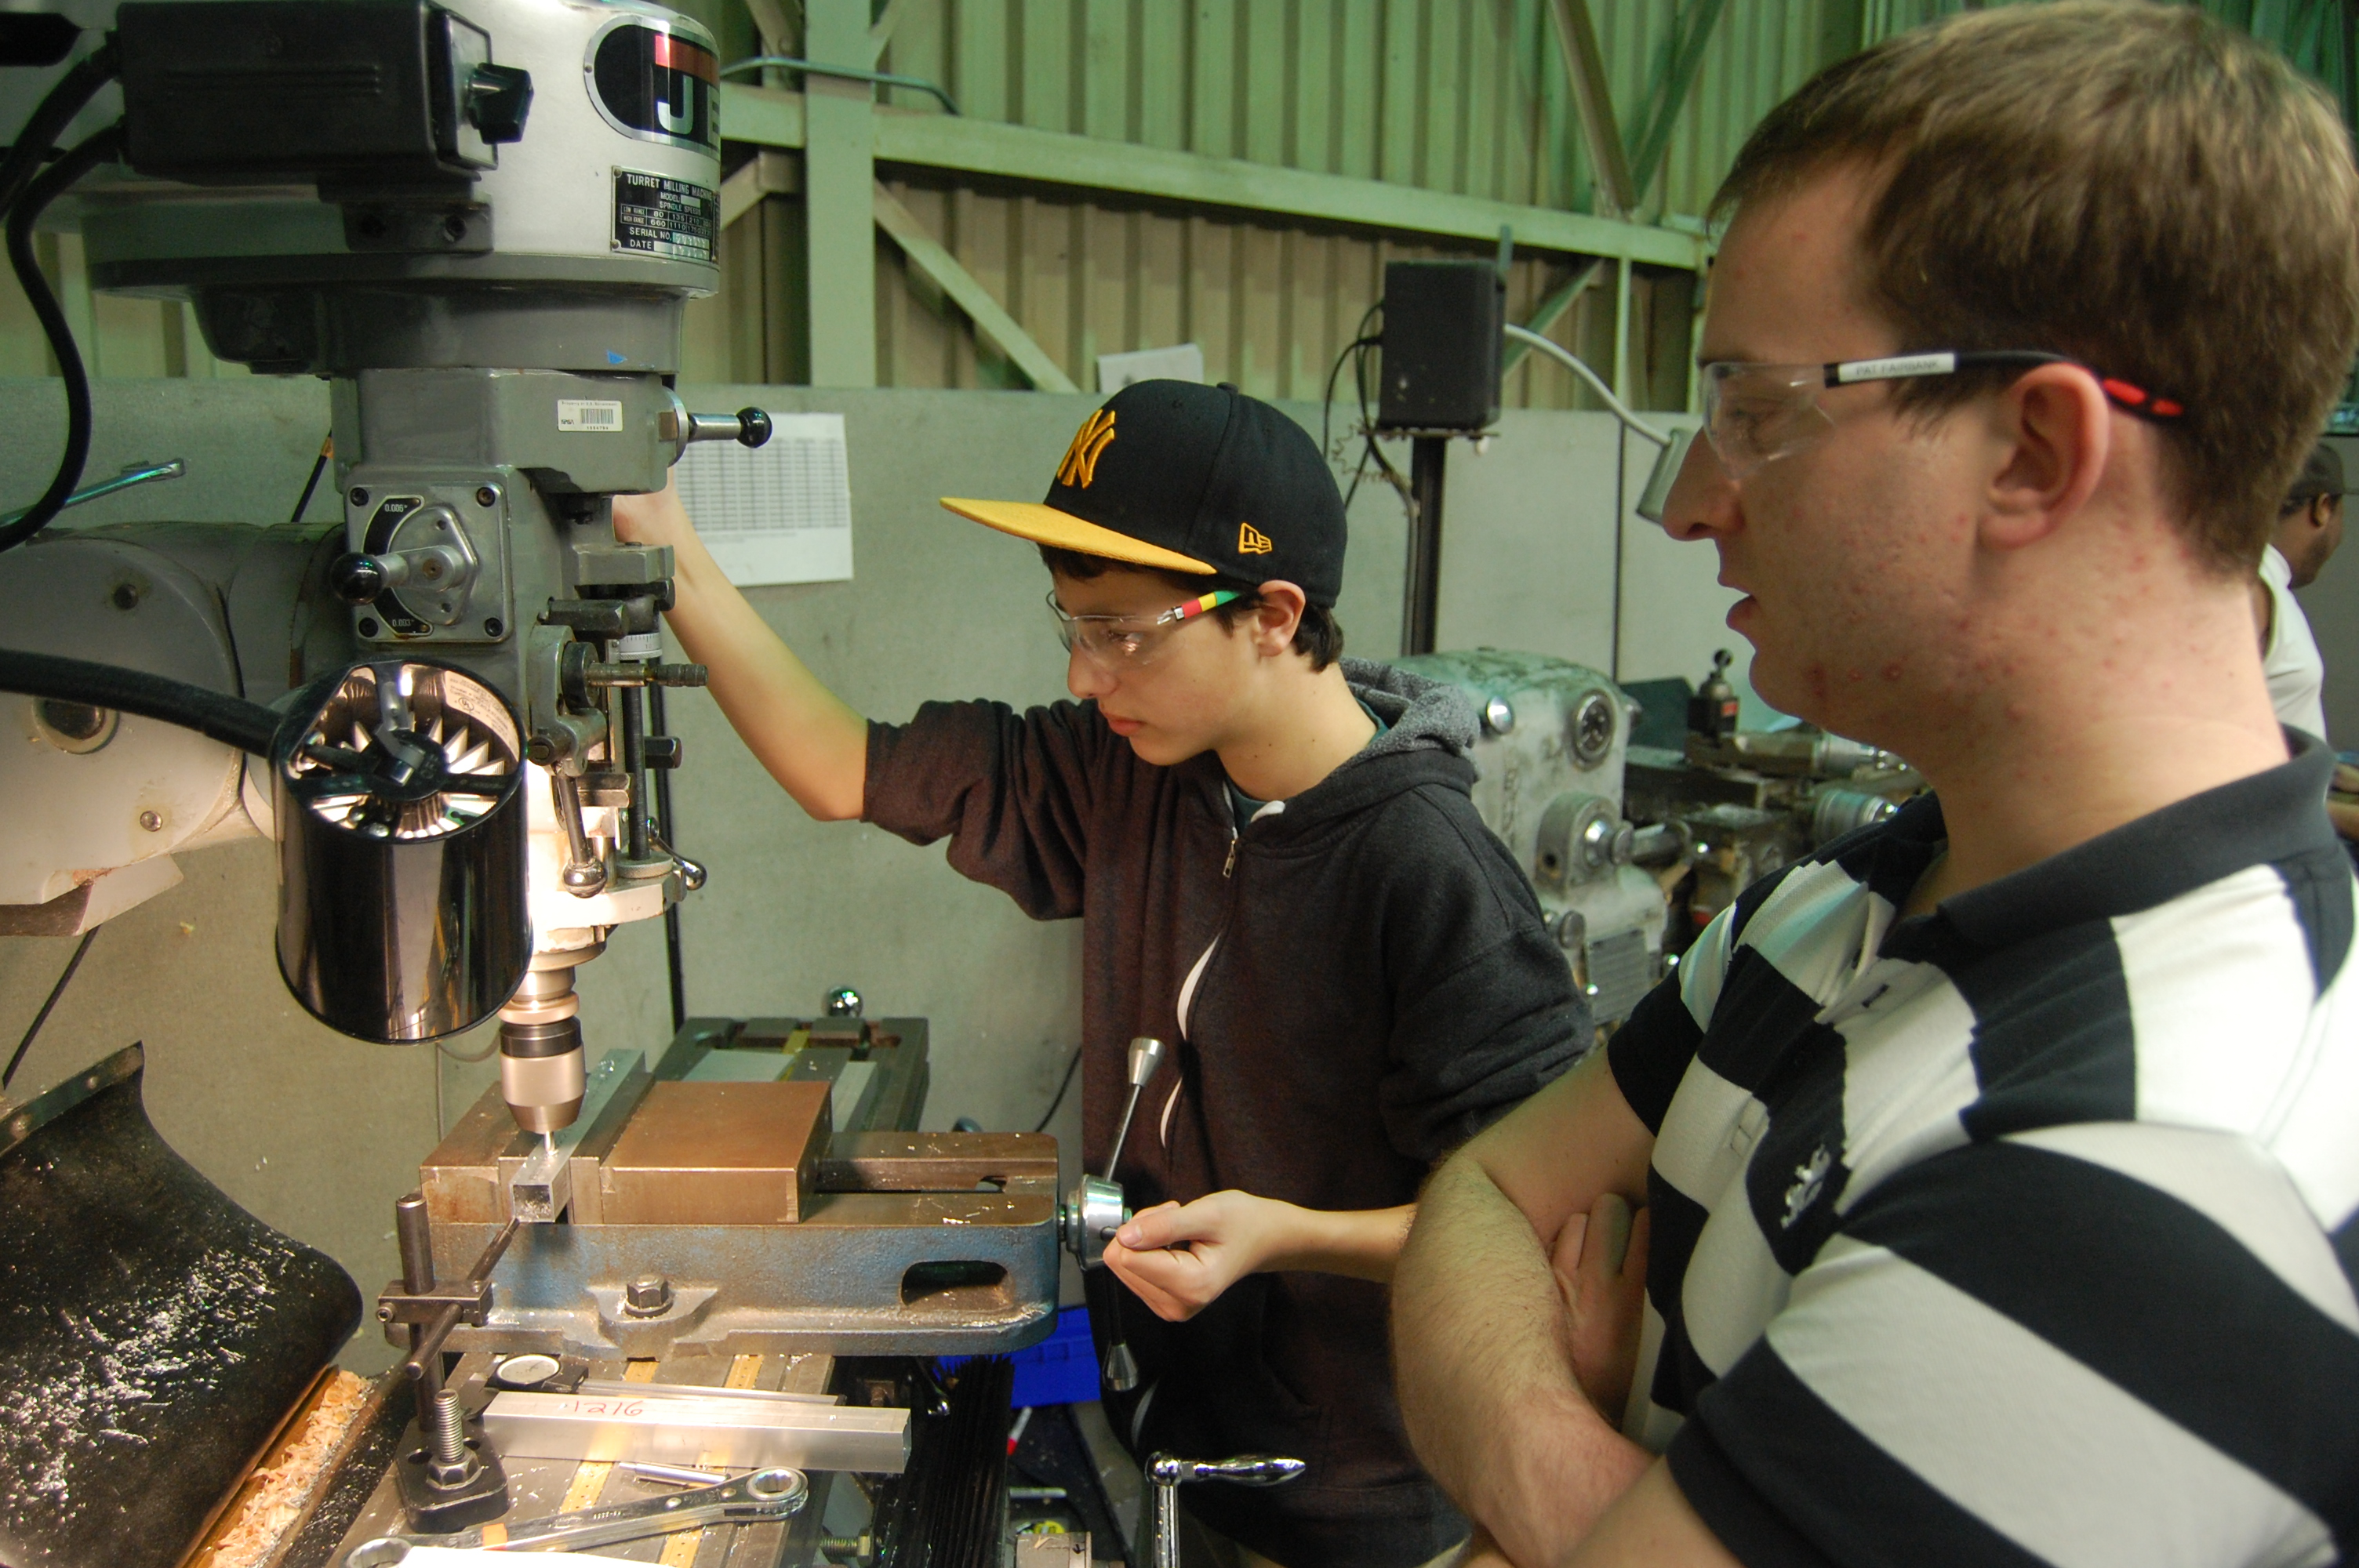
Driver Practice and Machining
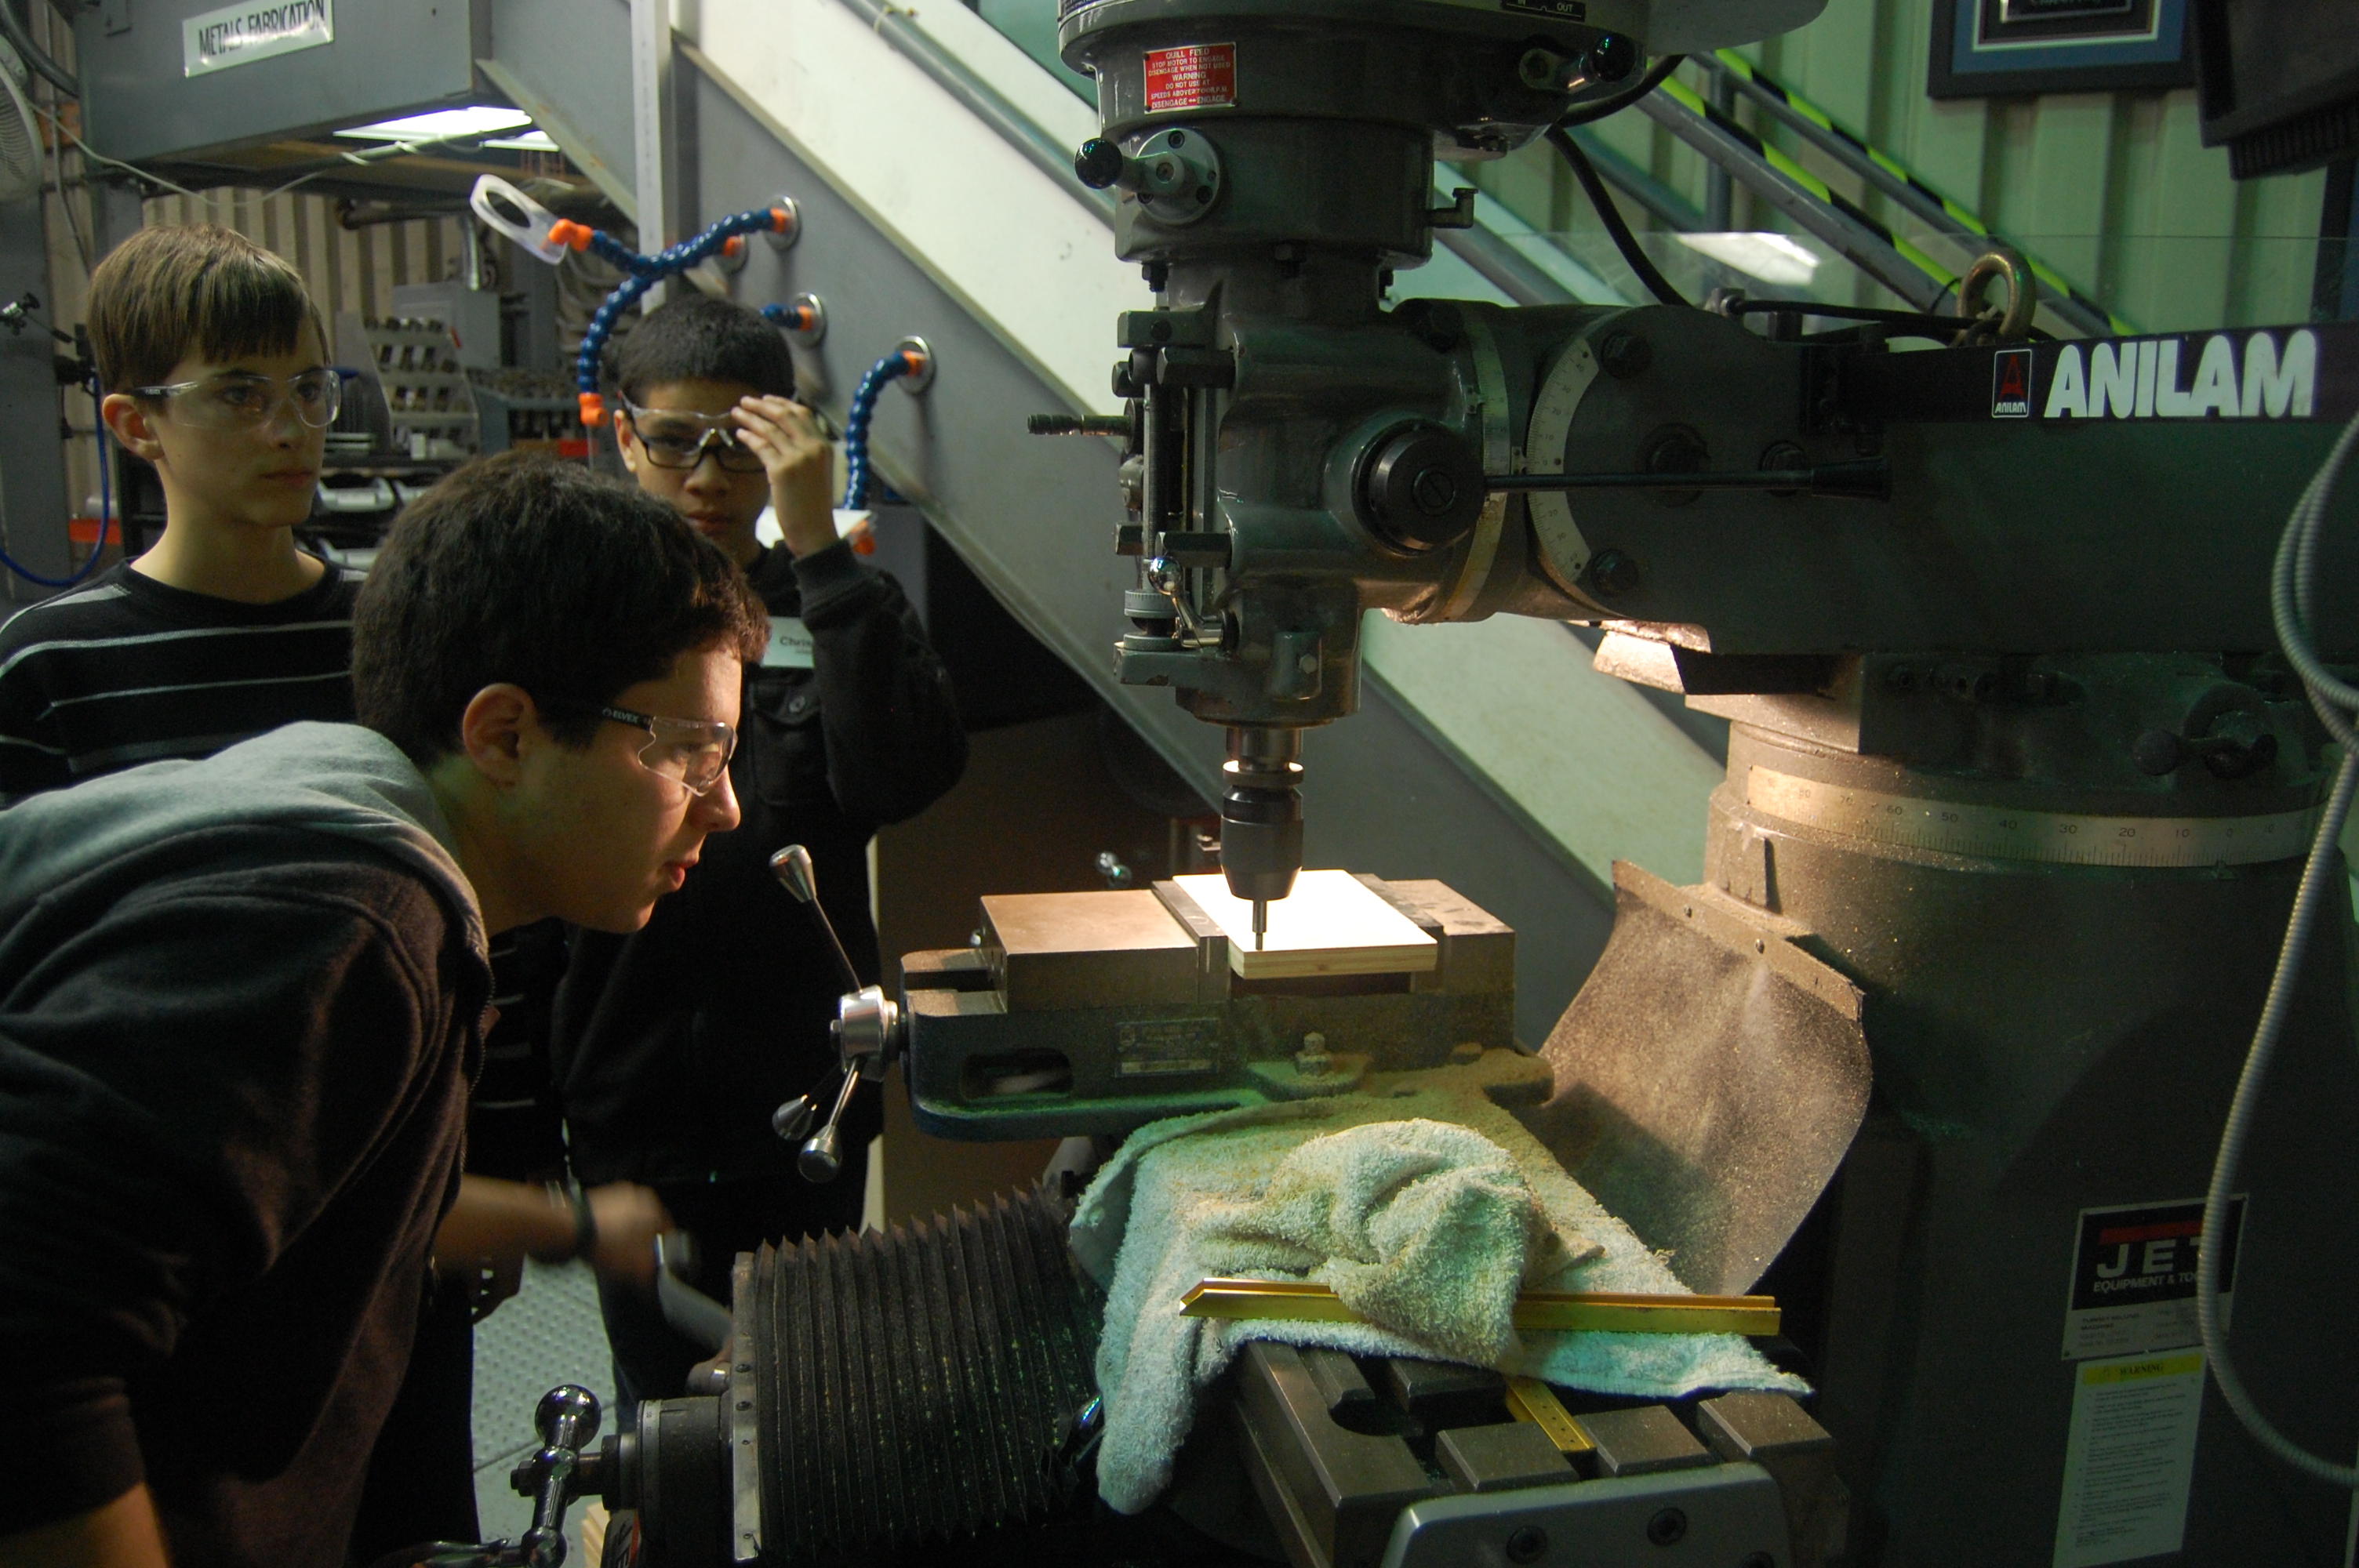
Machining
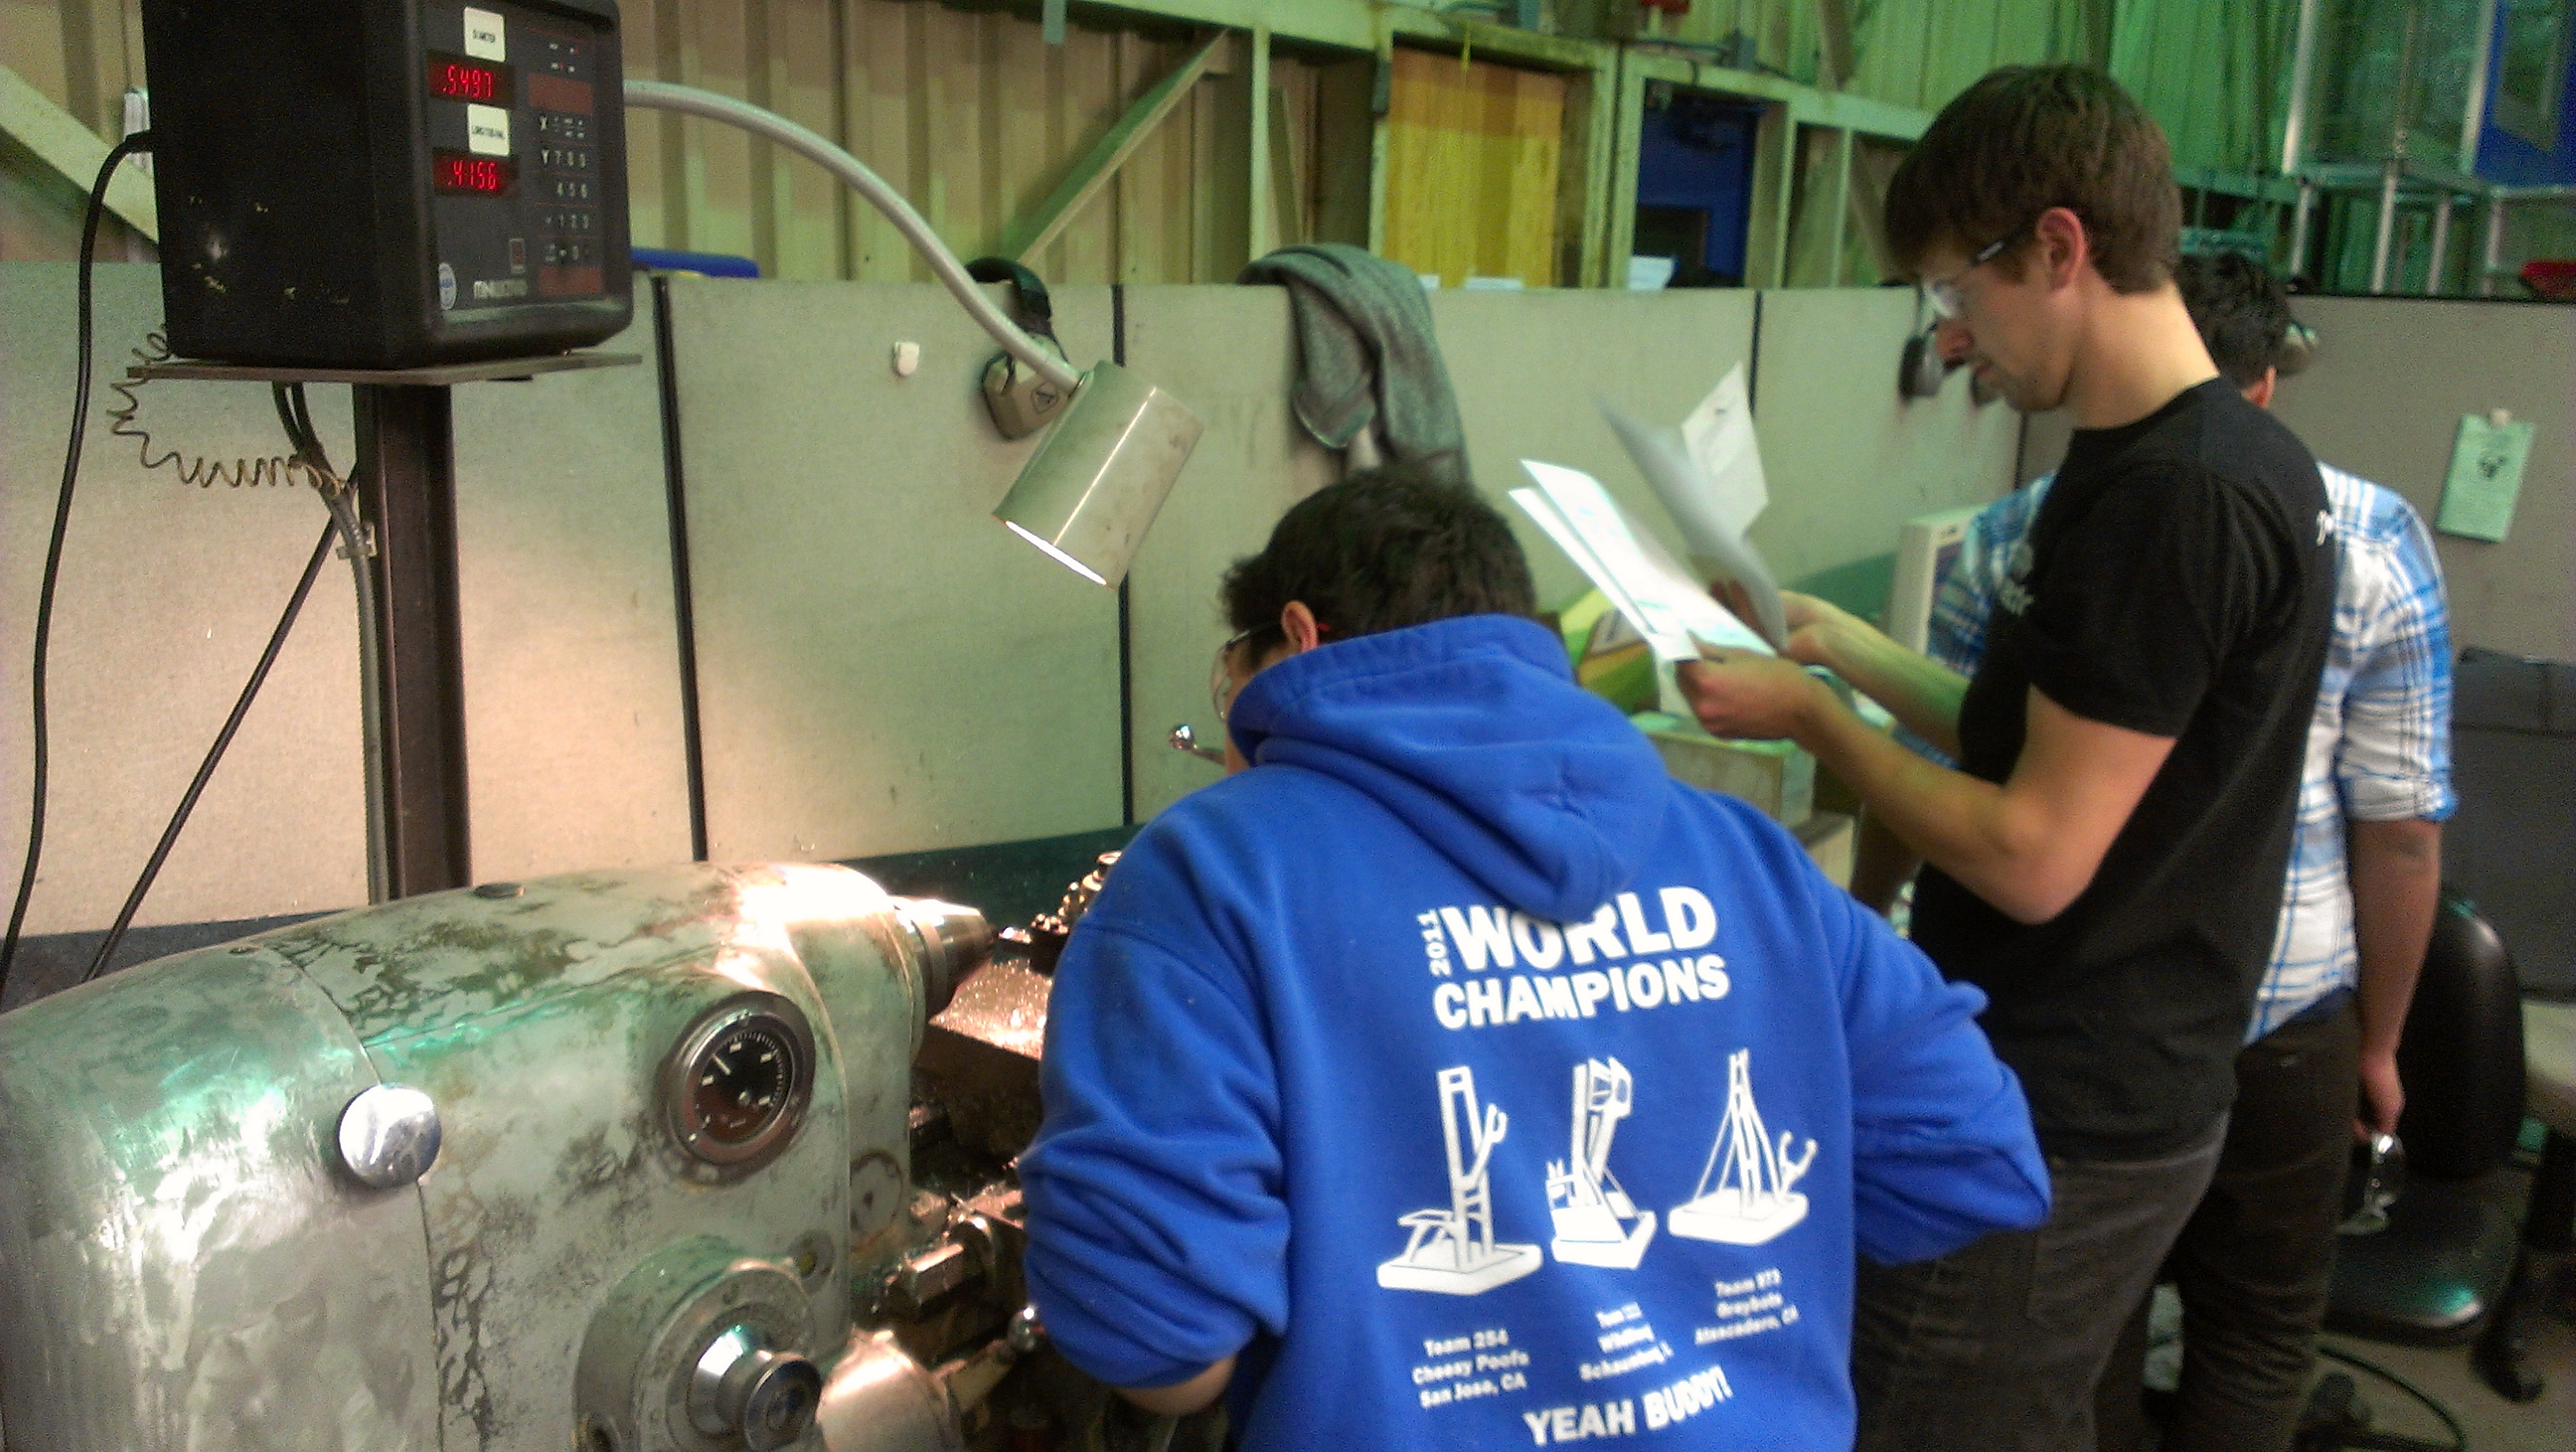
Students worked on manufacturing the official robot stands. They used the metal pieces from the previous robot stand, but cut those pieces to length using the horizontal bandsaw. They also drilled new holes into the metal with the mill.
Meanwhile, Cory created wheels on the CNC.
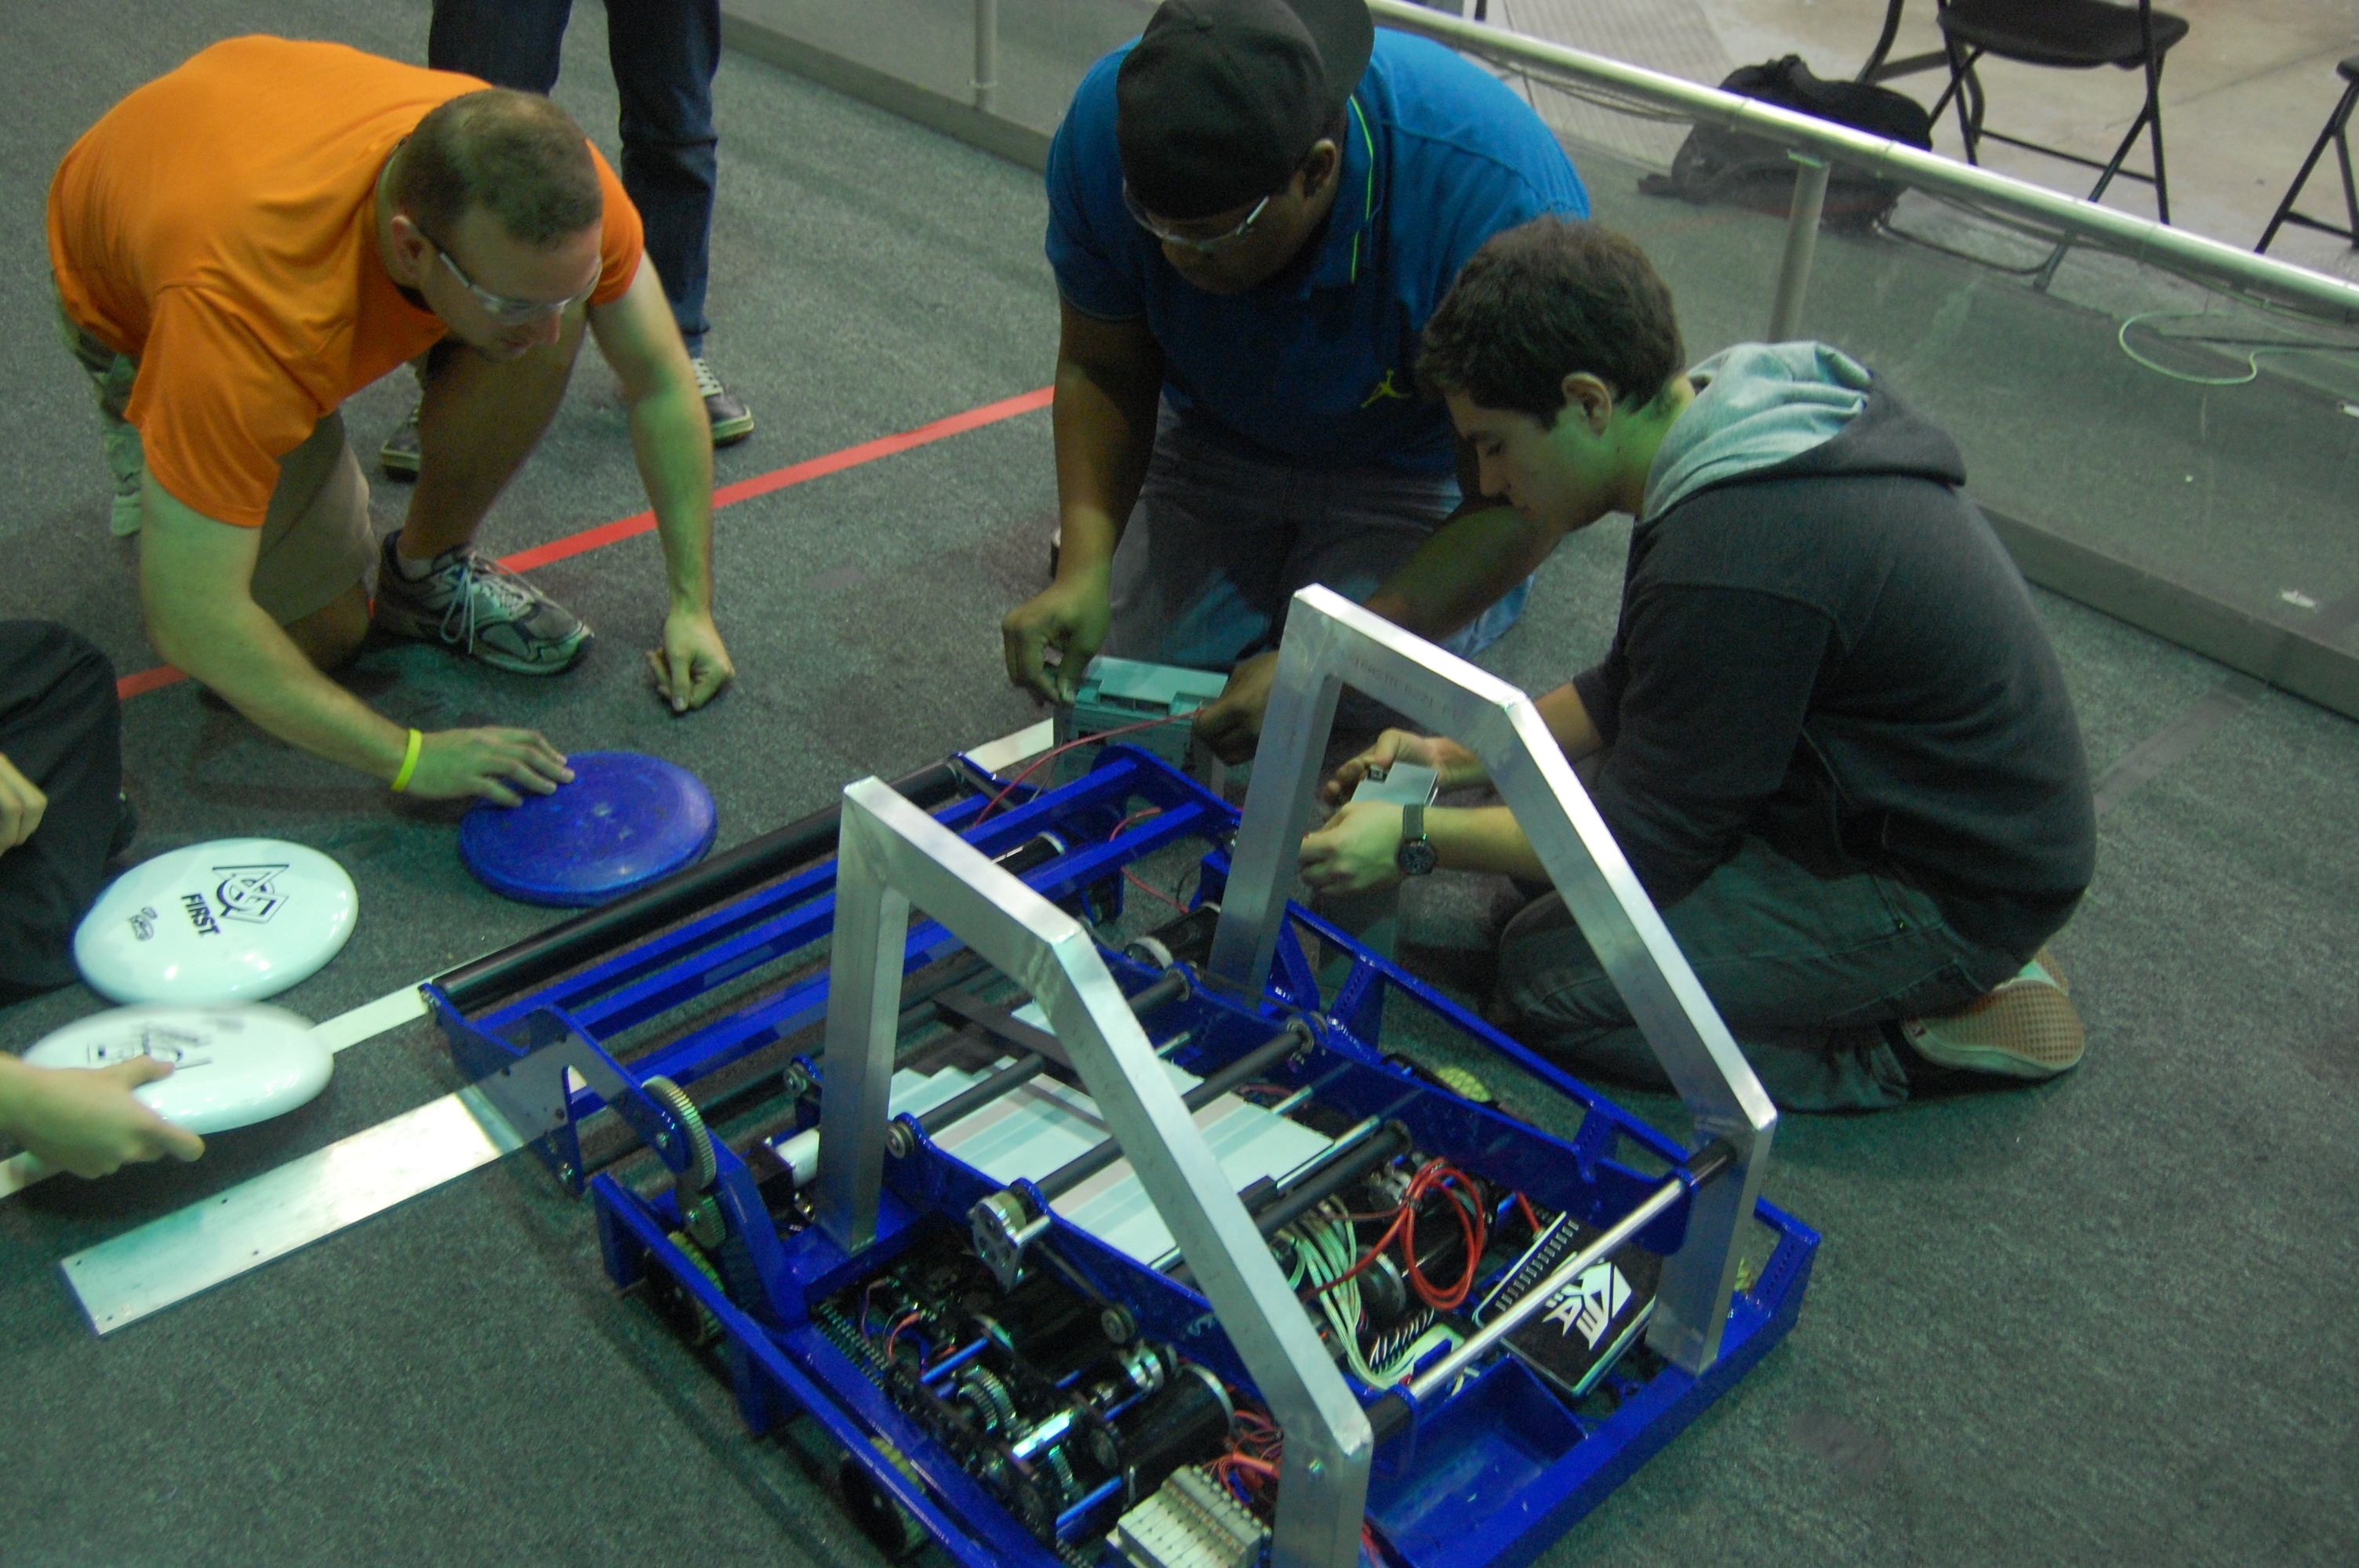
Driver Practice
Abhi and Chris (this year’s primary driver and operator) had a bit of practice time today. They drove around the field, picked up frisbees, indexed them into the shooter, and shot them. Currently, there is still an issue with multiple frisbees stacking in the back of the conveyor, even with the horizonal cross bar.
Robot Updates
The team attempted to replace the conveyor CIM motor with a VEXpro planetary gearbox (4:1) to reduce the robot’s overall weight. However, during extensive driver practice, the gearbox started emitting smoke. Students promptly removed the planetary gearbox and replaced it back with the CIM motor.
Elsewhere, the robot was re-weighed on the digital scale with all the changes so far. However, the robot is still around 7 pounds overweight (counting the hanger, hooks, and polycarbonate side plates).
Programming
The programmers re-assigned and re-mapped certain buttons on the operator’s side of the control board. The right four buttons are now going to be shooter speed & angle presets (back/front of pyramid, full/low speed). The two buttons to the left of those will be the shoot button and the manual shooter angle button. In addition, the programmers cleaned up the code and made it comply with the style guide.
Action Items
- Fix intake
Lab closing time for the night was super late.
Driving Practice and Lights
The main focus of build today was to iterate the shooter index mechanism to improve consistency. Many other projects were run on the side including pit lights, Social Media award, Chairman's award, and the Bill of Materials.
Design
Students designed a new robot stand on Solidworks. They fixed the current robot stand by giving the robot less room to slide and by allowing it to fit into the robot cart.
Other students and mentors continued working on new designs to improve the functionality of the intake.
Mechanical
In the past week, the team experienced many difficulties trying to index frisbees consistently. They manufactured a new frame for the indexer and replaced the polycarbonate side hooks with ones in a steeper angle. The robot now appears significantly more efficient in transferring frisbees from the intake to the shooter.
Upgraded practice robot
Driving
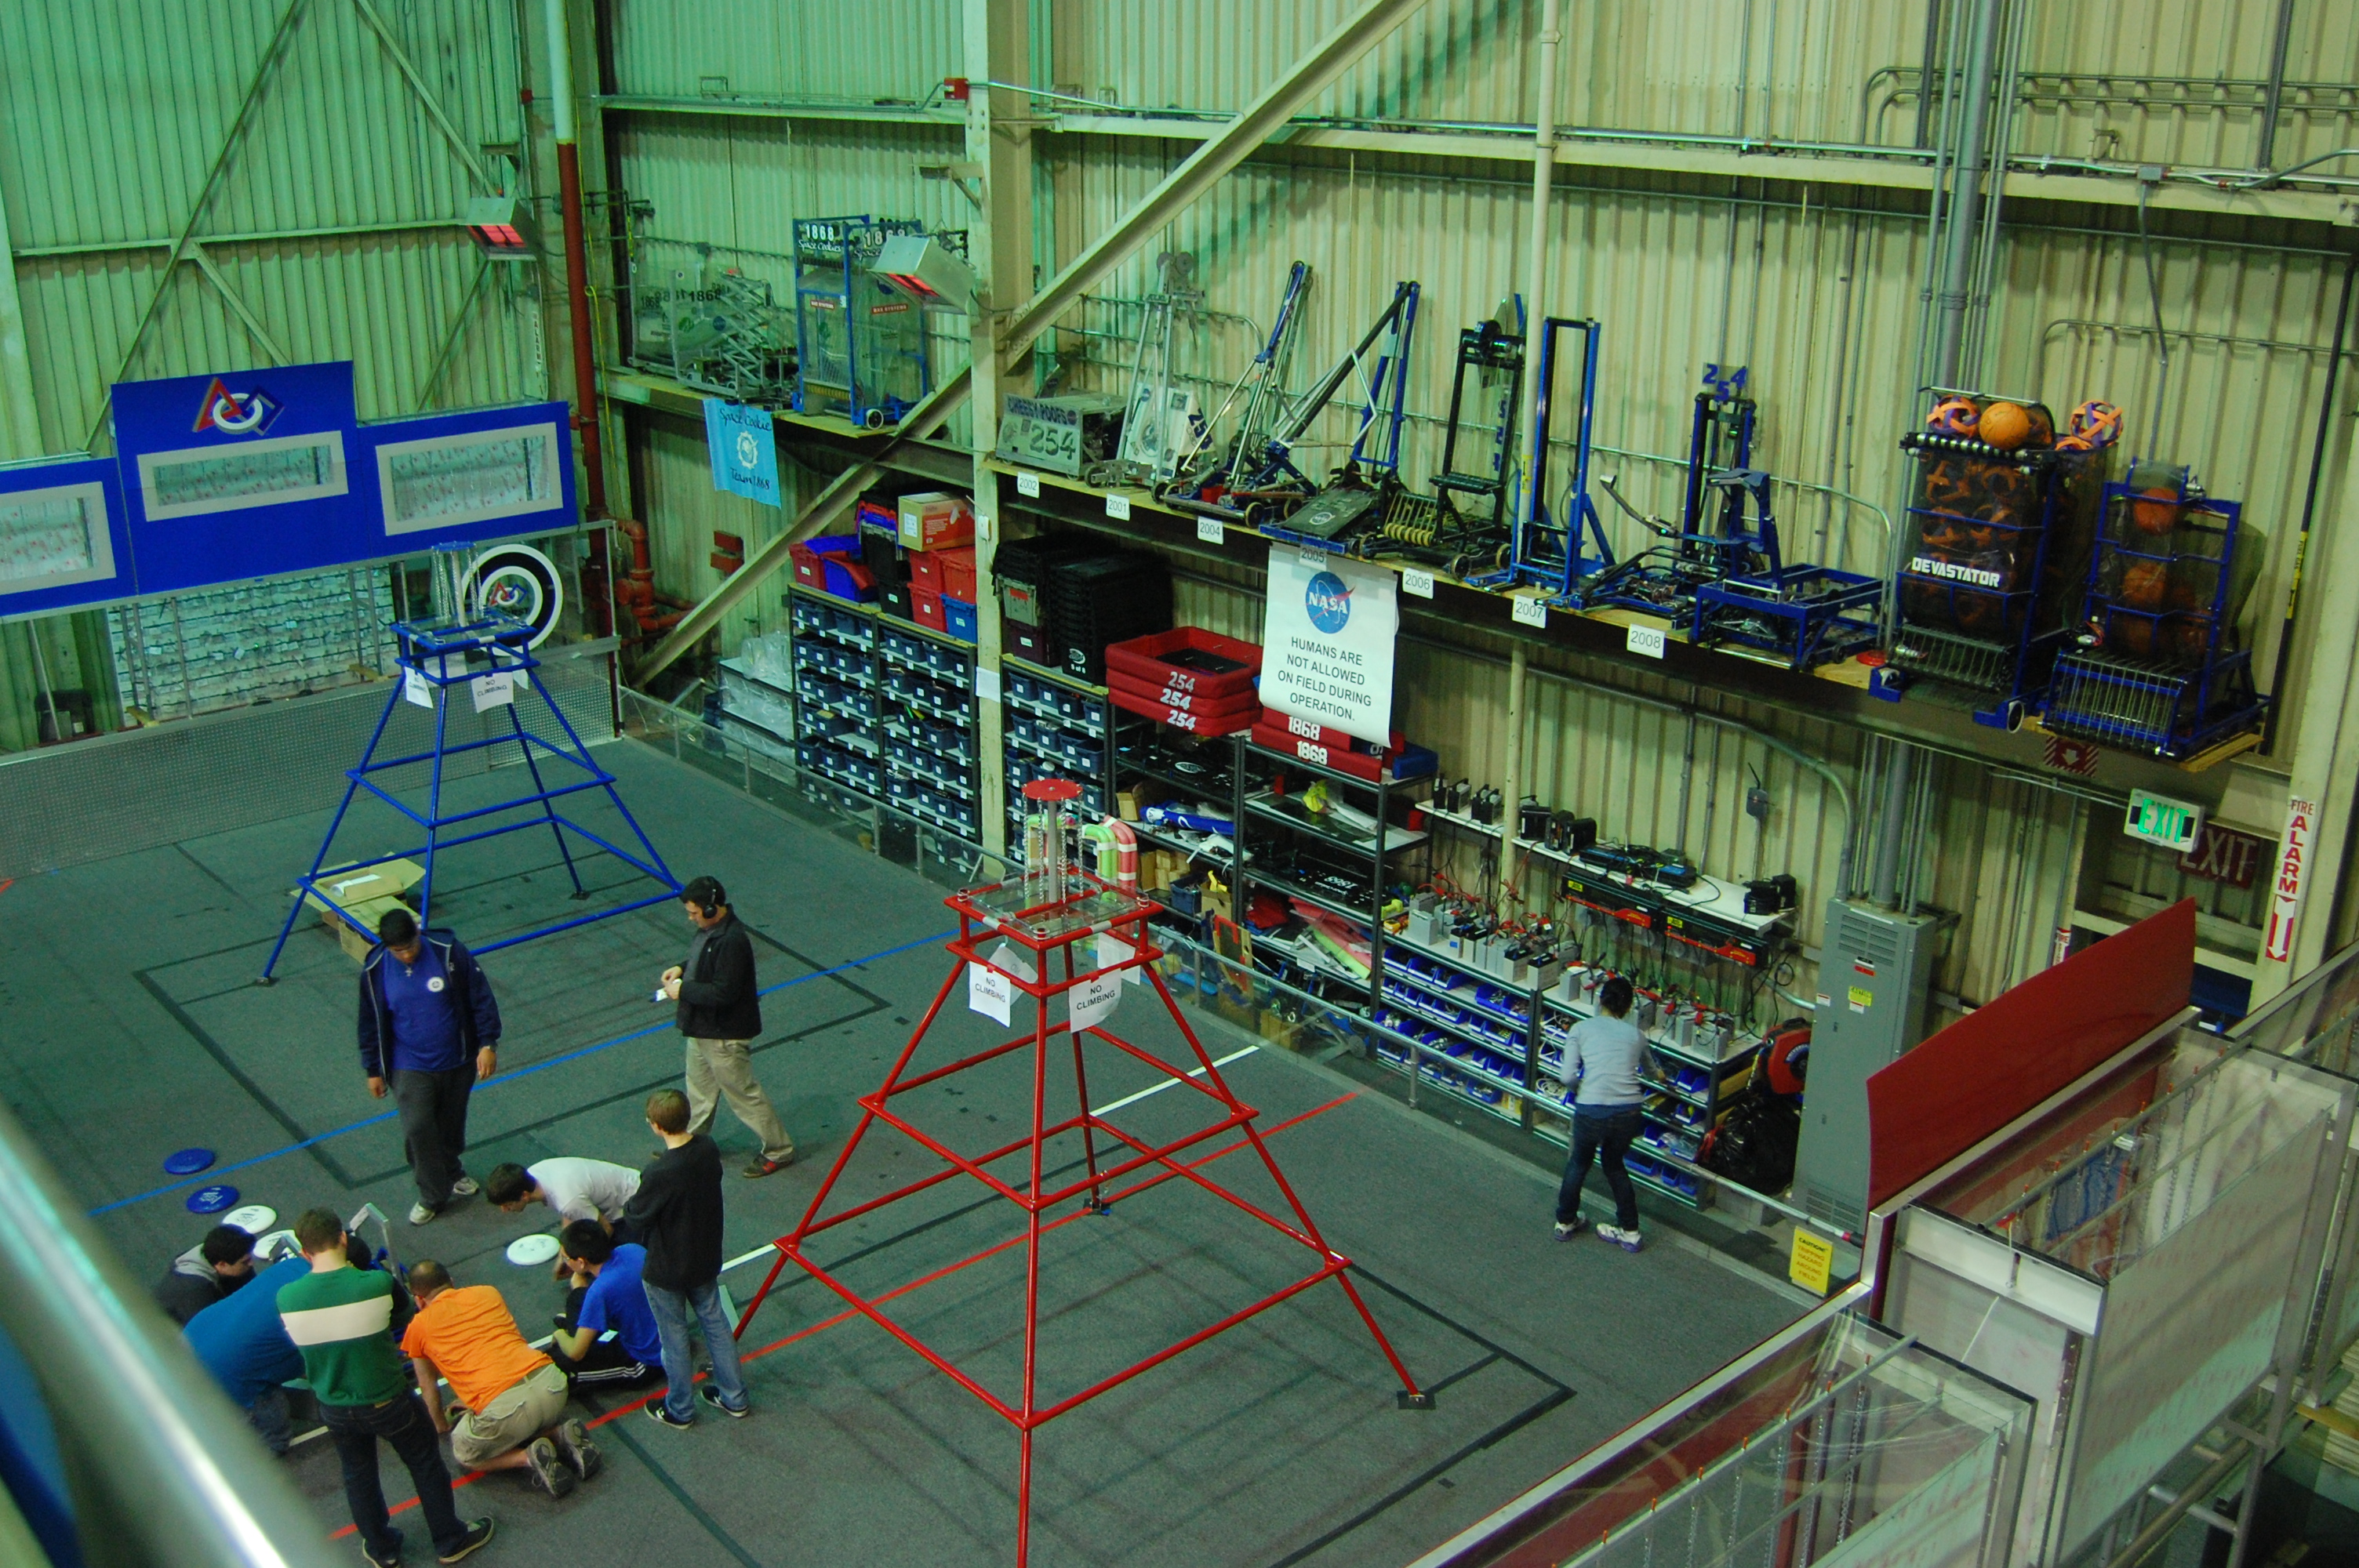
The drive team practiced maneuvering through the field and inside the pyramids in preparation for next week's tournament in San Diego.
Programming
The programmers change the configuration of the operator controls and tested autonomous mode. They changed the shooter switch so it now only changes speed and not angle.
Meanwhile, Pat obtained a lightweight USB scanner (Scansnap) for use with scouting matches at competitions. Currently, the software is set up to scan each sheet (starting with the bottom of the stack, allowing more sheets to be added simultaneously) and save it as an image file. He is currently working on code to recognize and read certain parts of the sheet (QR code, bubbles).

Scan-tastic!
Pit Lights
Students wired the pit flood lights and are working on the power supply for them.
Other programmers worked on the pit LEDs and were able to use an off-the-shelf IR module (receiver) to capture the signals sent by the remote controller. They then changed the configuration of items on the breadboard and replaced the IR module with an IR LED (transmitter). Using the data, they managed to emulate the remote and send signals to the lights to change their color.
There was a small issue where the lights turned themselves off occasionally when they were sent remote signals. The code for this project will be uploaded to GitHub.

The box o' lights
Action Items
-
Enhance intake system
Expected closing time for the lab: 12:00
Build Season Recipes: Week 7
After a pre-ship weekend devoid of baking due to lack of time, we feasted on these the weekend after ship. Their comforting home-style goodness helped assuage our sorrow at the underwhelming performance of most of the robot's subsystems thus far.
Oatmeal Chocolate Chip Cookies
-
7/8 cup butter
-
3/4 cup brown sugar
-
1/2 cup sugar
-
2 eggs
-
1 tsp. vanilla extract
-
1-1/2 cups flour
-
1 tsp. baking soda
-
3 cups rolled oats
-
1-1/2 cup chocolate chips
Cream butter and sugars. Add eggs and vanilla; beat. Add flour, baking soda and oats; mix well. Stir in chocolate chips by hand. Drop on cookie sheet and bake at 350°F for 8-10 minutes.
Build Season Recipes: Week 5
This recipe is a couple of weeks late in posting, but these cookies fuelled our manufacturing and assembly activities at the end of Week 5.
Chocolate Sugar Cookies
-
3 squares unsweetened chocolate
-
1 cup butter
-
1 cup sugar
-
1 egg
-
1 tsp. vanilla extract
-
2 cups flour
-
1 tsp. baking soda
-
1/4 tsp. salt
-
additional sugar
Heat chocolate and butter in microwave until melted; cool. Add sugar, egg, and vanilla; beat. Add flour, baking soda and salt; stir until completely mixed. Refrigerate for 30 minutes. Roll dough into balls and roll in additional sugar until coated. Place on cookie sheet and flatten with fork. Bake at 375°F for 8-10 minutes.
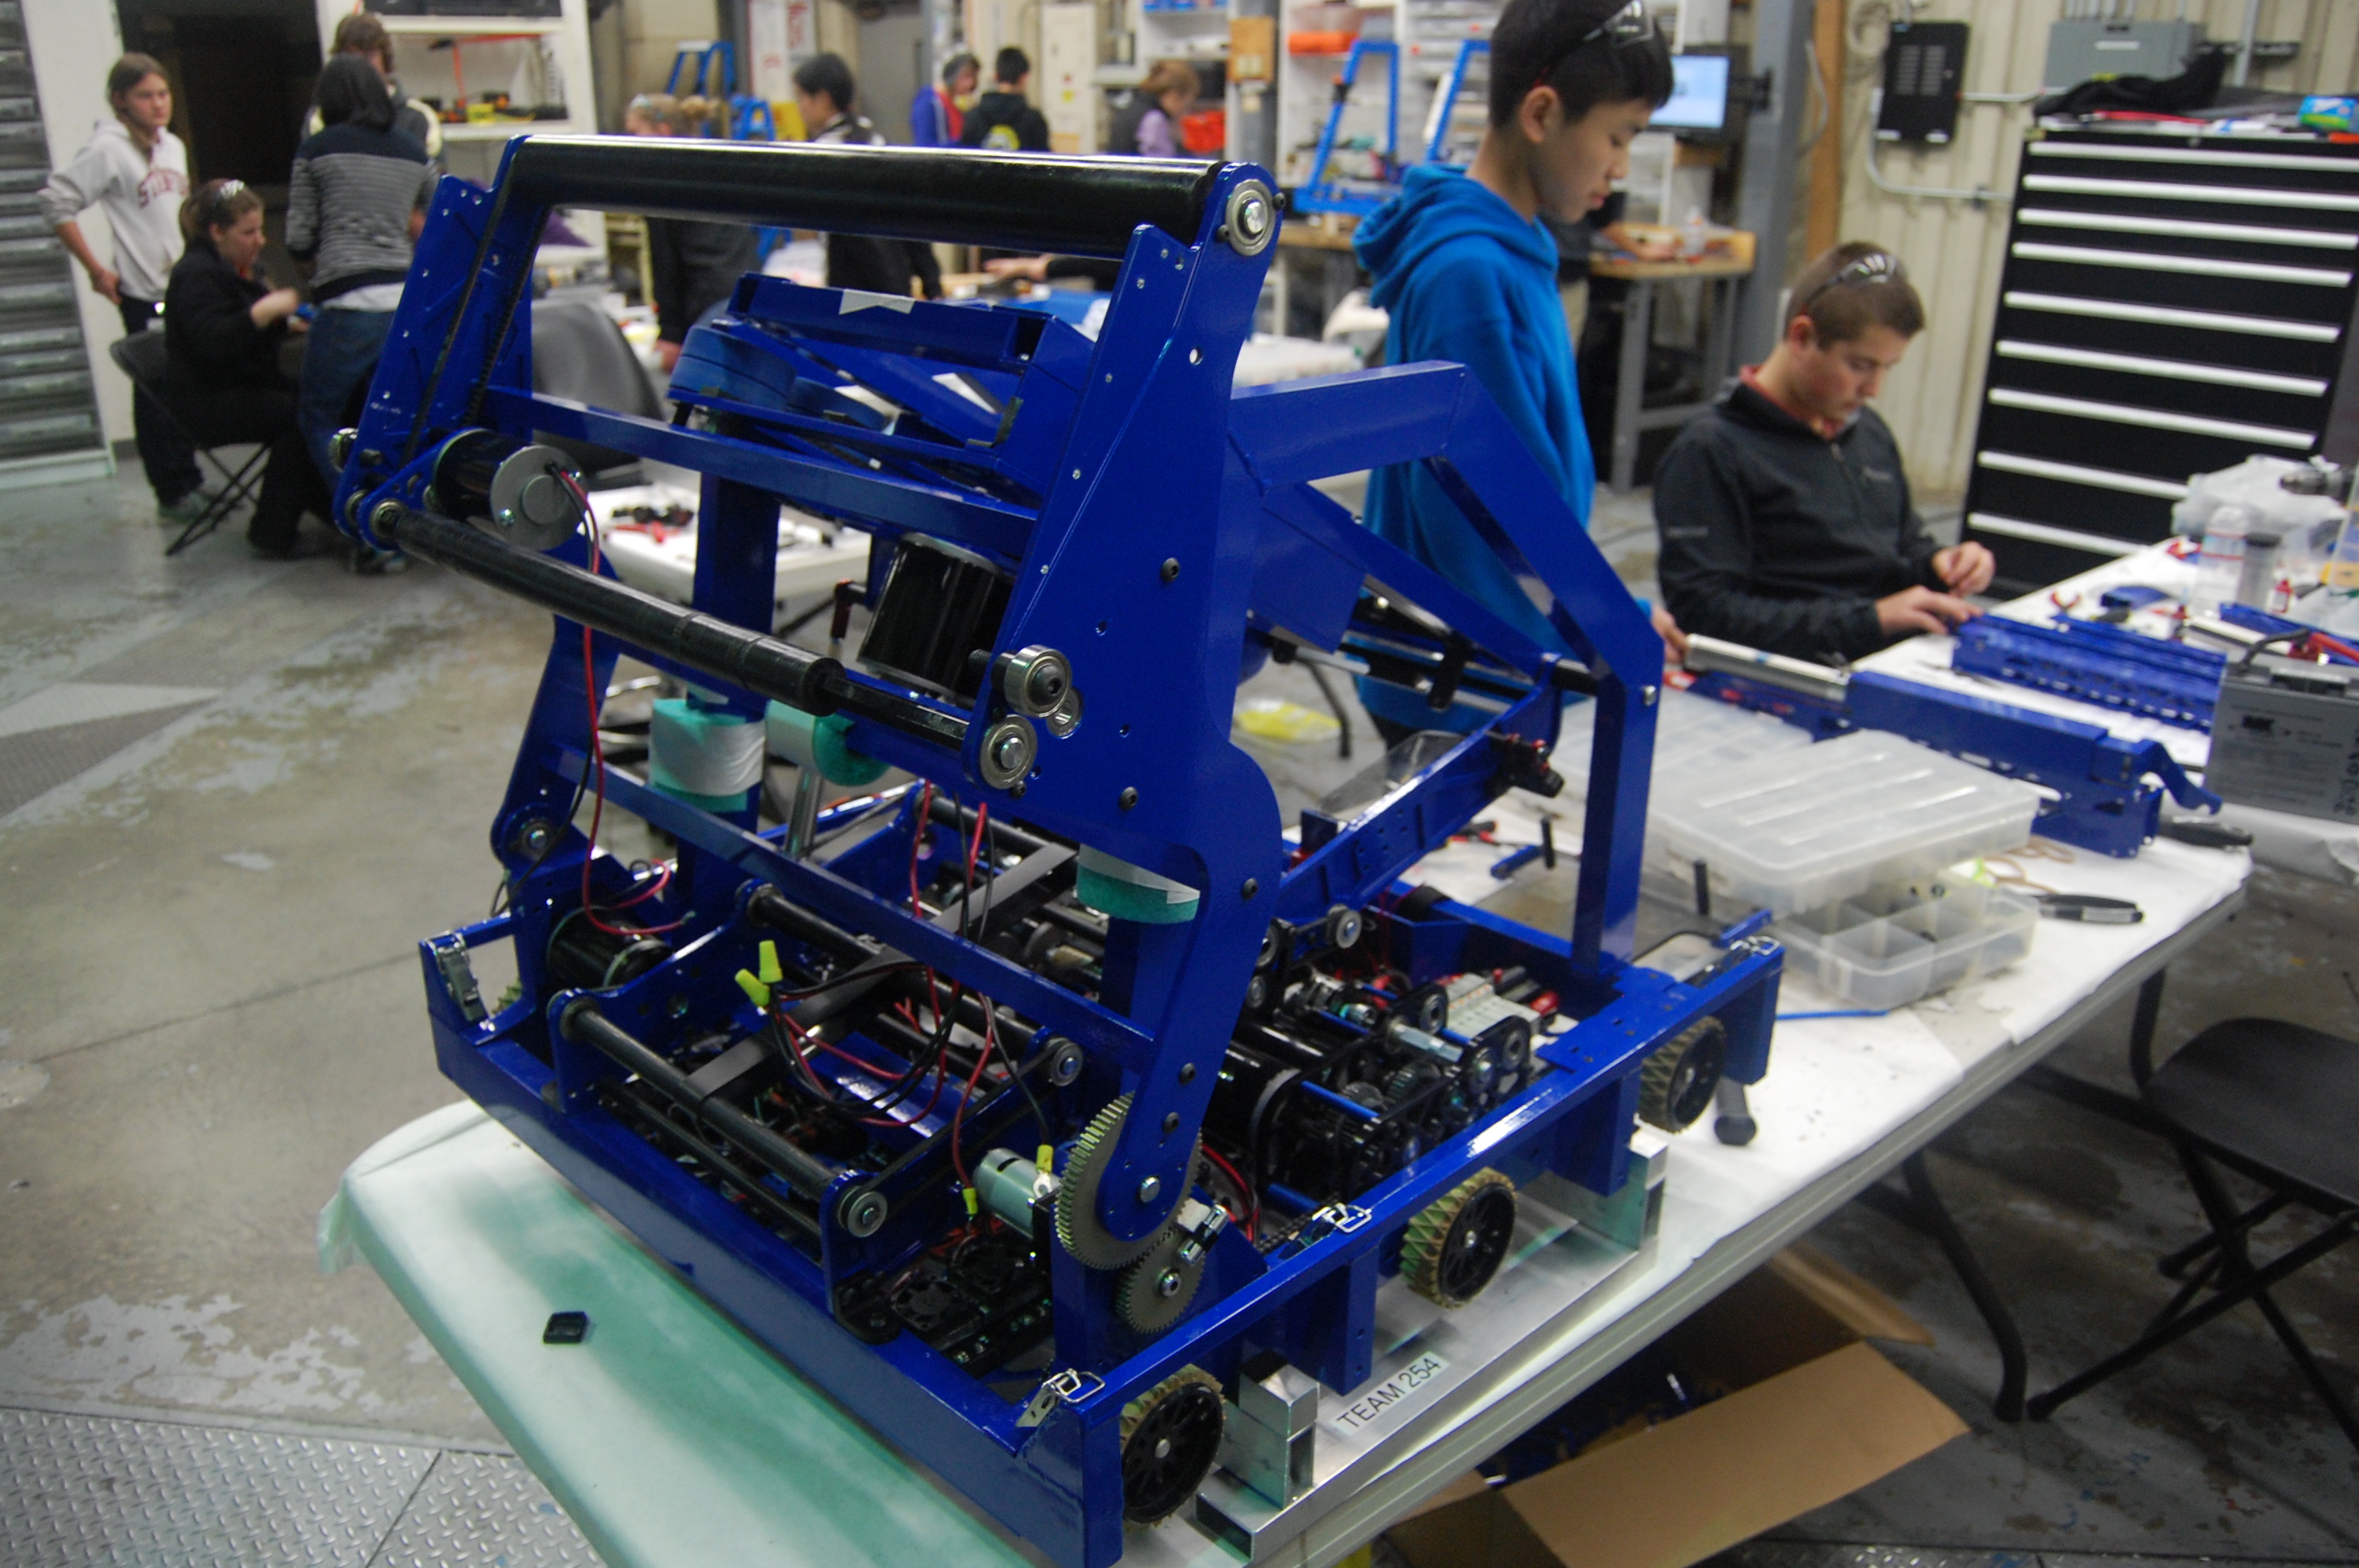
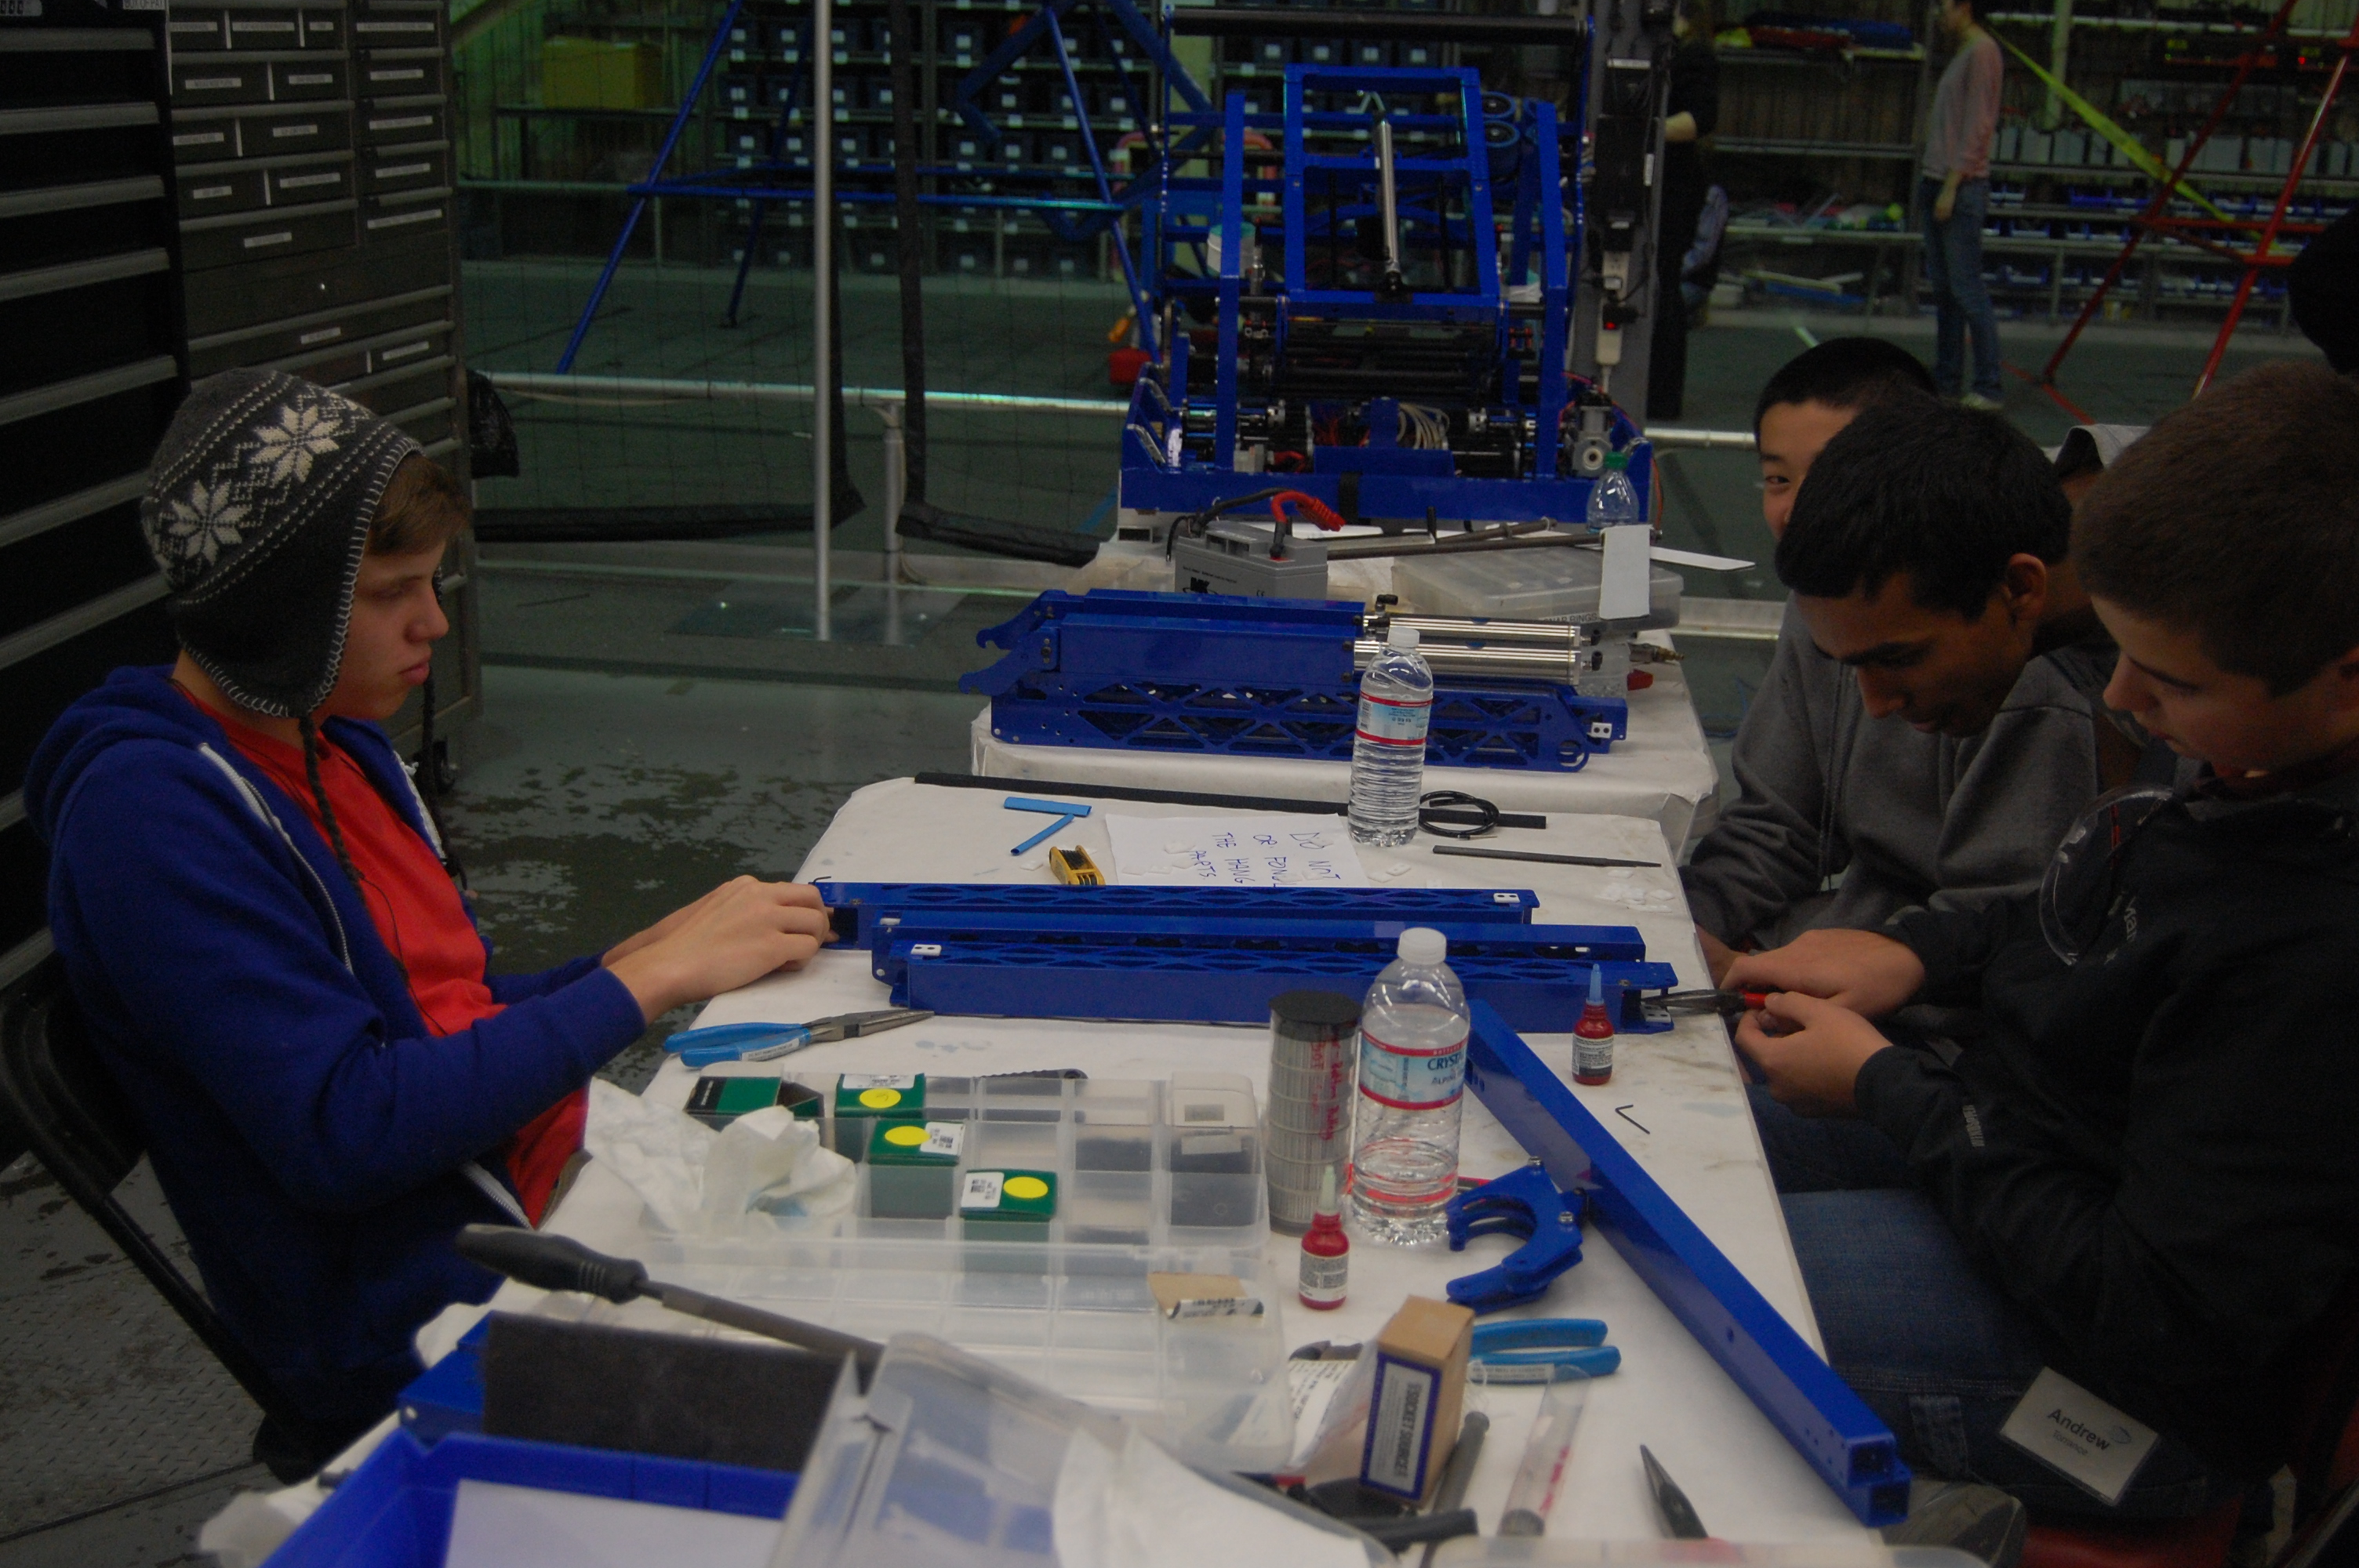
Indexing Mechanism and Hanger
Assembly and Adjustments
There are many components on the robot that need tuning. Because there is so much to do and so little time to do it (our first competition is in 10 days), we started prioritizing the tasks we need to complete. We decided the most important mechanisms that we need to focus on are our indexing mechanisms, intake, and conveyor.
Indexer
For the indexing mechanism, there needs to be a passive (and durable) way to grab the frisbee from the conveyor and bring it to the shooter. What is currently being used are flaps of polycarbonate (1/16″ thick) that bend under the frisbee and pop in place. These work fine for about four shots before the flaps warp and break. A thicker material will not work because it will not bend enough. To solve this, new mounting plates were made that were a bit deeper allowing these flaps to be bend differently. This will hopefully give more clearance for the frisbee to go through and make the flaps more durable.
Conveyor
There was not a lot of progress done on the conveyor today because the focus was the indexer. However, it was decided that there needs to be a stronger spring force on the indexing mechanism to ensure that the frisbees do not stack on top of each other. With the bar pushing down with more force, there will not be stacking.
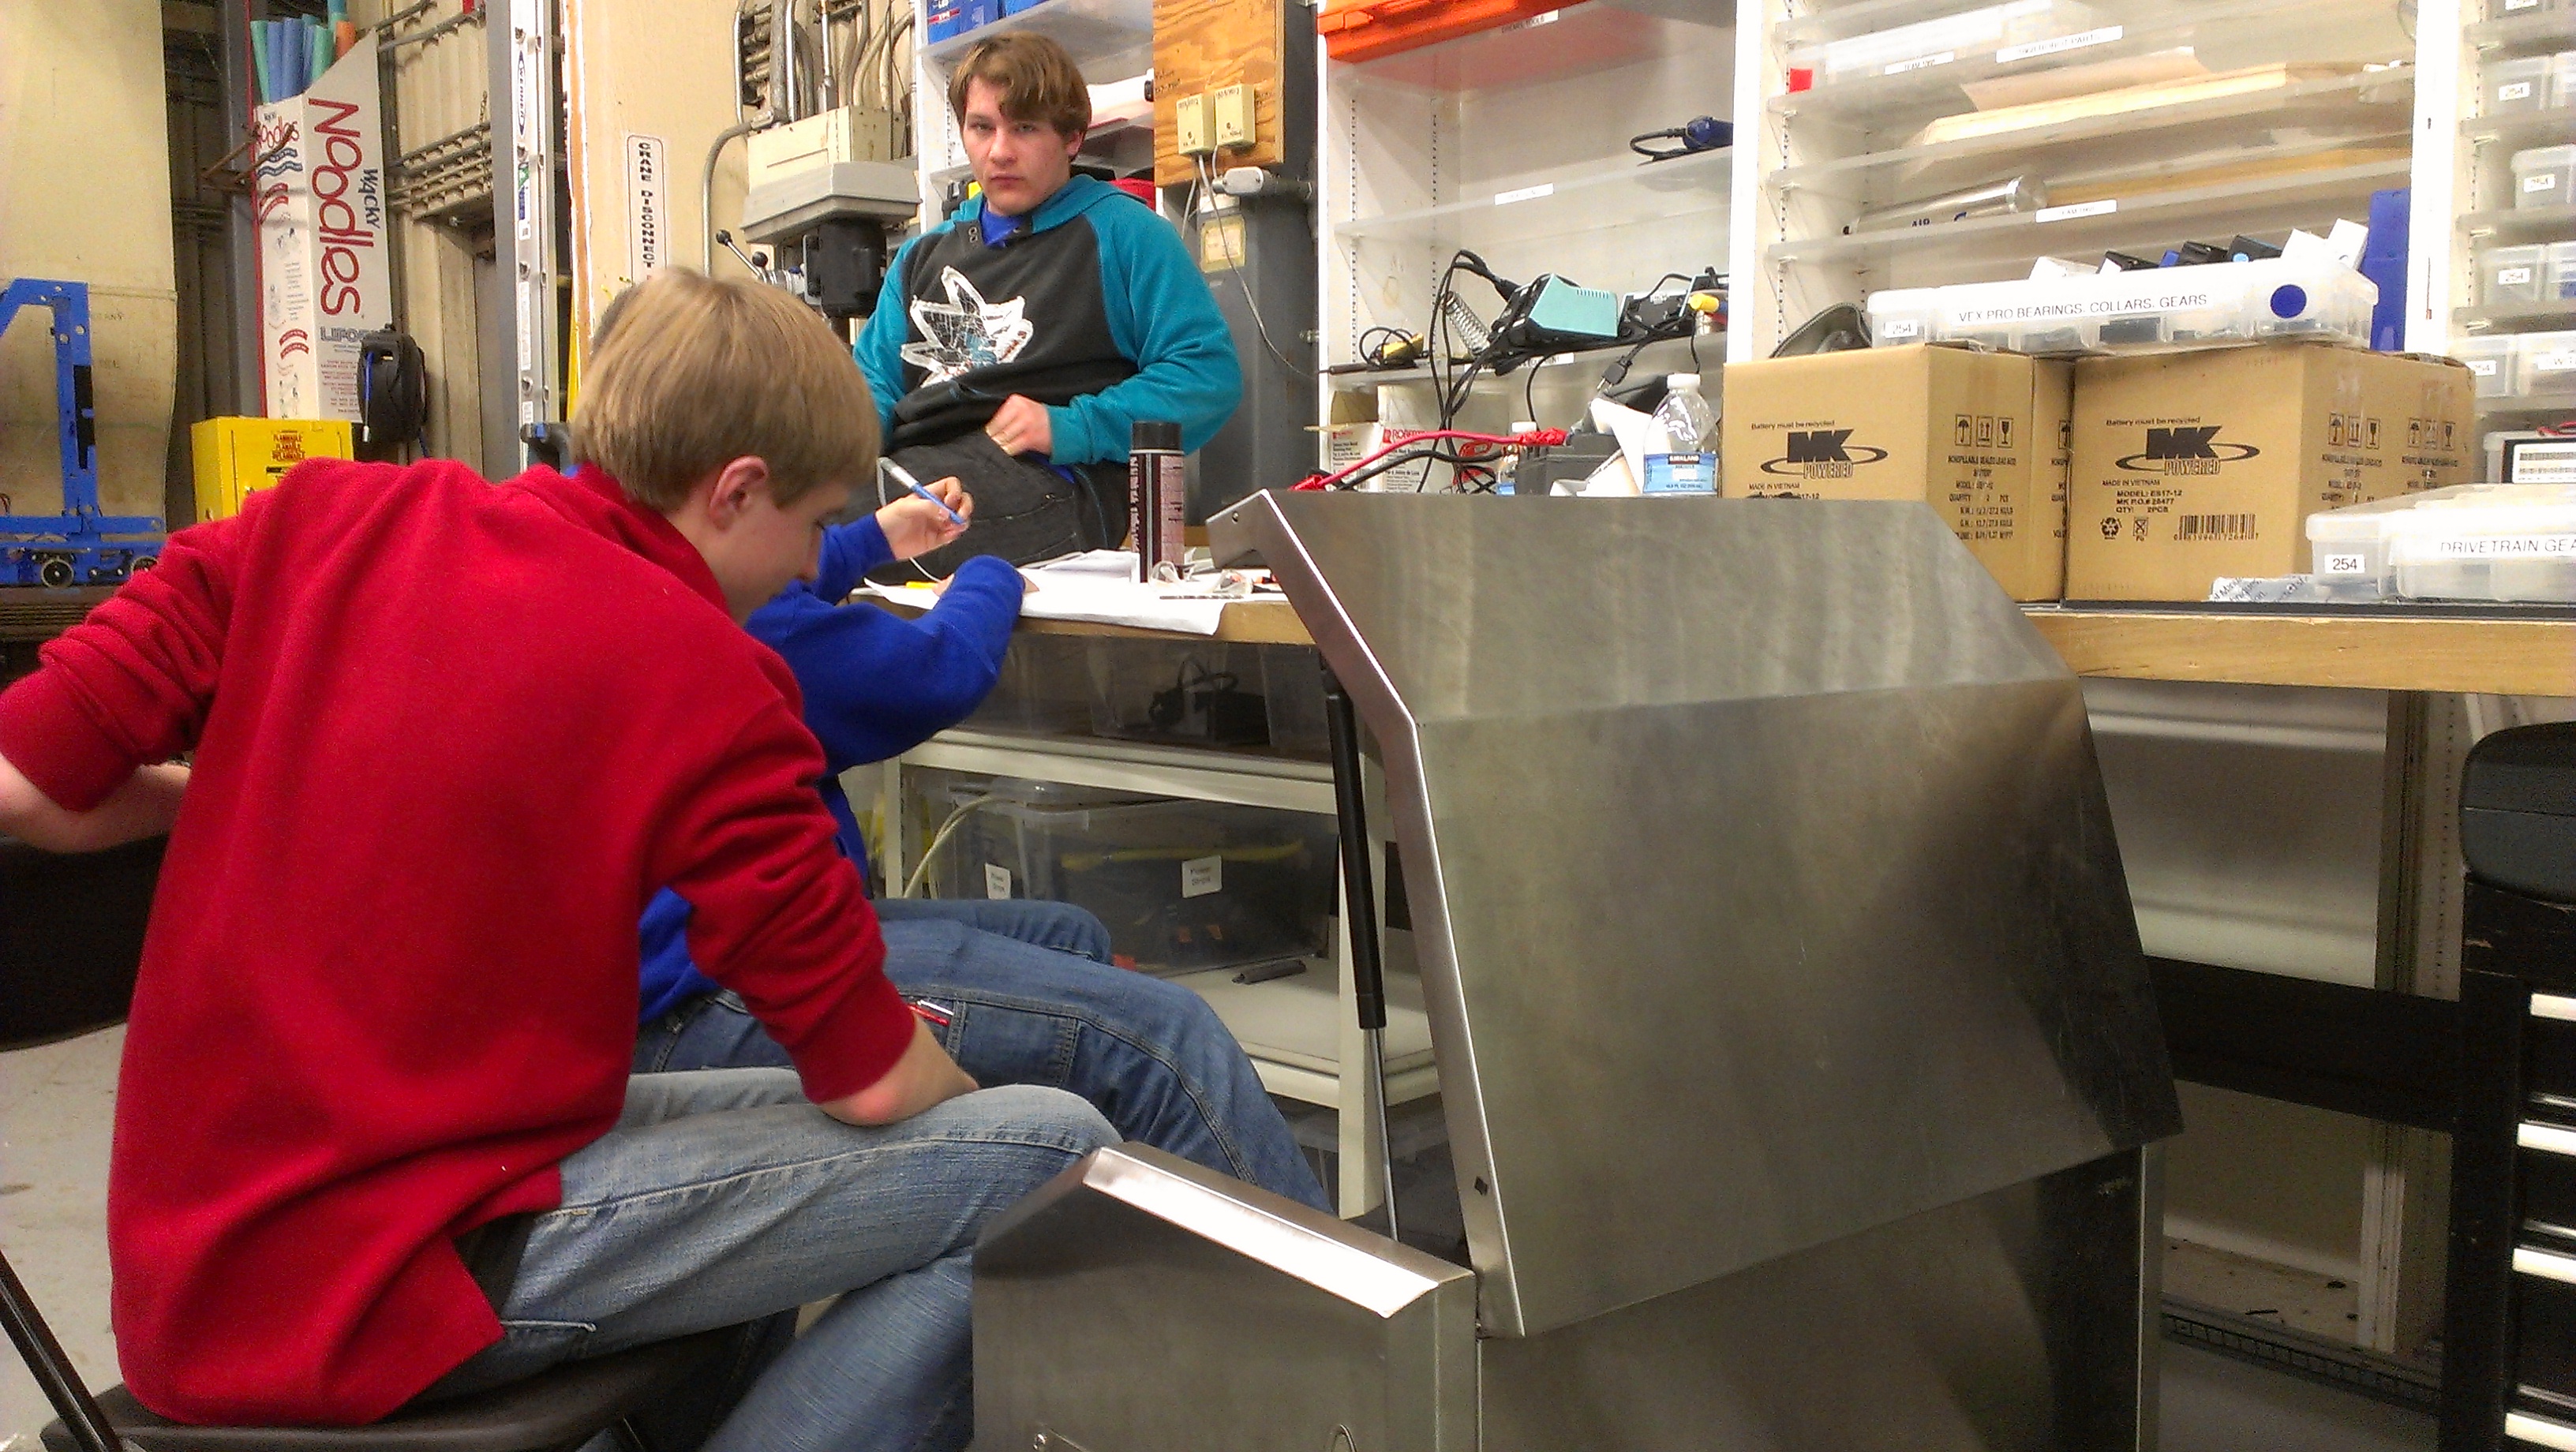
Hanger
The hangers were fully assembled today. The timing belt was tensioned after a significant struggle to get the screw to catch the threads. The goal is to mount the hanger to the robot tomorrow and test the hanging. There need to be a few more parts assembled tomorrow to drive these hangers (such as the drive pully and its associated belt). All parts have been ordered and should arrive tomorrow.
VEX Planetary Gearbox
It was found today that the VEX Planetary Gearbox used on the lifting mechanism for the intake was not assembled correctly. Because of this, parts of the gearbox broke apart due to stress. A solution is being worked on.
Programming
Tom worked on tuning the intake to ensure it doesn’t smash against the robot when it is fully lifted and it doesn’t smash against the ground when it is fully lowered. He was using the encoder and tuning the control loops. It seemed to work fine, however there needs to be more testing done.
Action Items for Tomorrow
- Finish assembling and mounting hanger
- Continue testing the lifter and ensure proper durability of polcarbonate flaps. Examine other possible solutions/materials for flaps
- Fix every other subsystem on the robot
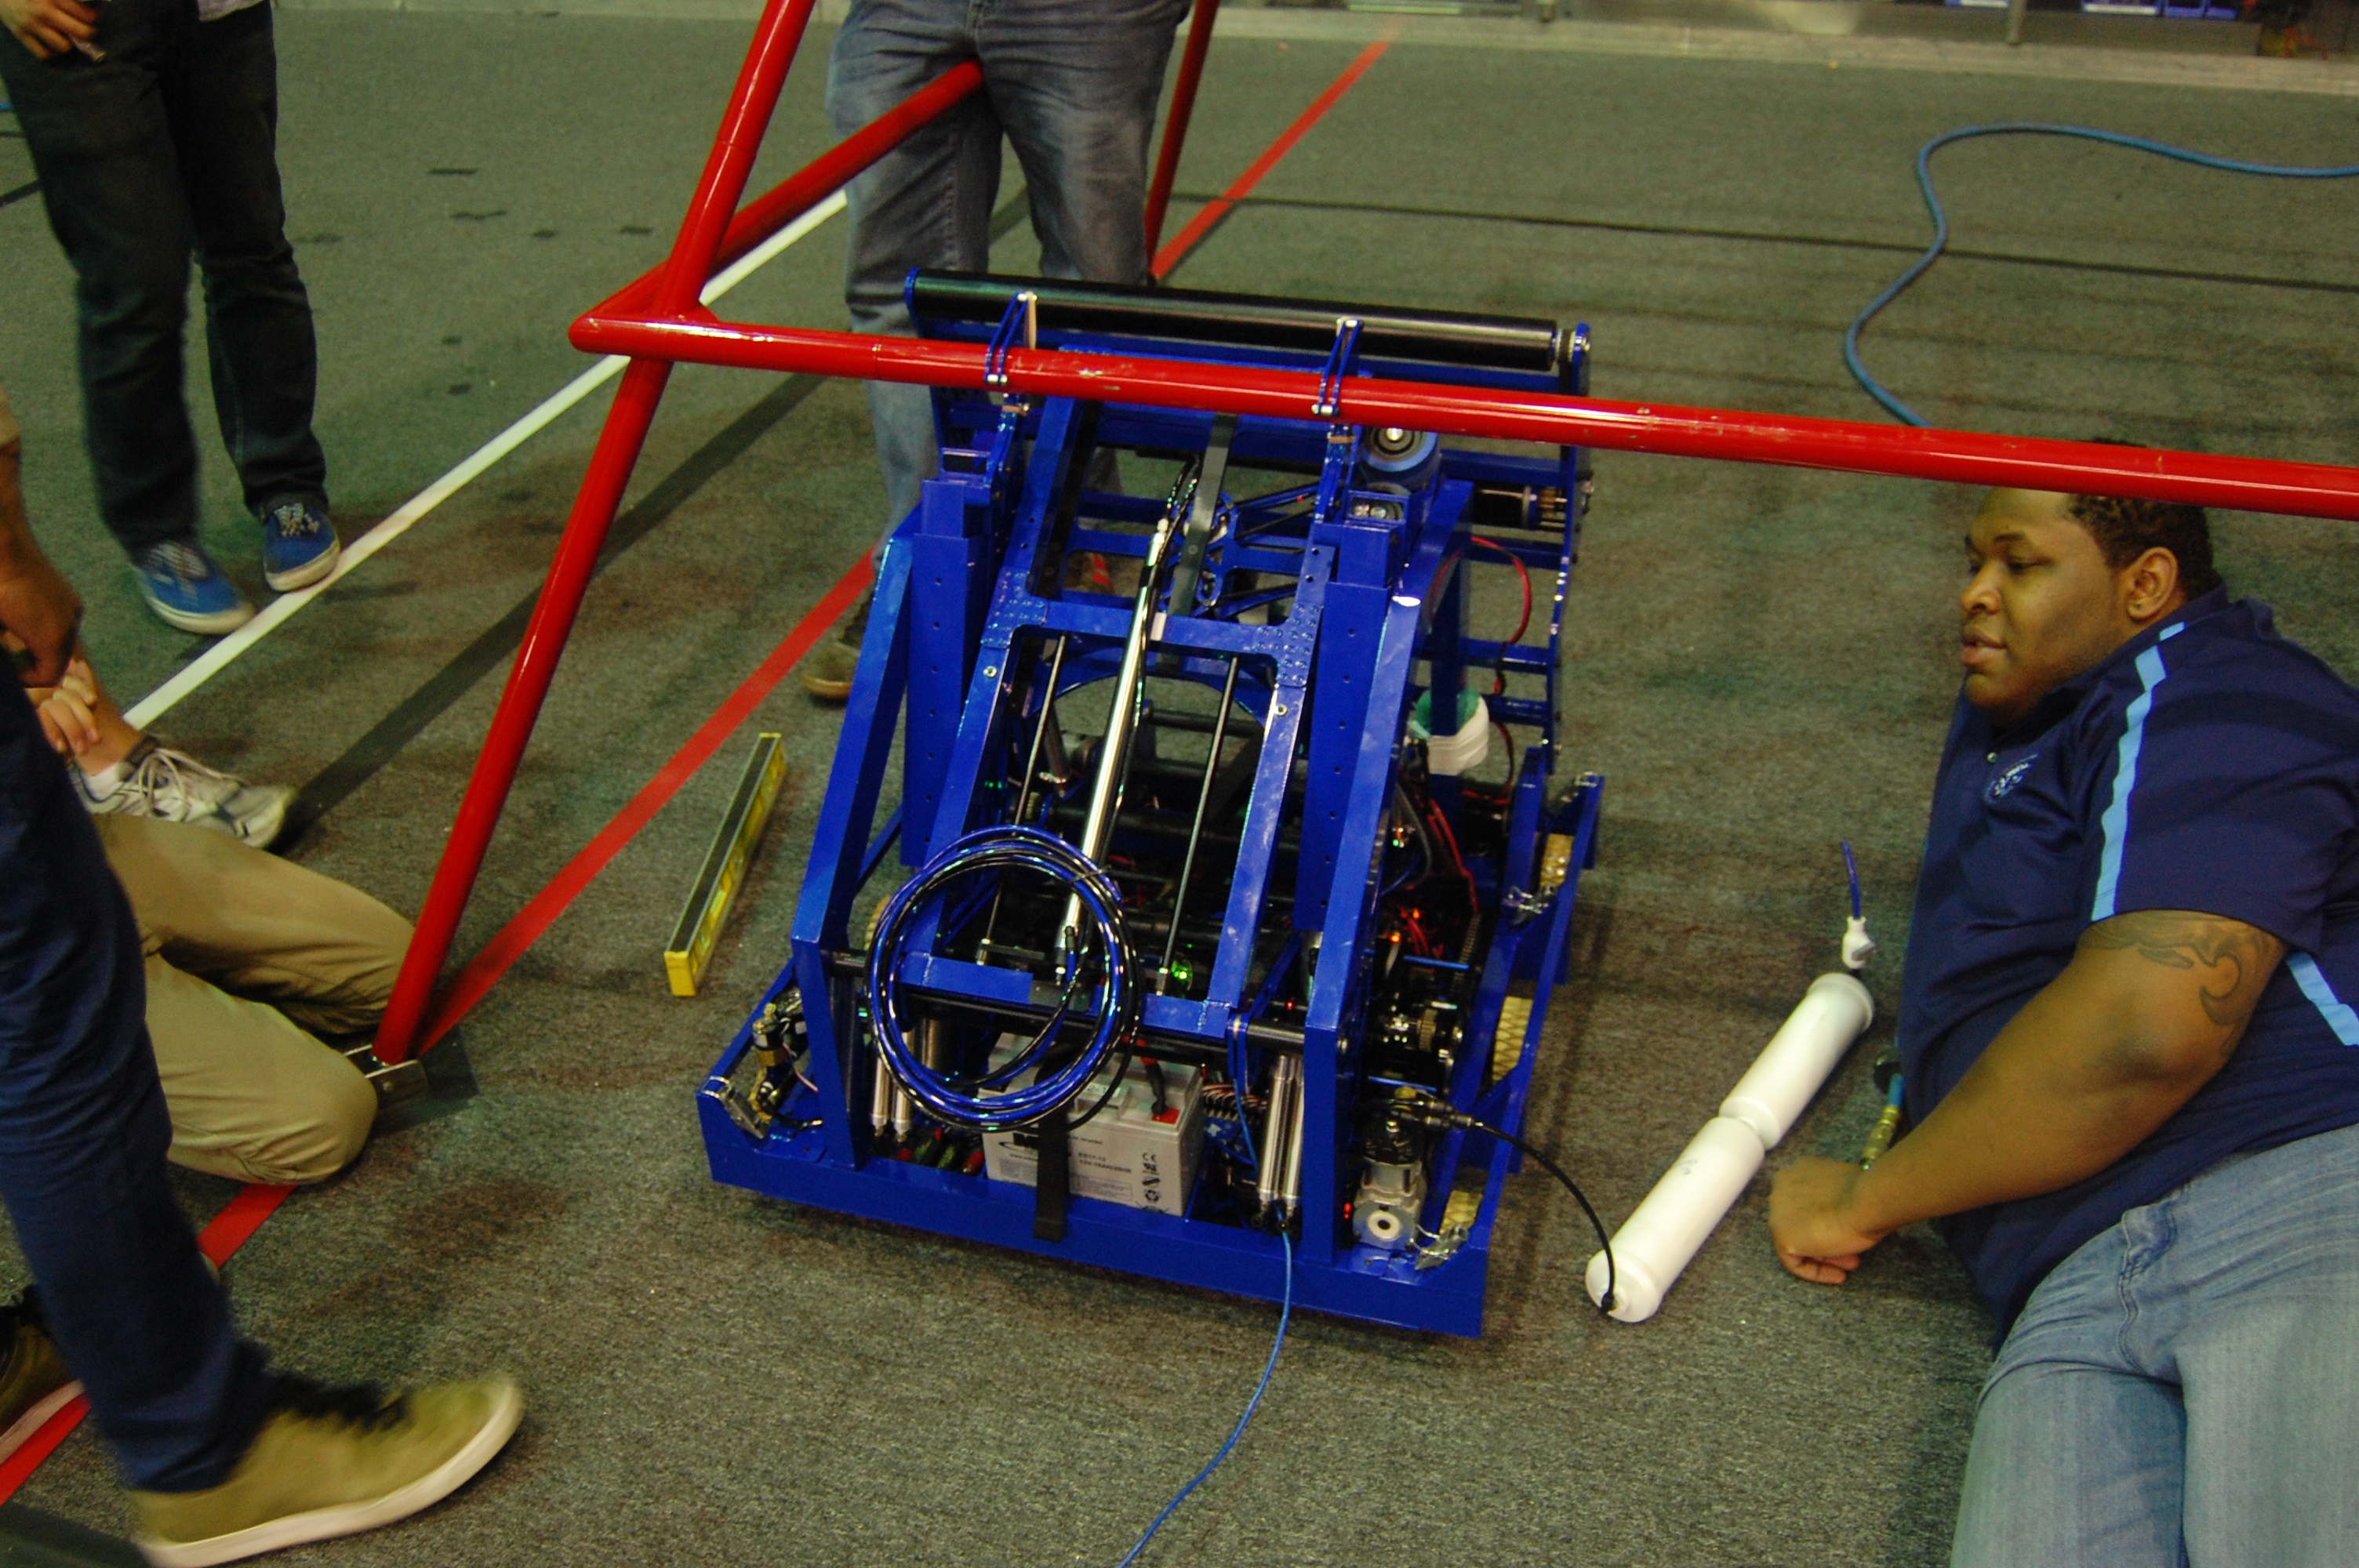
Autonomous Testing
 Assembly & Adjustments
Students performed adjustments and enhancements all over the practice robot today, all in preparation for the team’s first regional of the season at San Diego in a little less than two weeks. For instance, they replaced the indexer polycarbonate flap with a new one.
Miscellaneous enhancements and adjustments
Students continued to assemble the hanger mechanisms today, including tensioning of the timing belts.
Meanwhile, the team tested most of the subsystems of the robot in conjunction by intaking frisbees from the ground, transferring them through the conveyor and up into the shooter, then shooting them
Programming
Today, the programmers tested out a brand new seven-disc autonomous sequence. It utilizes an infrared sensor in the conveyor to tell the robot to index the next frisbee. Although they have yet to test the autonomous mode with actual frisbees, implement the shooter angle adjustment, and tune the intake position, it runs fairly well and quickly (right under 15 seconds).
Earlier in the day, there was a lot of debugging going on because the drive encoder values weren’t getting updated. After a while of fixing the wiring and removing some negative signs, the programmers were finally able to test their auto modes.
The students are also working on a five-disc autonomous mode that shoots three preloads, then picks up and shoots two frisbees under the pyramid.
Testing out the autonomous modes
- Continue assembly of hangers
- Continue work on autonomous modes and general tuning
Robot Bagged
 Today marked the end of the “official” build-season. The competition robot is enclosed in a bag and will stay there until our first Regional Tournament in San Diego (March 7-9).
I would like to thank everyone for their hard work, dedication, and support these past six weeks. Parents, thank you for the support you gave the students, by letting them come to the lab for such long hours, by providing meals, and by giving constant support. Students, thank you for your dedication to this project and your hard work. Mentors and teachers, thank you for your help, your relentless push to complete such a massive project, and your extremely long hours inside and outside of the lab.
That said, I want to remind everyone that build IS NOT over. Even though the competition bot is in the bag, there is still a lot to be done. There are many parts that need to be finished on the practice bot and many components need to be completed. There are subsystems that need to be iterated. With our first regional in two weeks, we will not be stopping build. We will be meeting at the same hours on the same days.
Tomorrow, February 20th, we will NOT be meeting. We will resume build on February 21st, at 5:30 pm. Rides to/from Bellarmine will resume on Tuesday, February 26th.
Below is a photo from tonight’s robot photo shoot. Please remember to keep any information and pictures about the robot confidential. Even though the official build season is over, we want to reveal the robot at our leisure prior to one of our first regionals. So please, keep all information confidential.
Thanks everyone for a great six weeks so far; we’ve come a long way (but still have plenty to go). Thanks and Go Poofs!
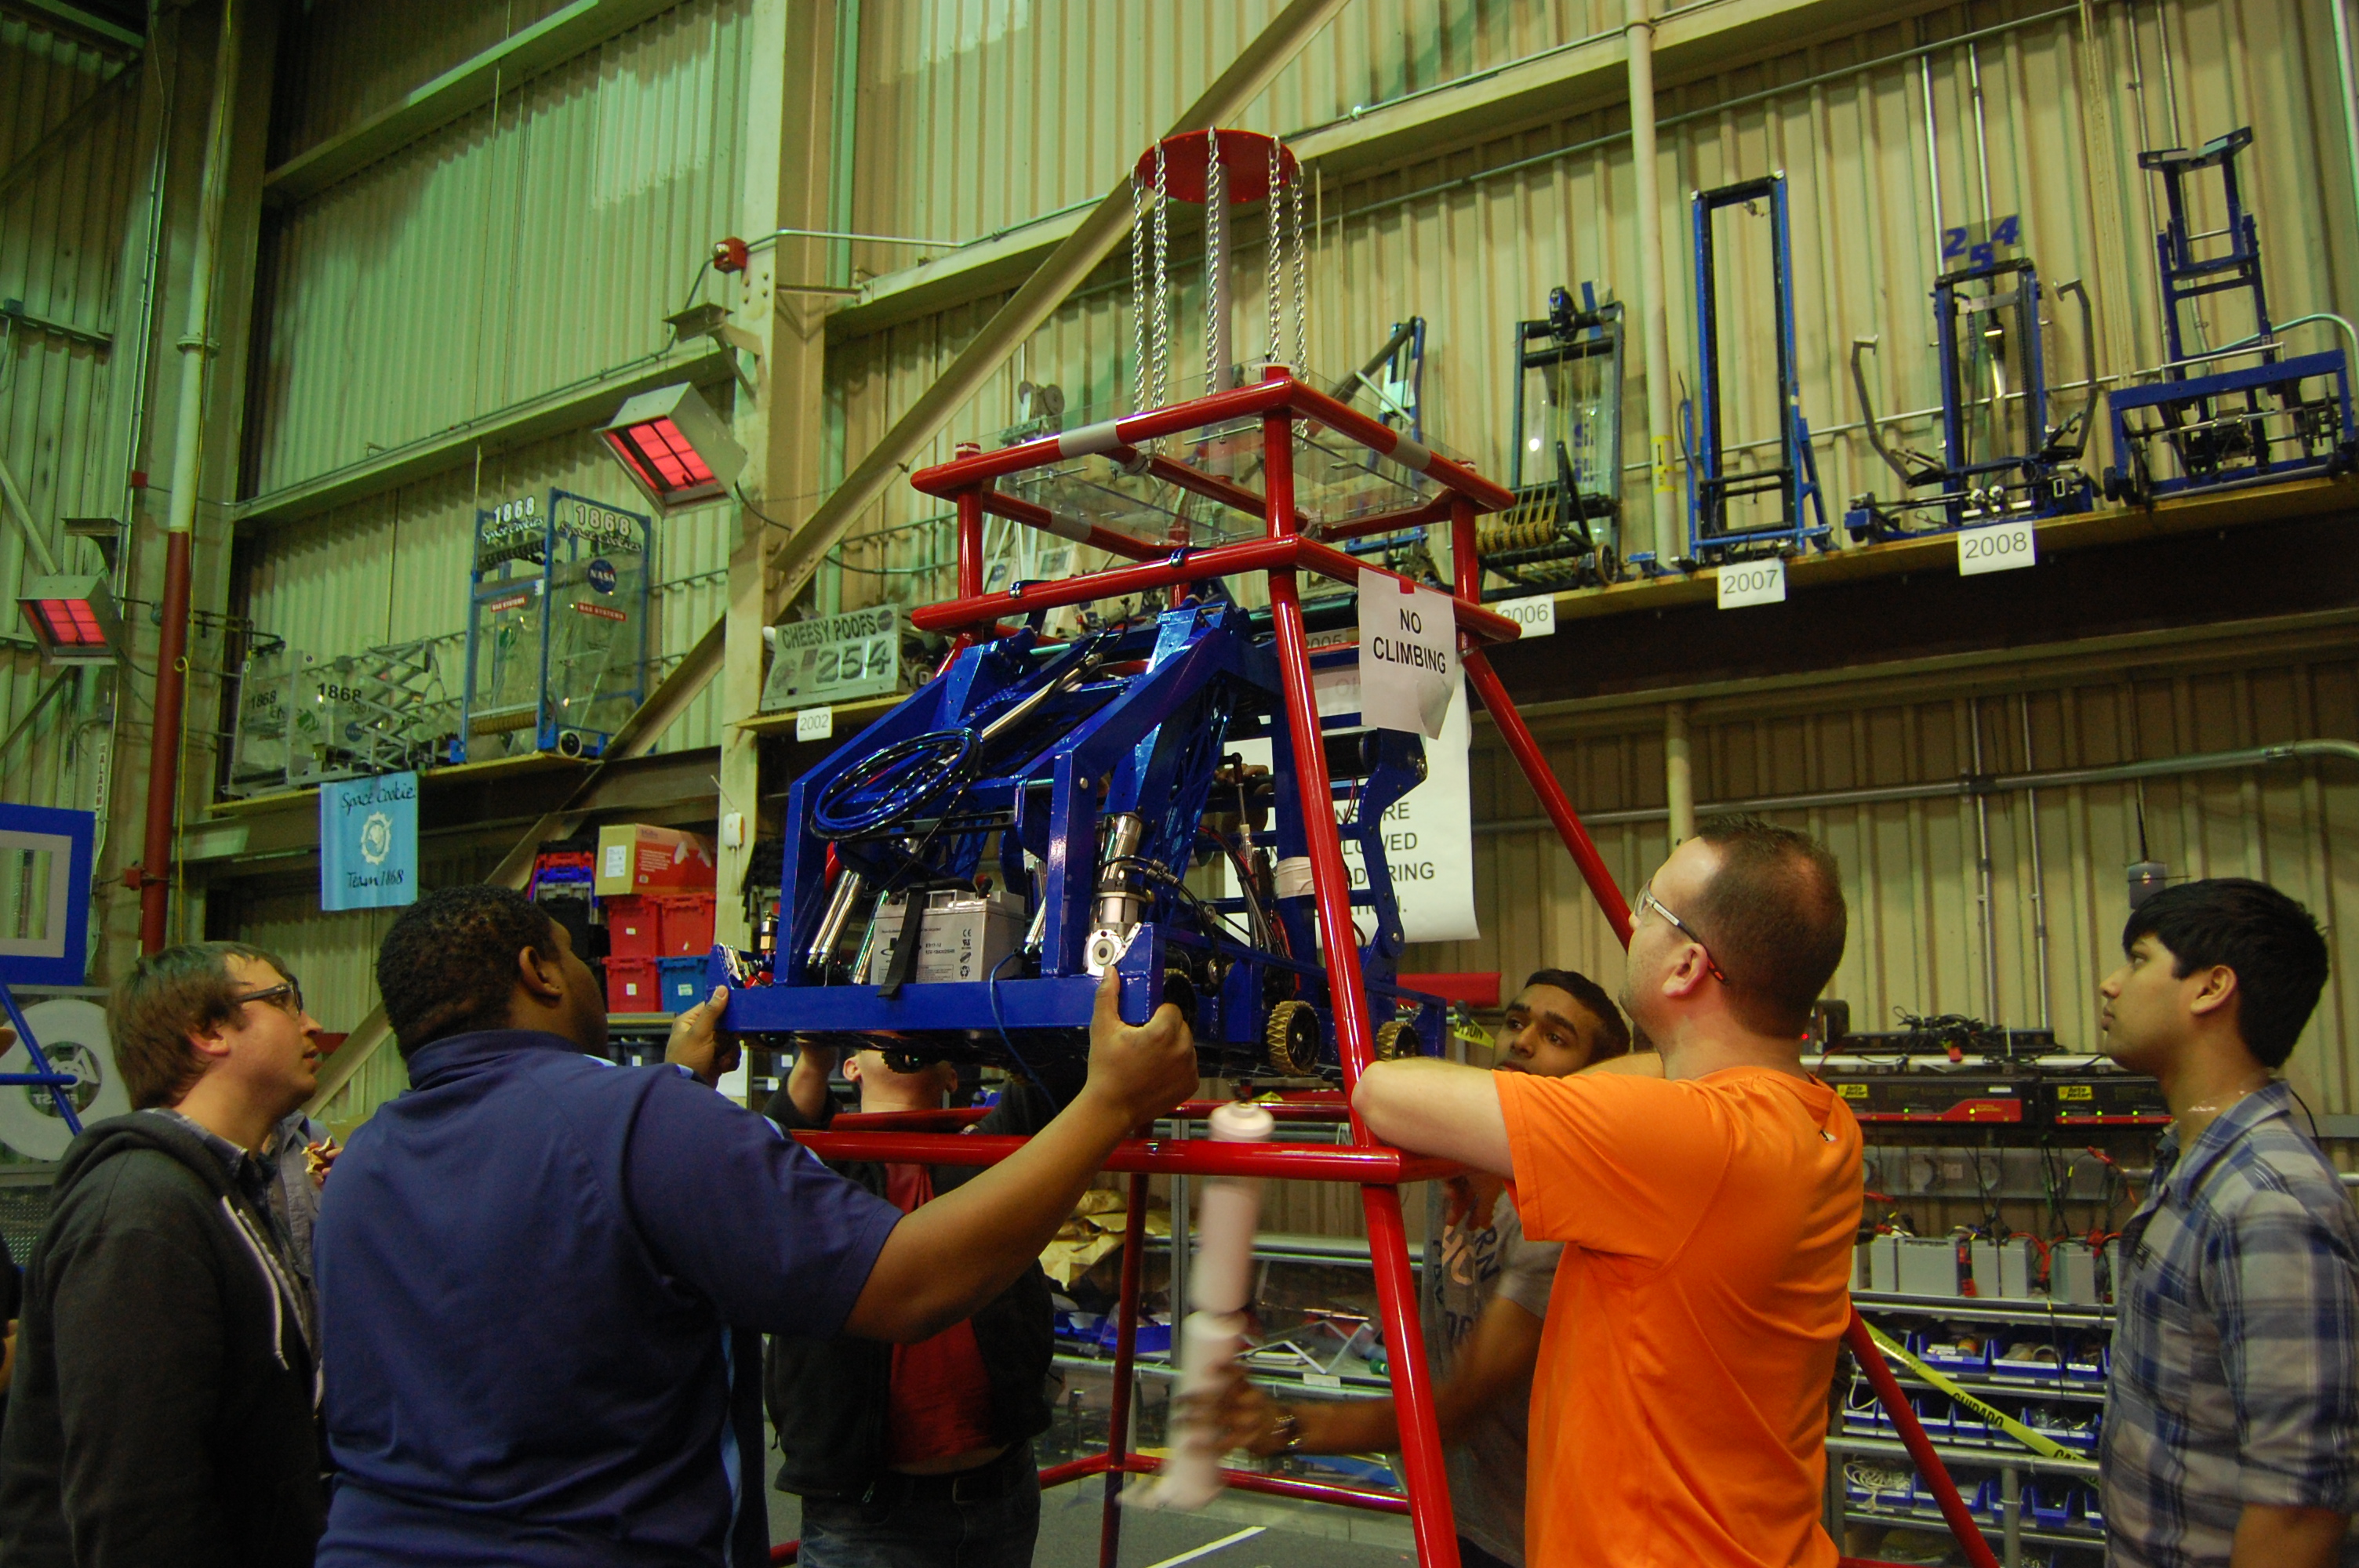
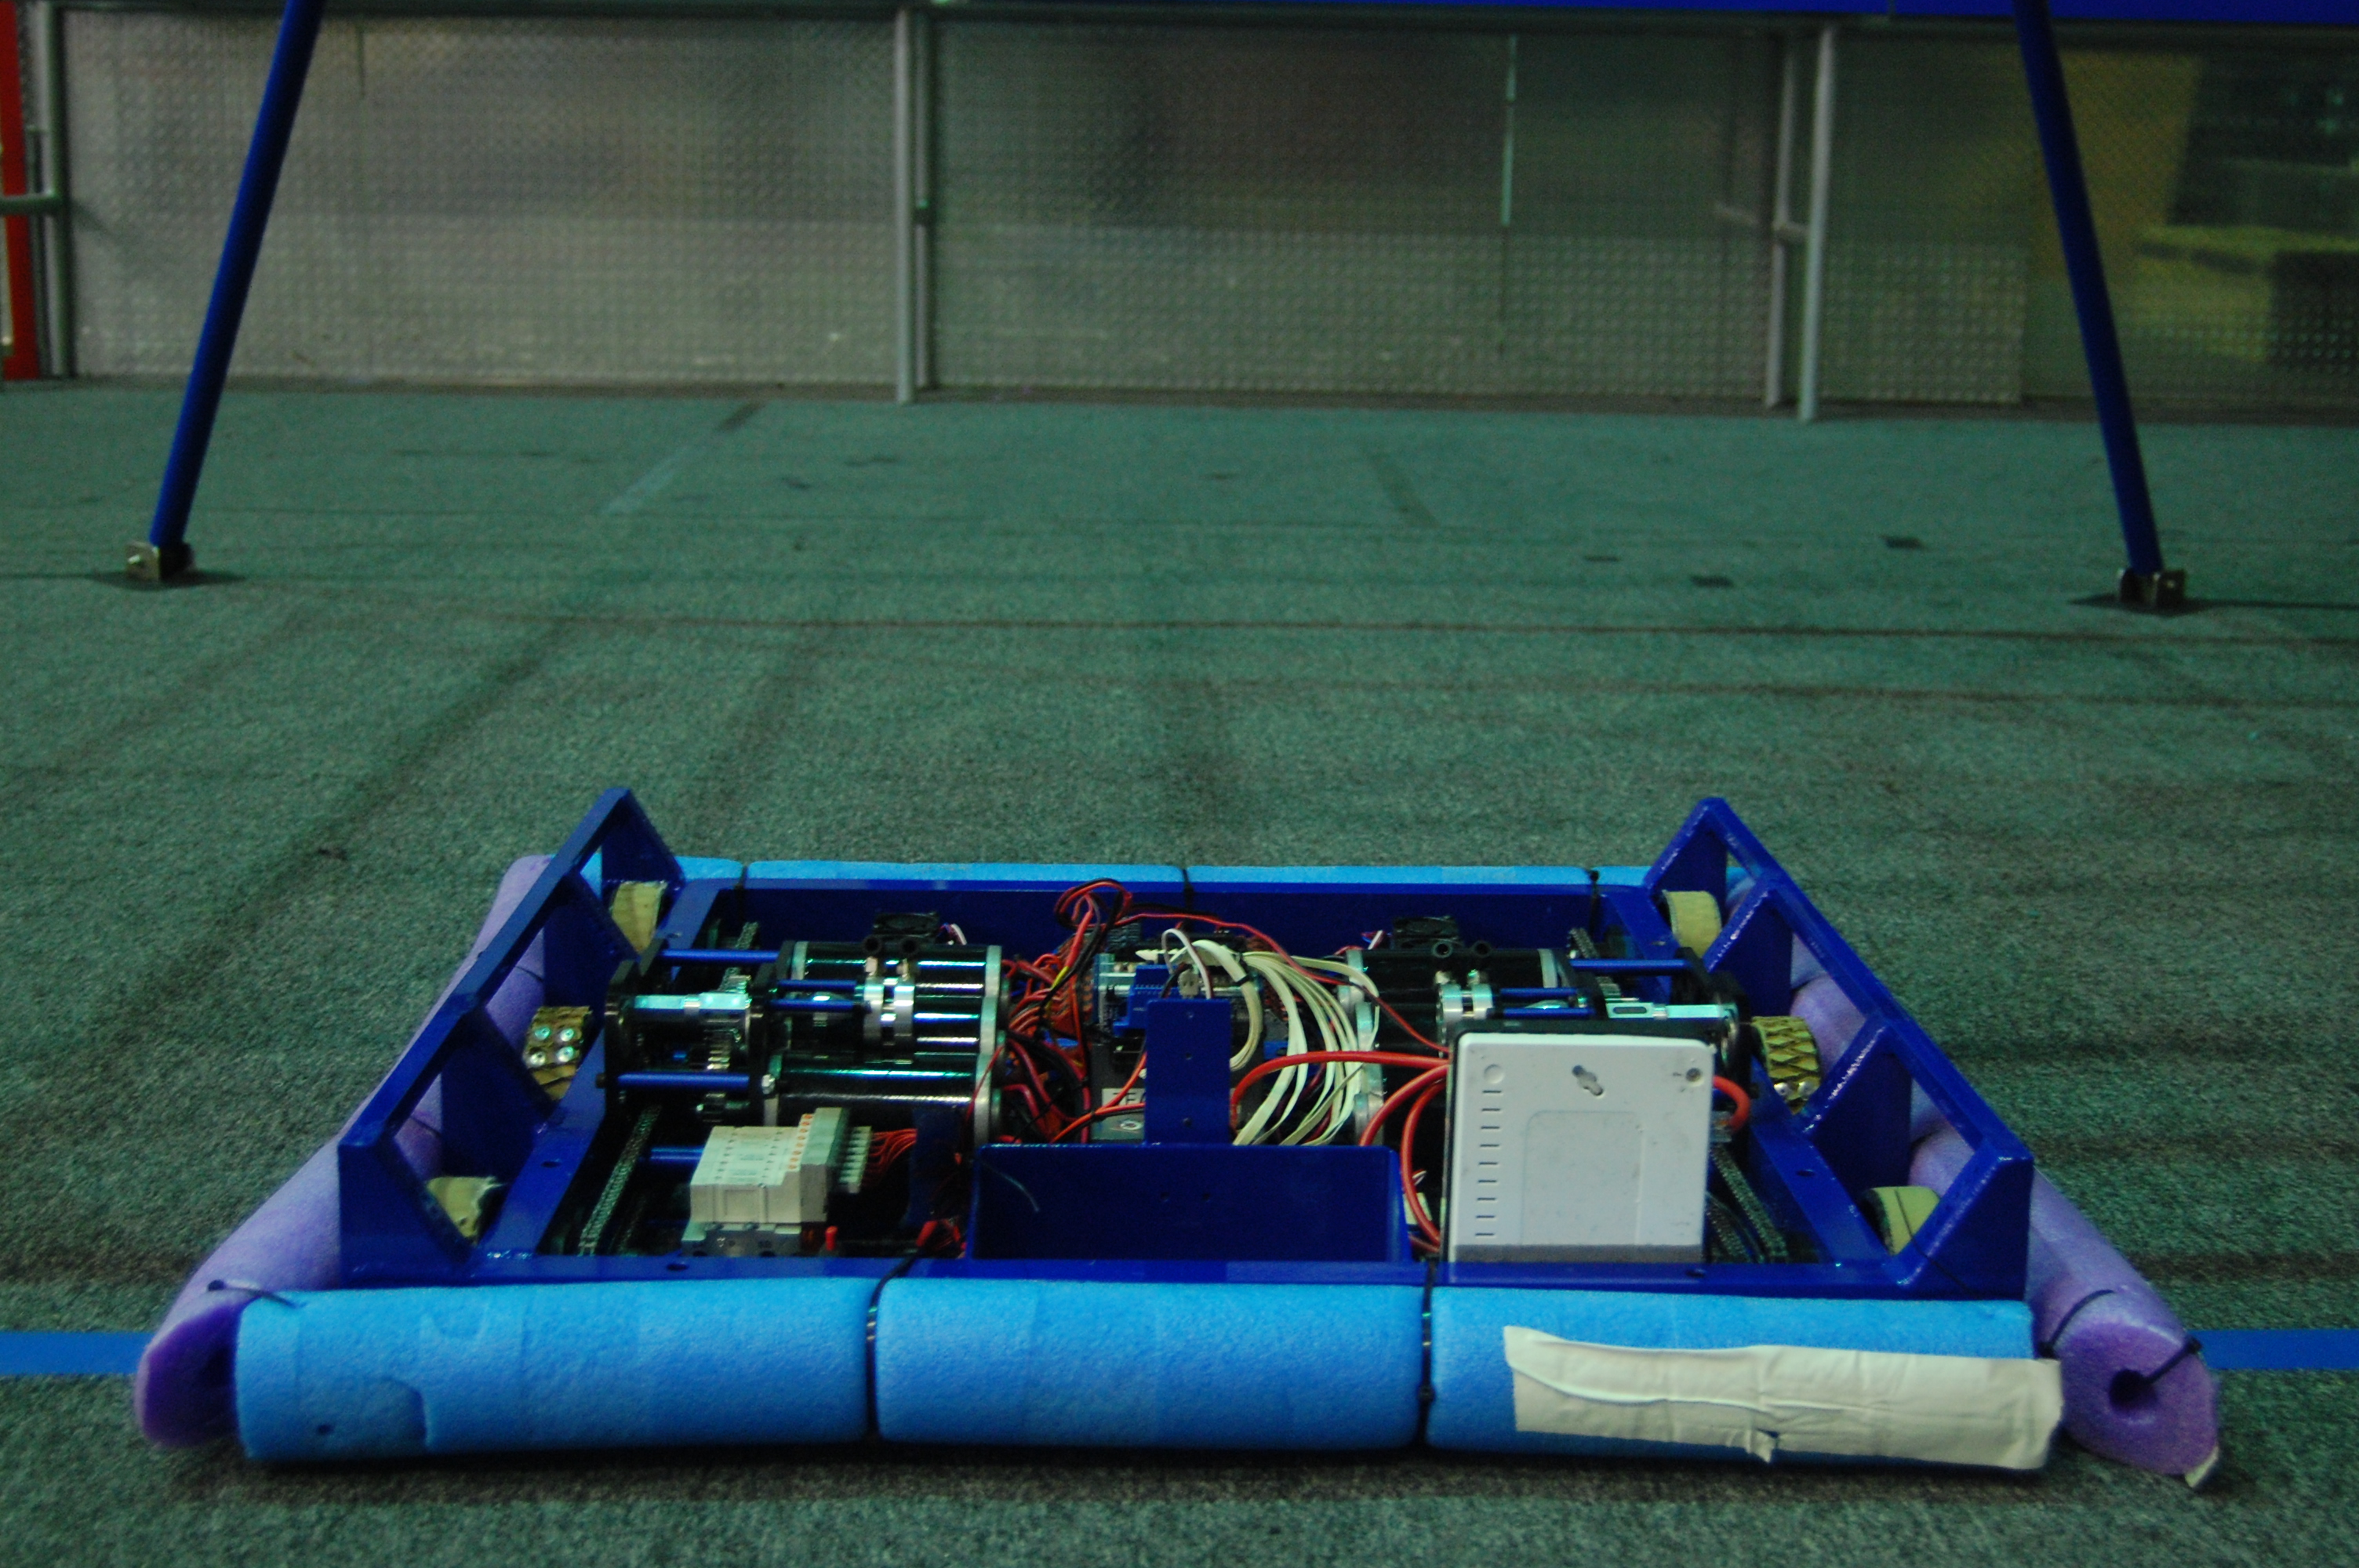
Day #40: Hang On Tight
The 2013 practice robot
Over the course of the past six weeks, robot development has come a long way. Today the team was able to test out robot hanging for the first time. That is a great accomplishment for the short amount of time allowed, but the robot still requires a great deal of work in order to be complete by tomorrow, Tuesday. In other words, mentors and students must make the final push tomorrow, just in time for bag-and-tag.
Competition robot hanging on the pyramid
Wiring
The team worked to attach most of the wiring for the robot. They wired the pressure gauges in order to fire pistons and hang on to the pyramid. Students also routed encoder wires to the shooter and other functions of the robot. Autonomous testing will be done soon after their completion.
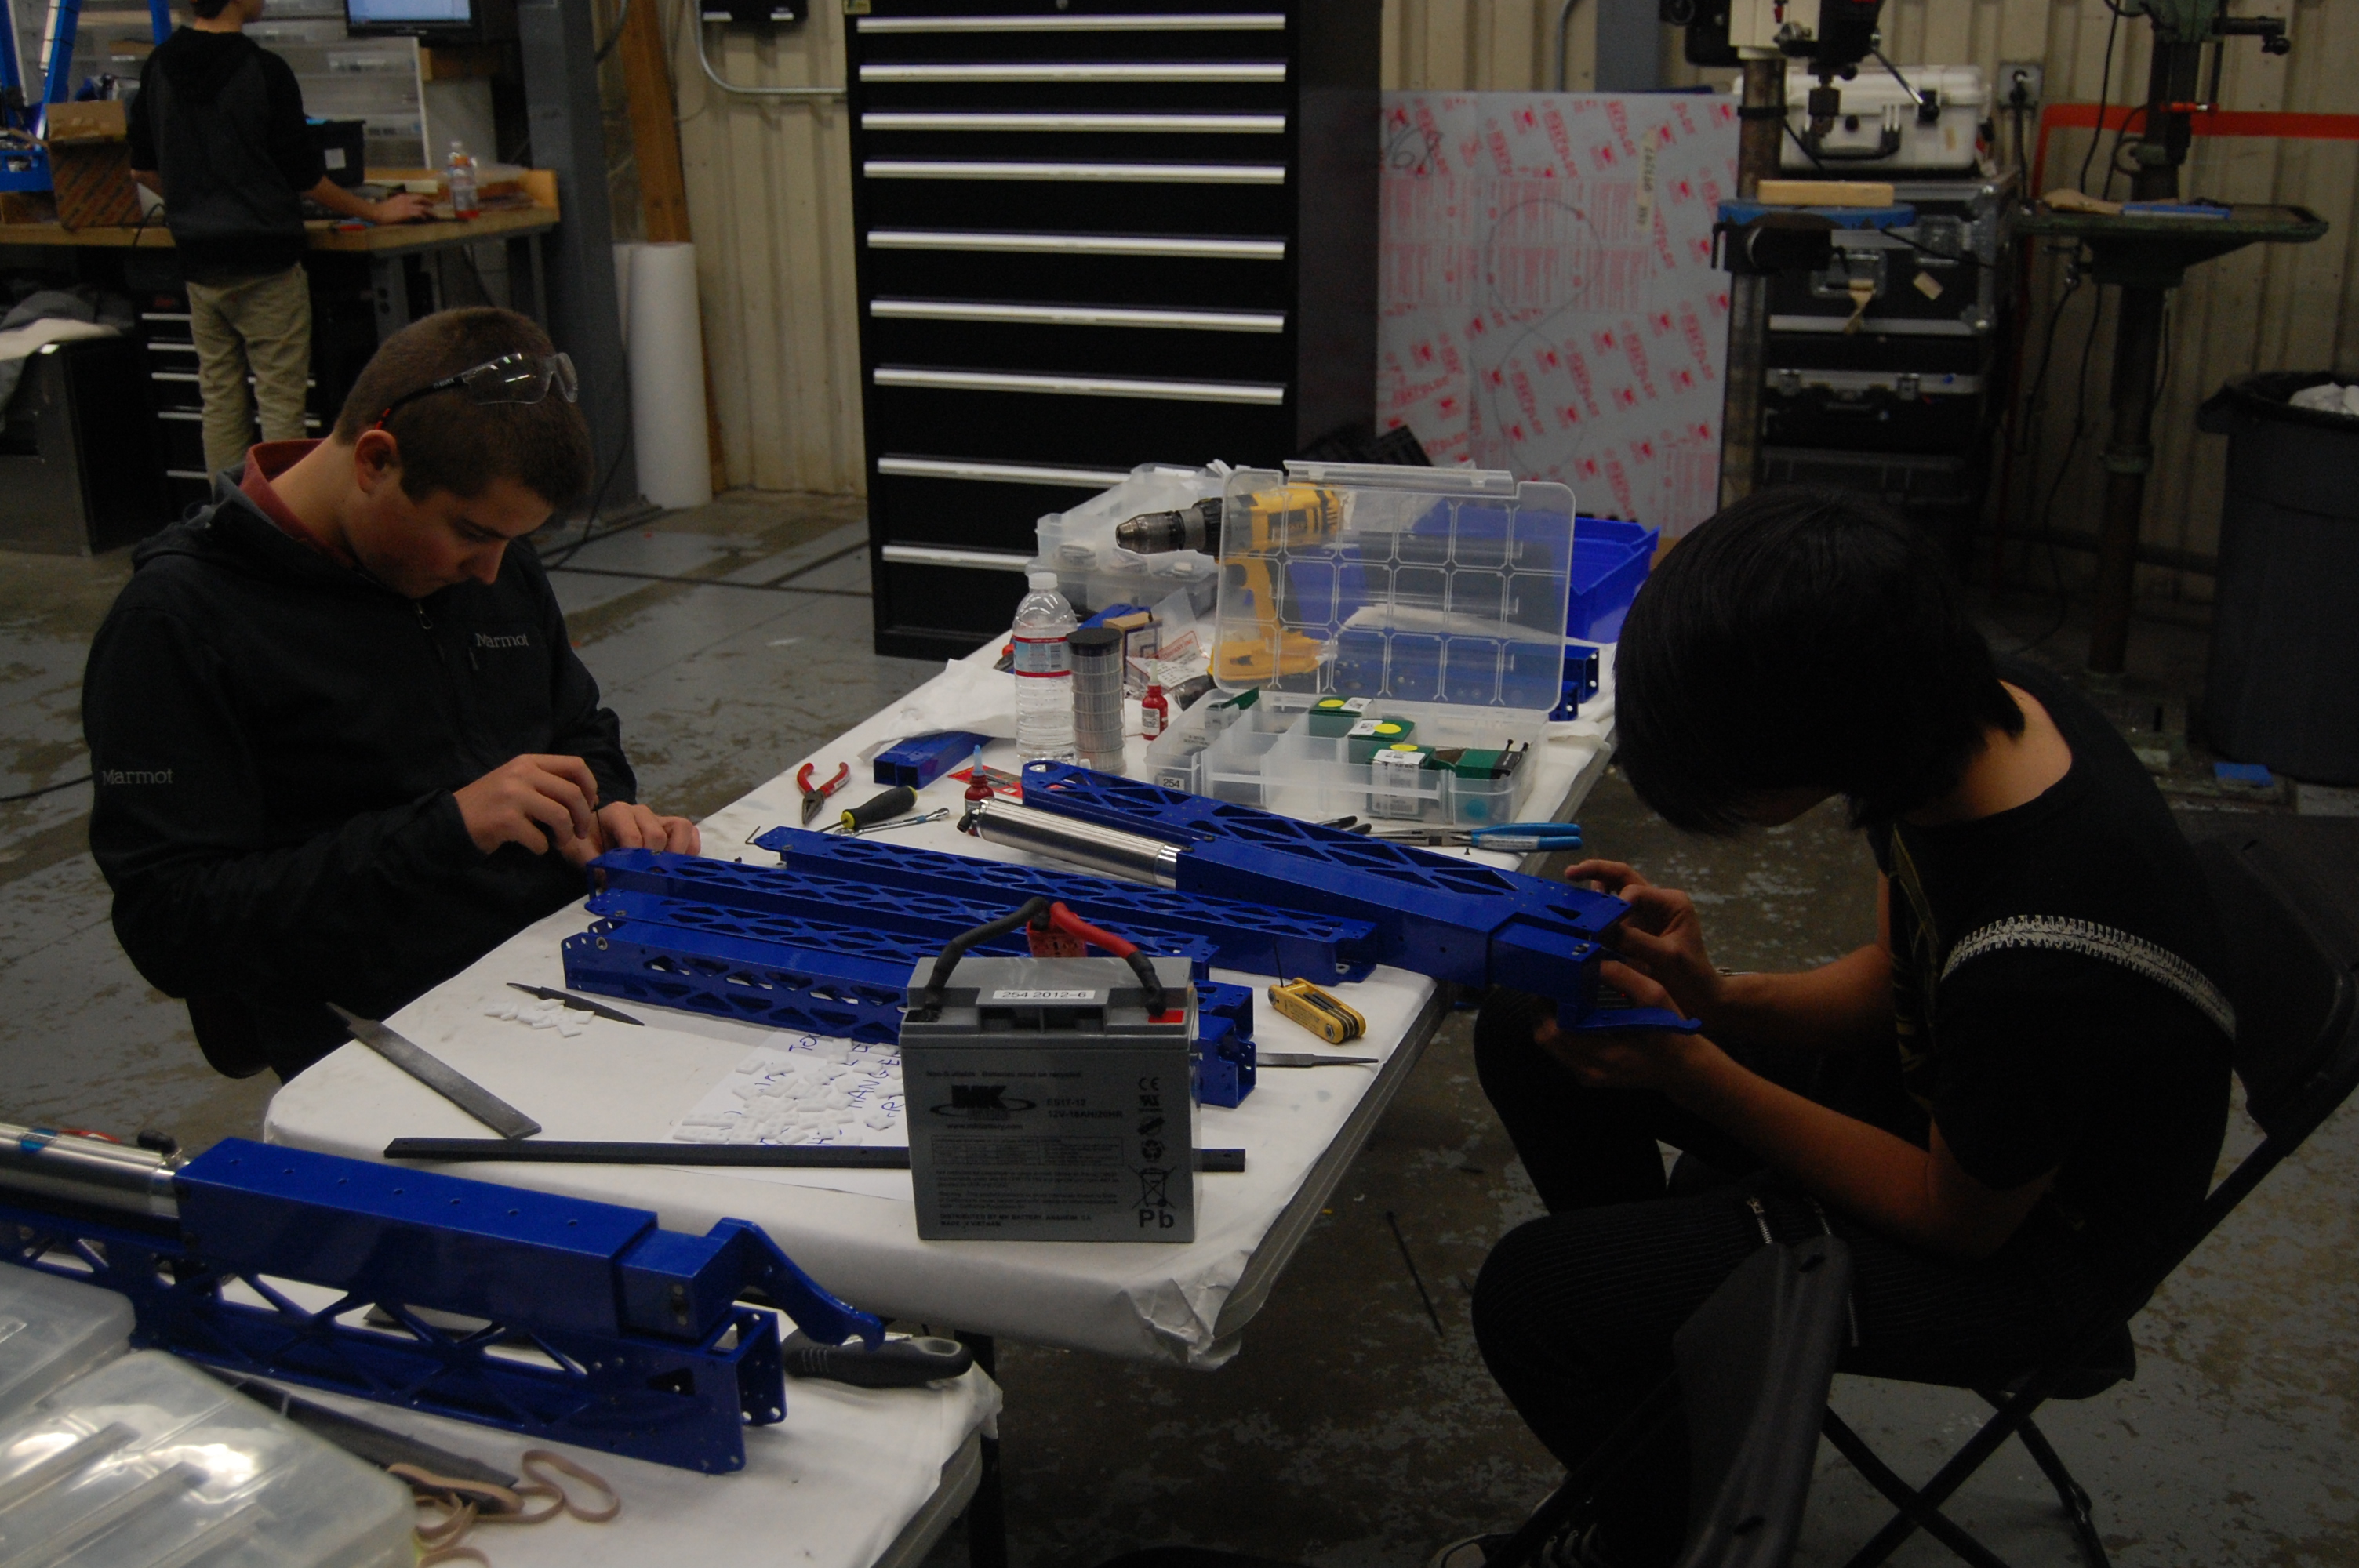
Assembly
Students worked tediously to complete all layers and dimensions of the hanger arms. Because the arms must extend, they built linear sliders, which substantially adds to the complexity of its build. They deburred teflon blocks to mount screws, drilled holes to place screws, and assembled bearings for a smooth slide in and out.
Another group of students also cut and bent polycarbonate sheets for the bottom support of the conveyors.
Assembling the hanger arms
Manufacturing
Students used the lathe to manufacture more spacers for the robot. Nagy designed, printed, and cut out the sponsor logos to put on the robot.
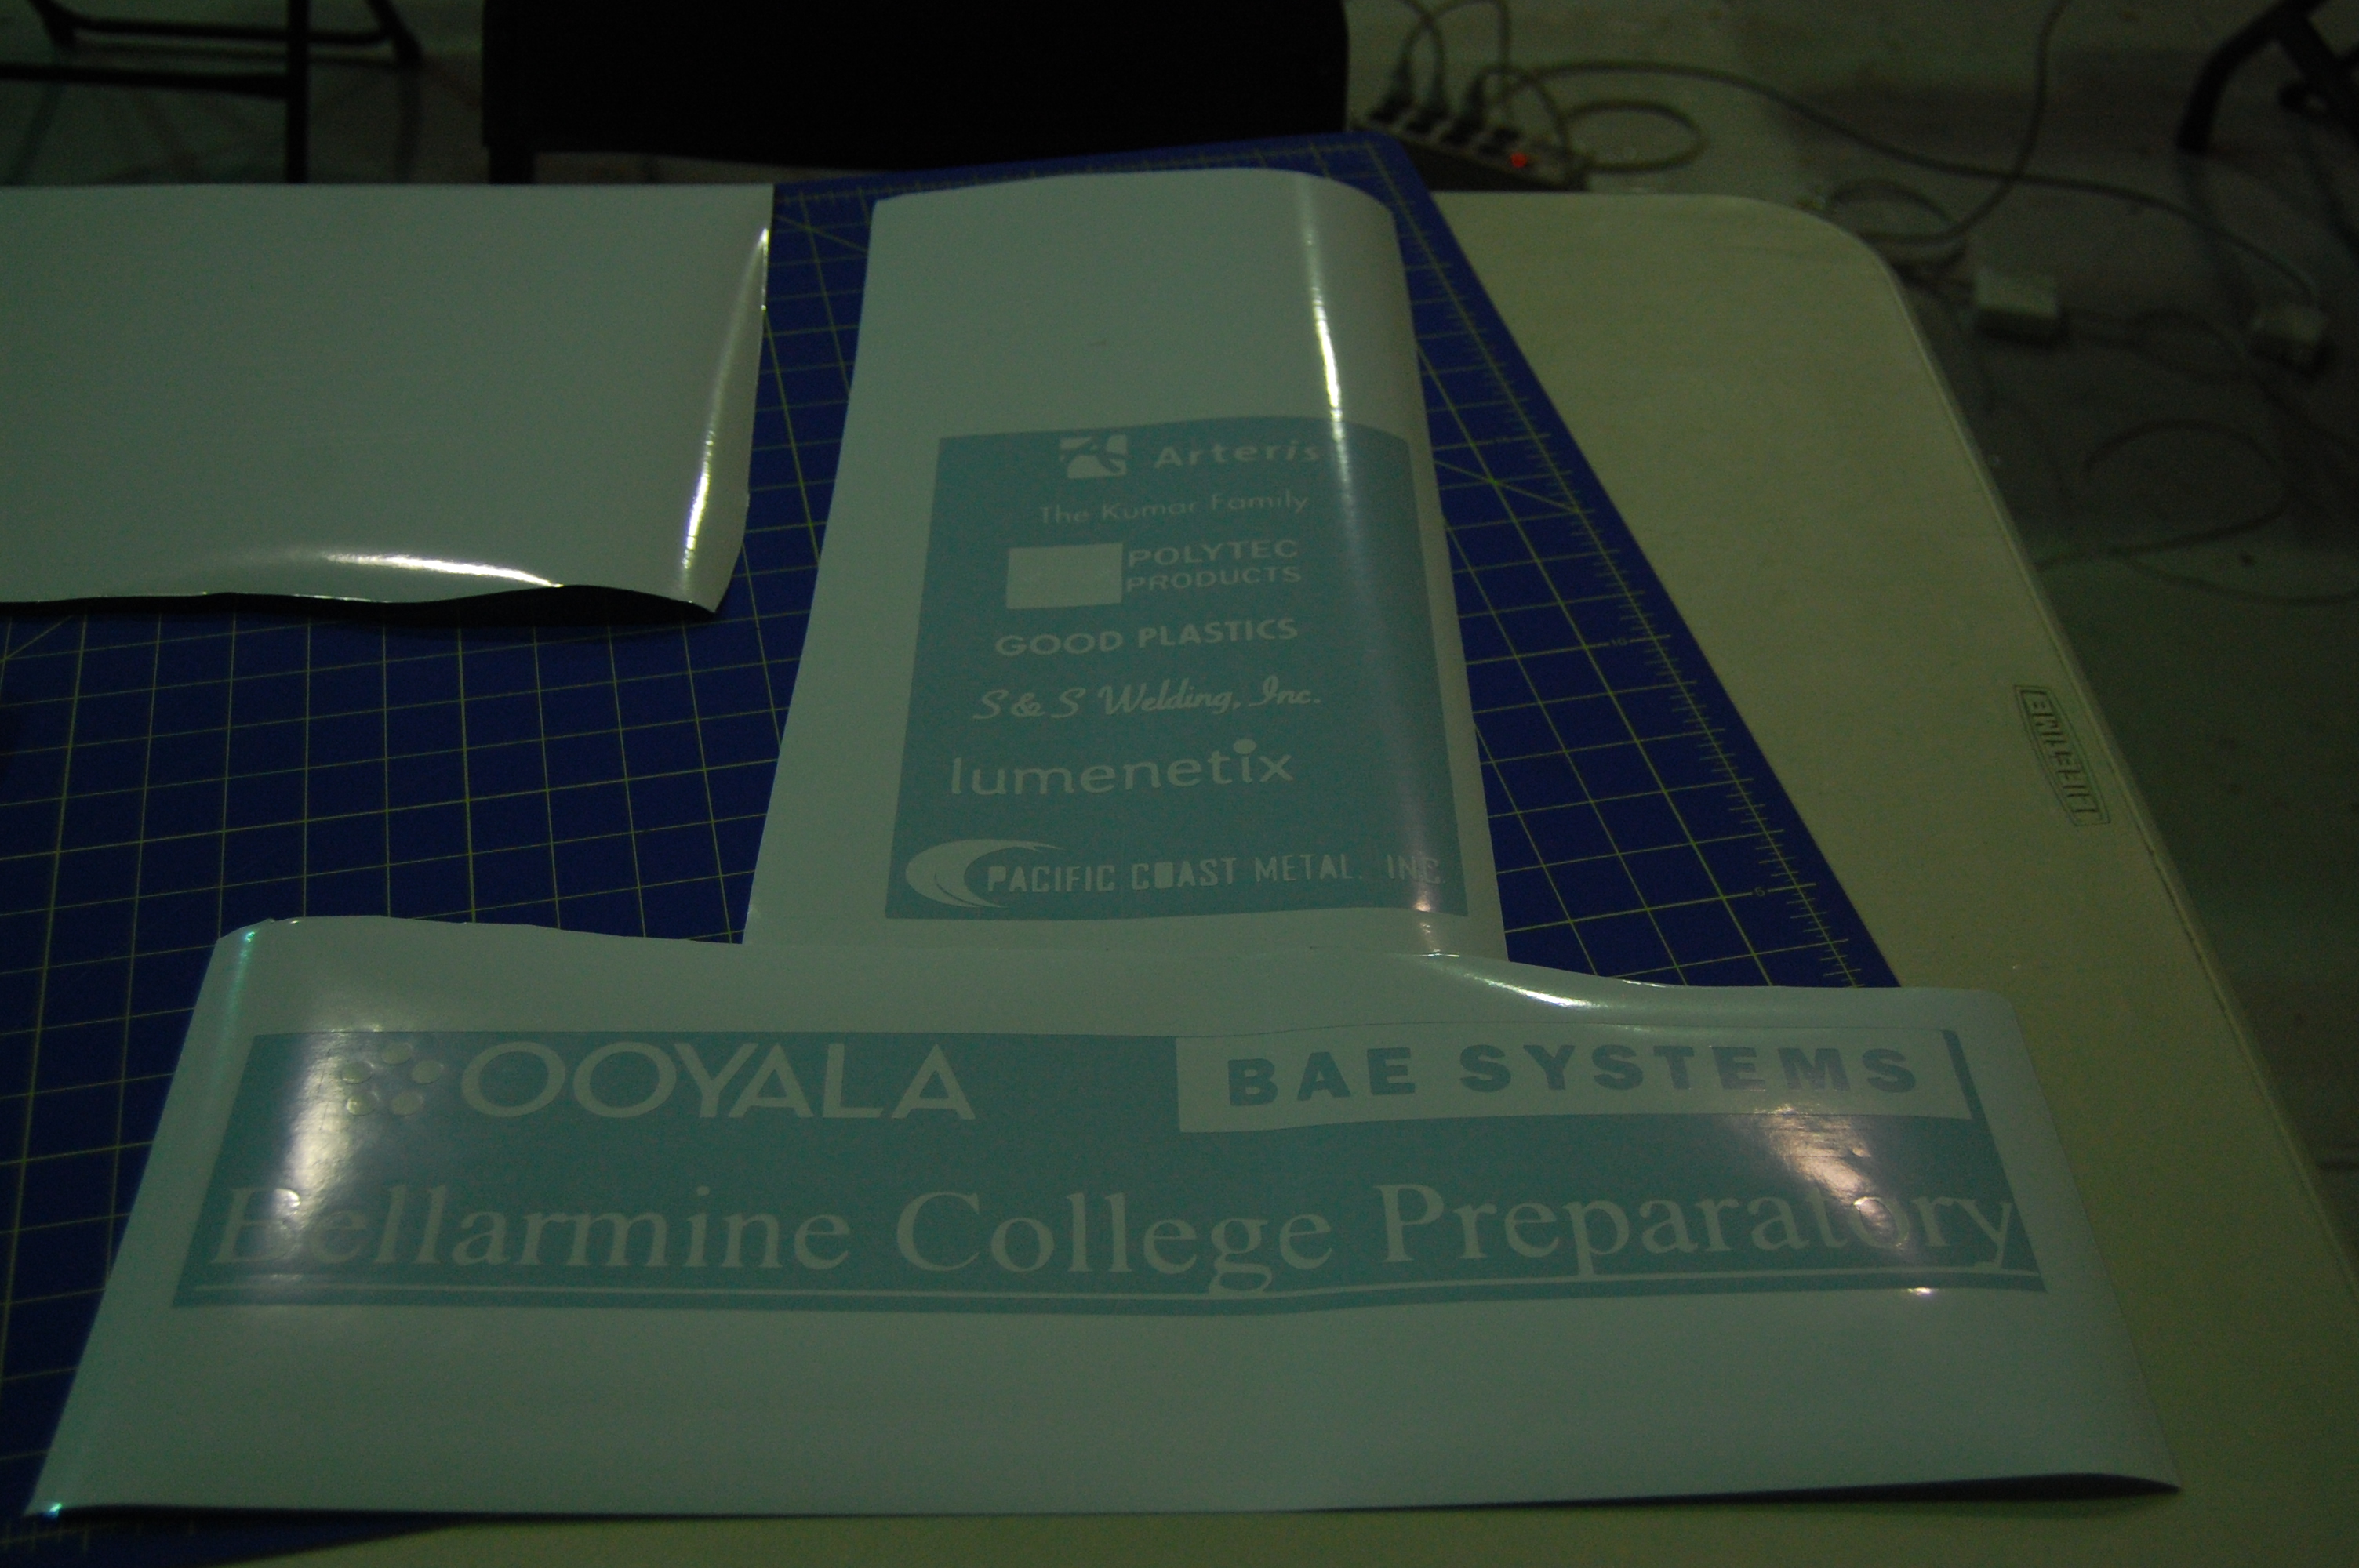
The sponsor logos, which will go on the competition robot’s side panels
Programming
The programmers wrote code for all systems of the robot to facilitate testing of the competition robot. Besides this, students wrote a Notifier class that will publish events to each Listener, which will help with communication across the robot. For instance, if the shooter has detected that it has shot a frisbee, it will send a notification to Notifier; since the Indexer is a “subscriber” of the shooter’s notifications, it will know to load up another frisbee.
Meanwhile, the programmers continued work on TCP communication between the robot and a laptop.
Action Items
- Finish robot!
Expected closing time for the lab: all day and all night
*To all of the dedicated members that read this blog nightly, the lab will open at 9:00 AM Tuesday morning to finish the robot.
Day #39: Scrimmage Day 2
Lab Scrimmage
Today more teams arrived to the lab to use the field for practice, including 256, 751, 840, 1700, and 4535. The operators tested various shooting, climbing and driving mechanisms, as well as software.
Assembly & Wiring
Due to a lack of space in the lower workbenches of the lab, students and mentors transferred the robot to tables in the upper deck, and worked on wiring the competition robot. In the lower workbenches, students worked on assembling the climbing mechanism, which will be later attached to the robots.
Manufacturing
Today, mentors and students machined shafts for the climbing mechanism on the lathe.
Programming
Most of the programming involved minor changes to ports and testing motors, Talons, and encoders on the competition robot.
Pit Lights
A few programmers tried to capture the signal sent by the IR remotes that control the new pit lights. Unfortunately, they could not get the Microsoft IR receiver or the Arduino to capture the signal properly. When they do, they’ll record the values corresponding to buttons on the remote and try to send those signals with the Arduino IR transmitter. This would allow a script to send data to the Arduino regarding which color to change the lights to. Ideally, we’ll be able to bypass the sensors altogether and send signals directly to the lights without IR.
Expected closing time for the lab: 7:20 AM
Day #38: FRC Open Lab Scrimmage, Manufacturing, CAD
By Nick Mercadante
Lab Scrimmage
Today, the lab was opened to other FRC teams to let them practice on our field. They were able to practice hanging on the pyramids and were able to practice and adjust their shooting. The human players were able to get a couple throws in as well.
Manufacturing
While they were practicing on the Field, Students were working on attaching the latches onto the bumpers so that they would stay secure to the robot. Some adjustments were made to the inner indexing system so that it could feed the frisbee to the shooter at all of the angles that the shooter may be positioned at. Parts were manufactured for the hanger on the robot as well. The Practice Robot is almost finished and the competition robot is not too far behind.
CAD
The CAD for the Gearbox was updated to the current setup of the gearbox.
Day #37: Continued Conveyor Assembly
Robot Assembly
Students continued assembly of the conveyor system for the competition robot. They added the BBDs and their shafts, and attached the CIM to the conveyor.
Some students took a trip up to Pacific Coast Metals to pick up some anodized parts that were dropped off this morning. These parts will go on various subsystems on the robot, such as the intake attachements and shooter.
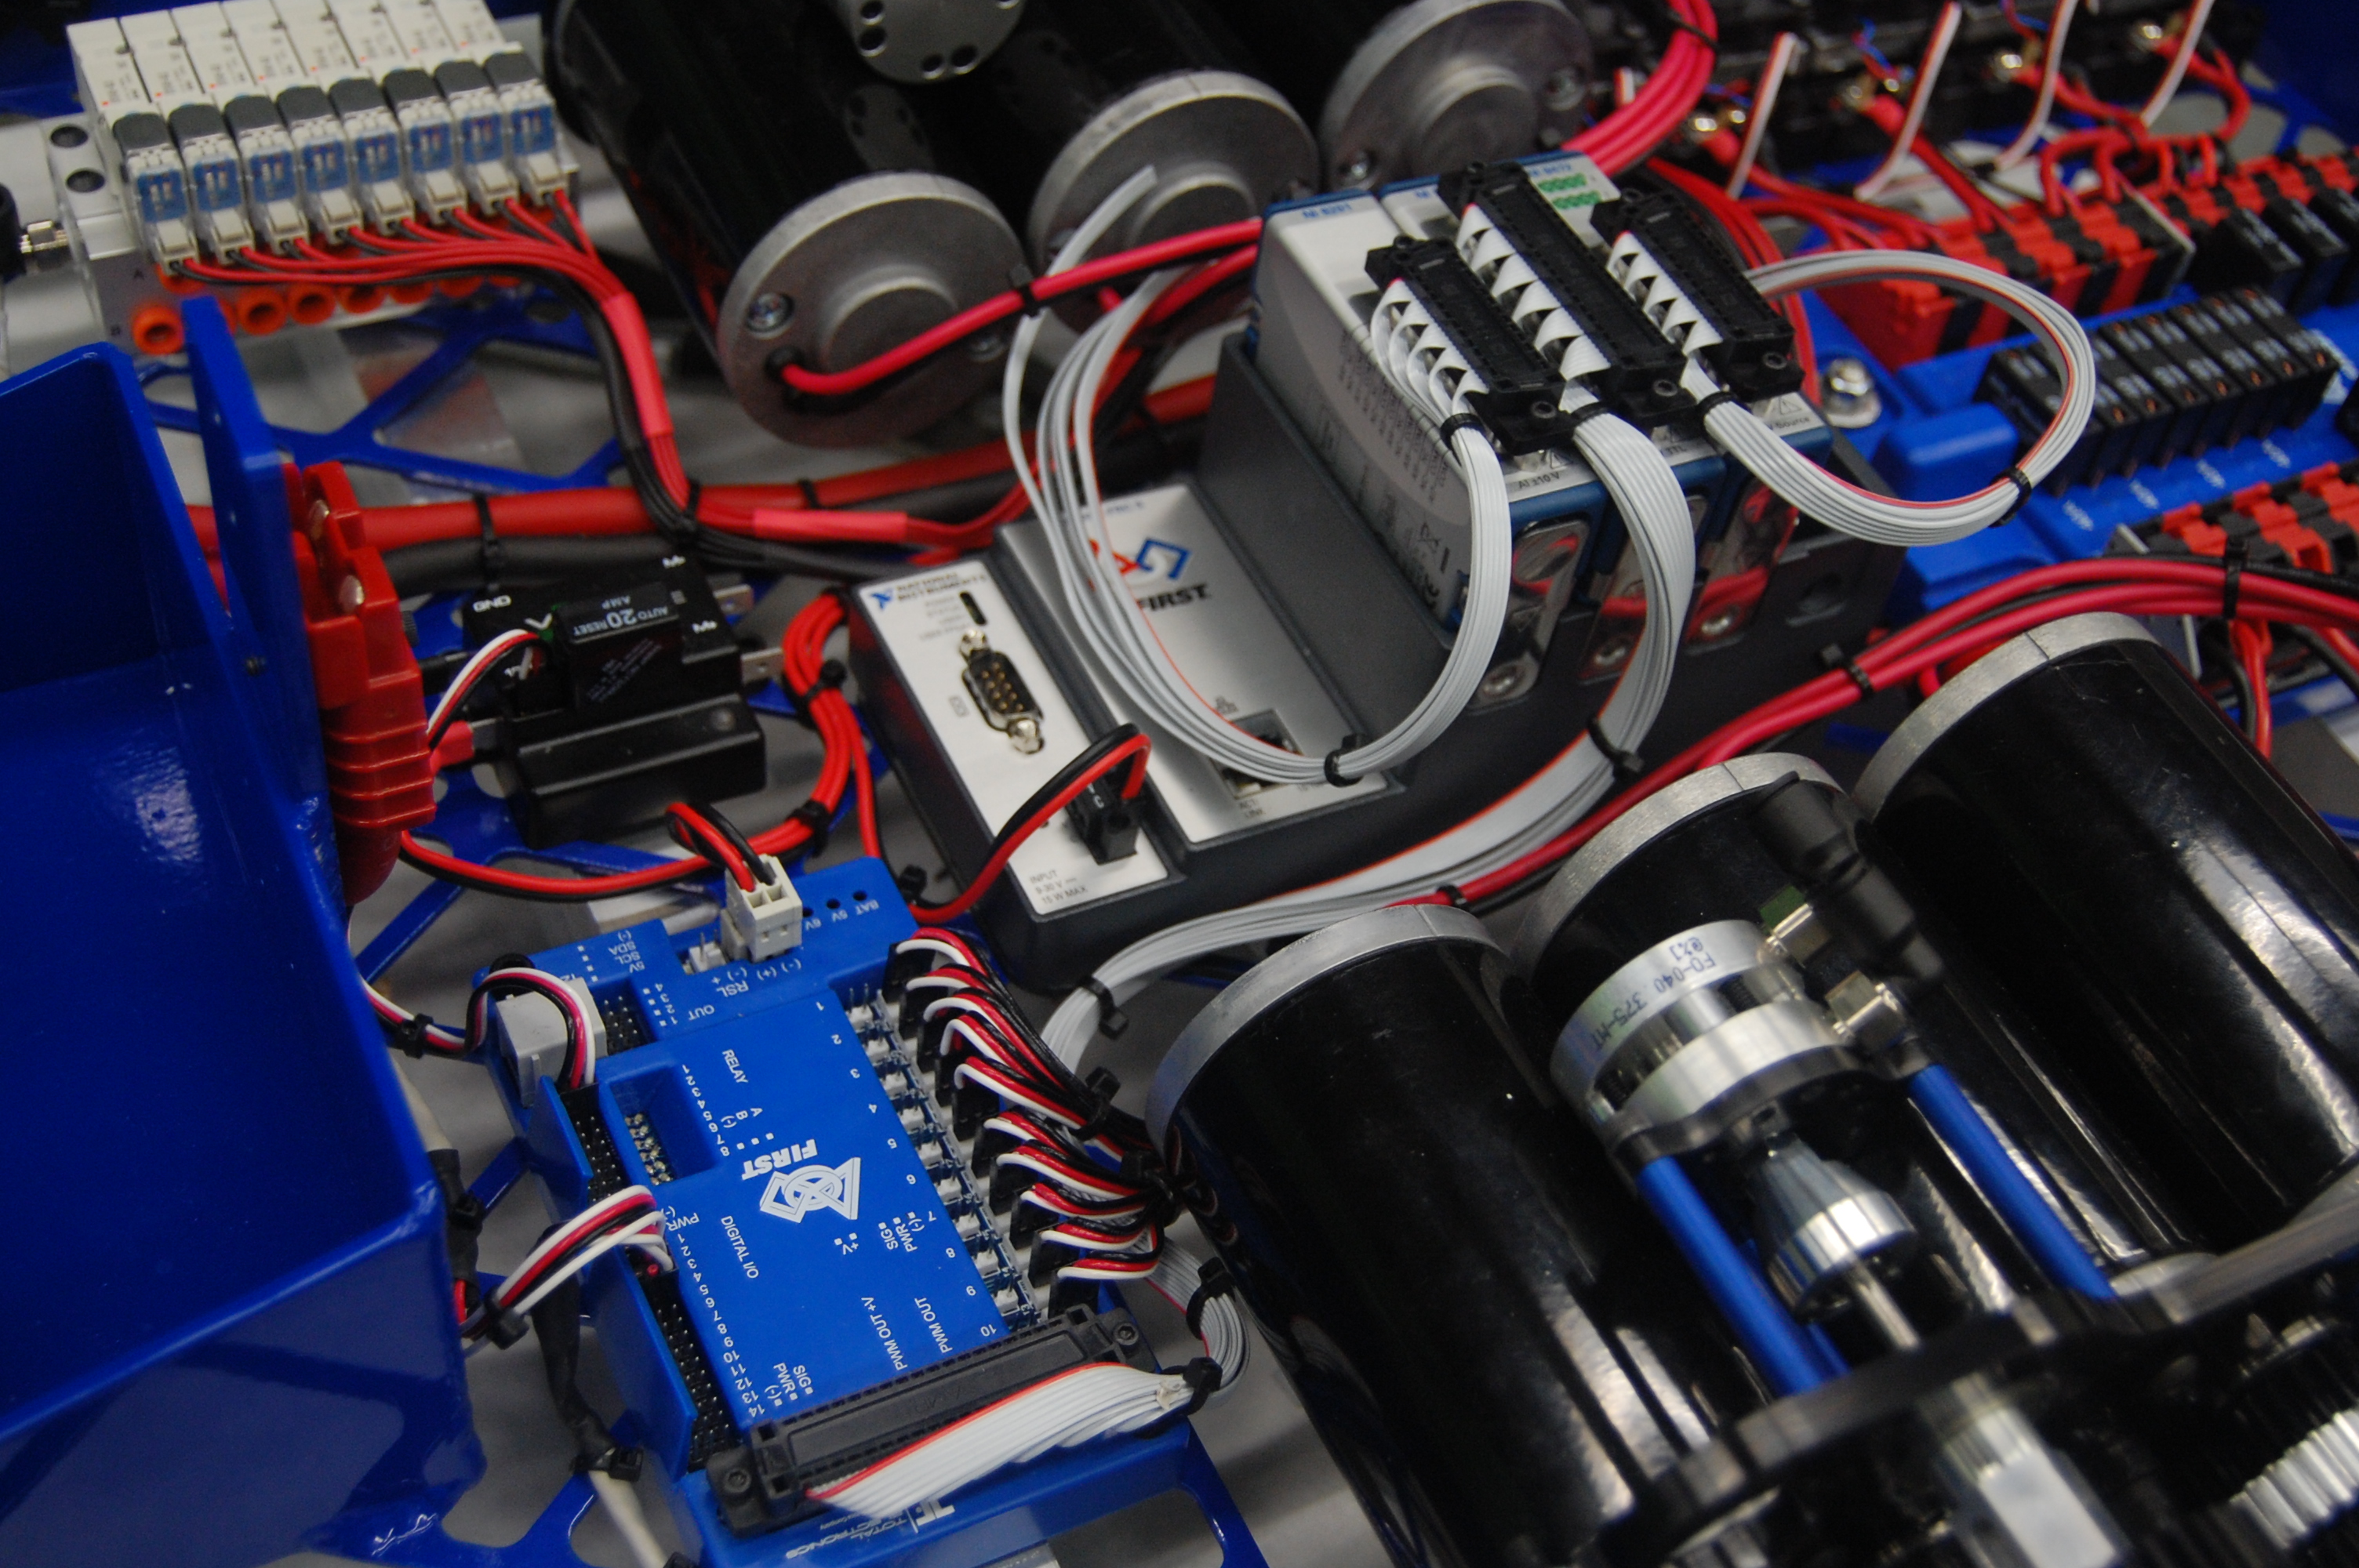
Meanwhile, other students continued wiring on the competition robot. Many zipties were used to make the wiring look pretty. Also, a new battery voltage reader was attached to the power distribution board.
Field Assembly
The top goals on each side of the field was further secured. This is to fasten the high and middle goals onto its support structures, as well as add some stability to the whole system. In addition, the wrappings of the polycarbonate sheets was removed to reveal the transparency of the goals, all in preparation of the scrimmage this weekend.
Manufacturing
Team members began cutting metal to length on the horizontal band saw, such as some 1/4" diameter rods that will be used on the climbing structure.
Programming
The programmers continued making improvements to the frisbee simulator. They added a feature that would graph the trajectory of the frisbee as it hits the wall of the high goal. Currently, the program is set up such that the frisbee would hit the high goal before it begins to drop back down to the ground. The programmers are currently working on tidying up and making enhancements to the graphical portion of the simulator, such as adding axes and labels to the graph. Once done, the team will share its results with the FIRST community via Chief Delphi.
Action Items
-
Continue machining parts for the climber
-
Lab closing time for the night was… 11:30 AM (Yes, AM)
Day #36: Intake & Conveyor Assembly
Author: Andrew Torrance
Machining & Assembly
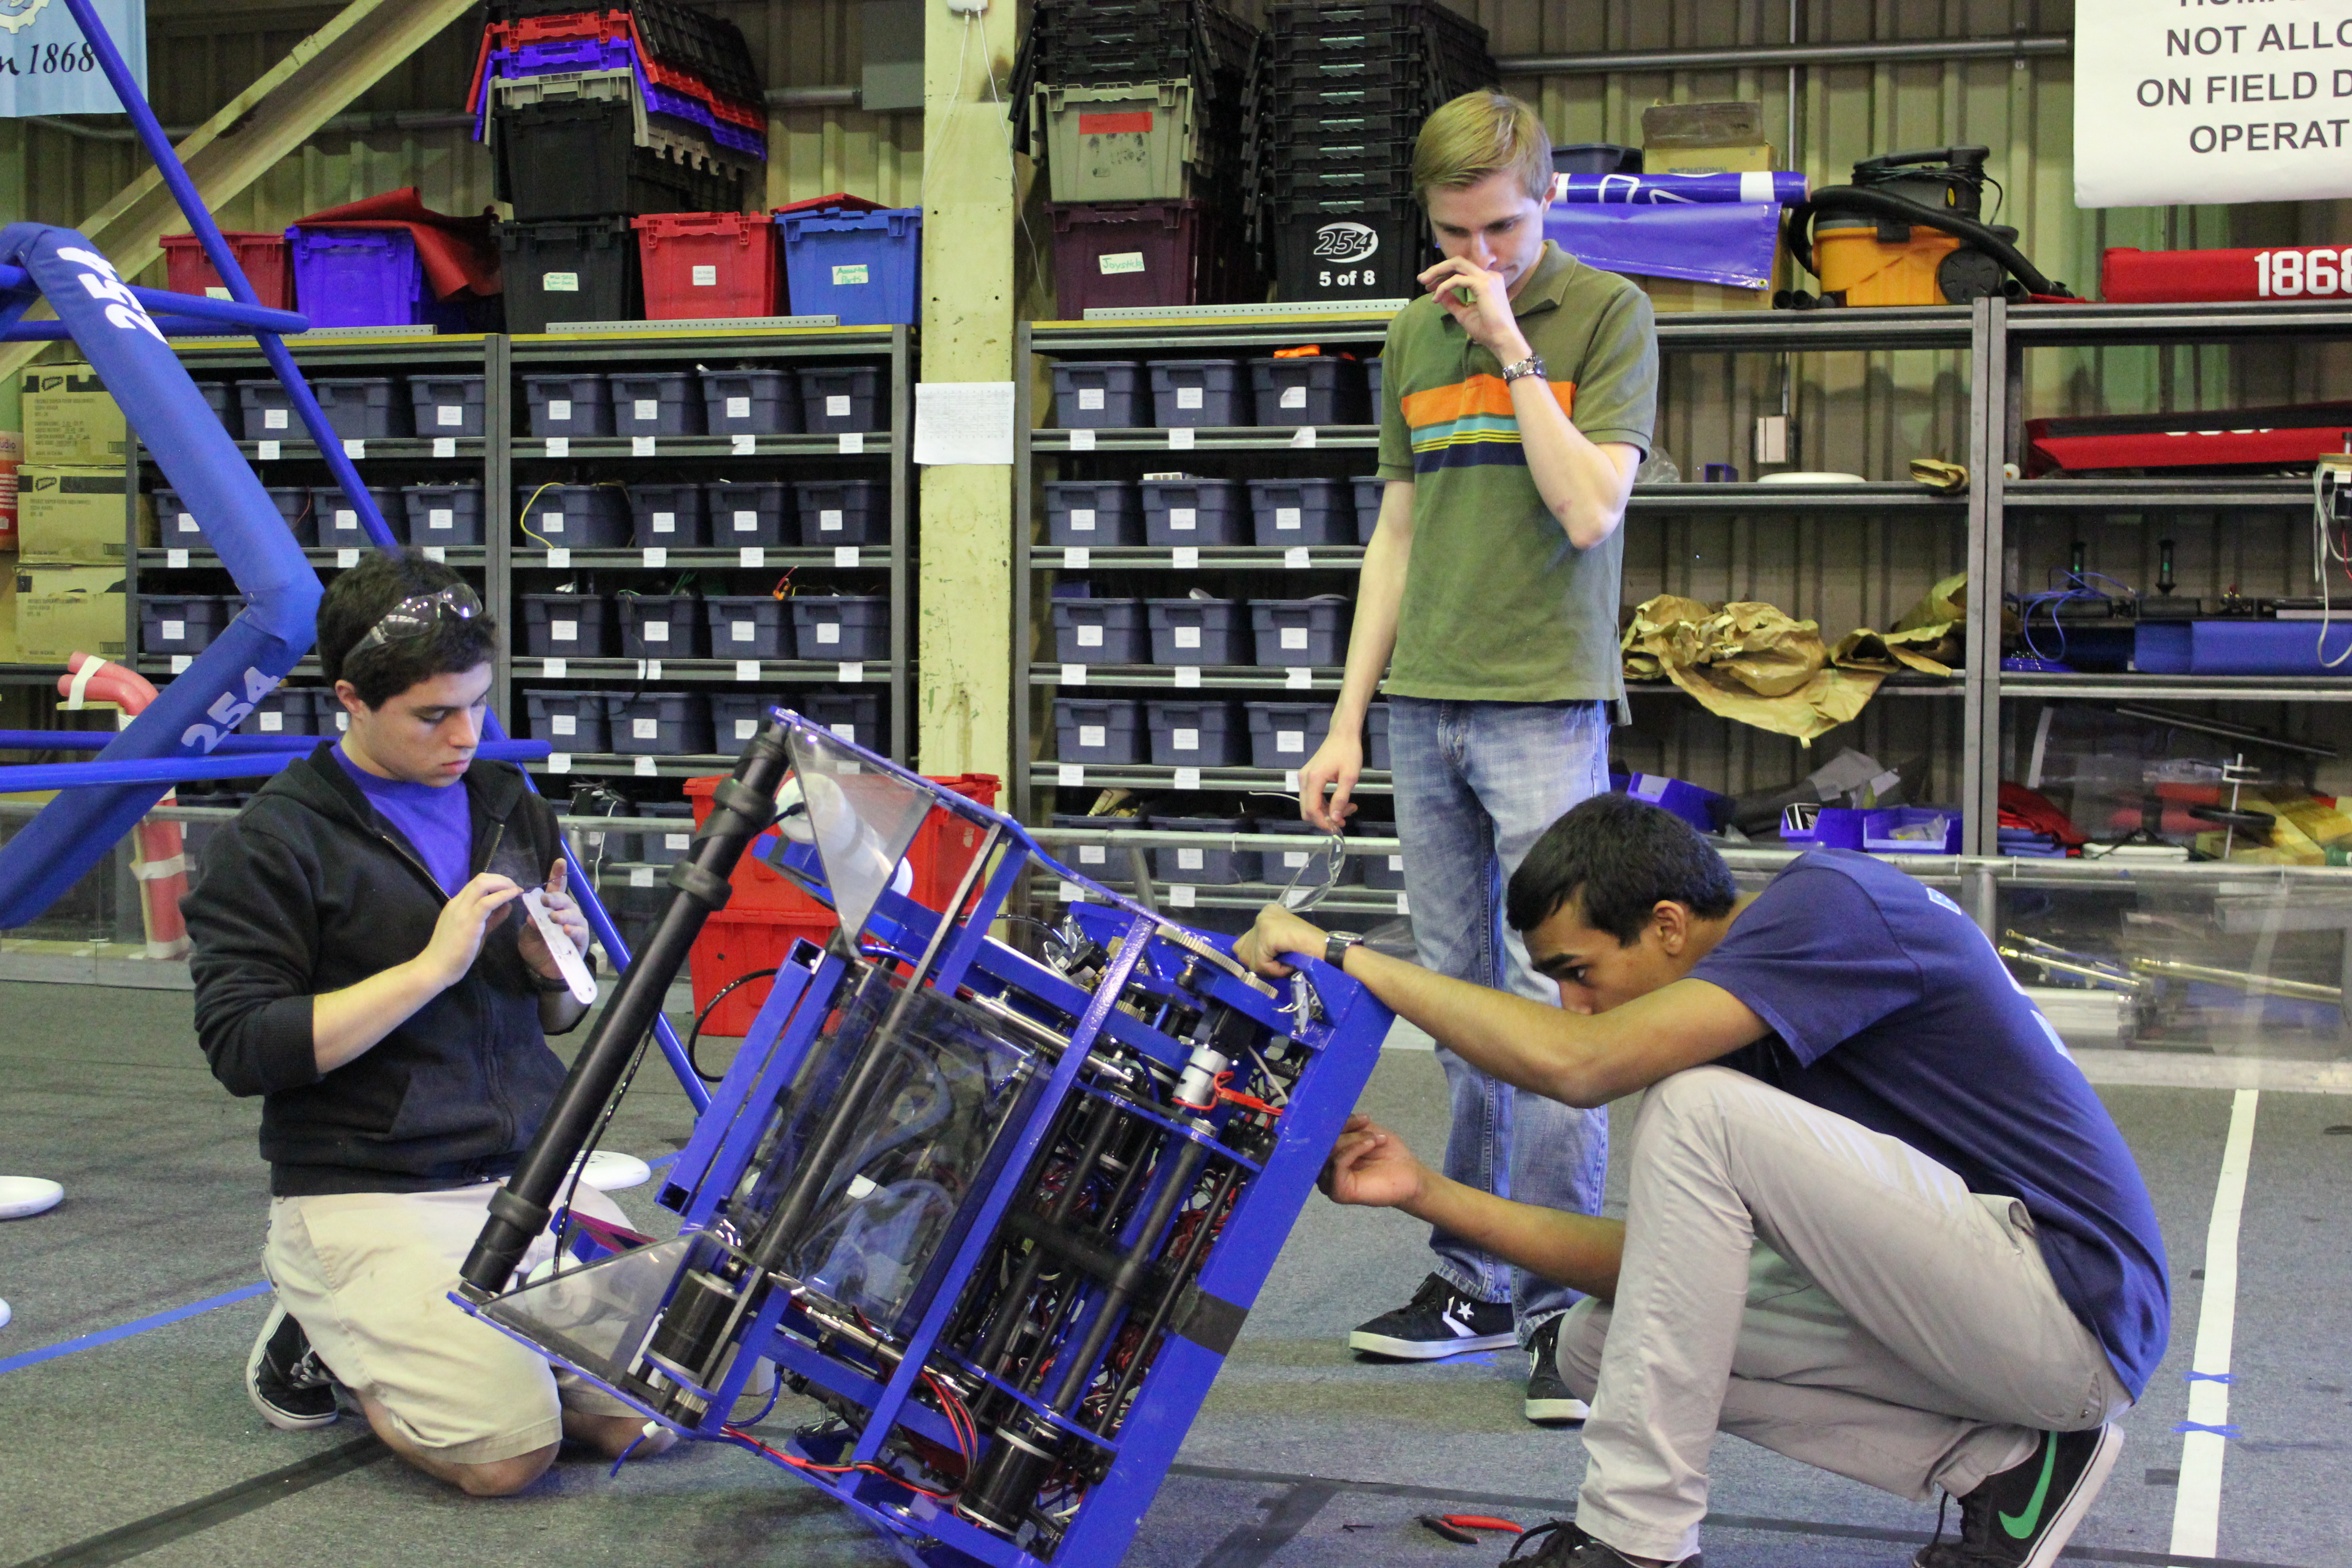
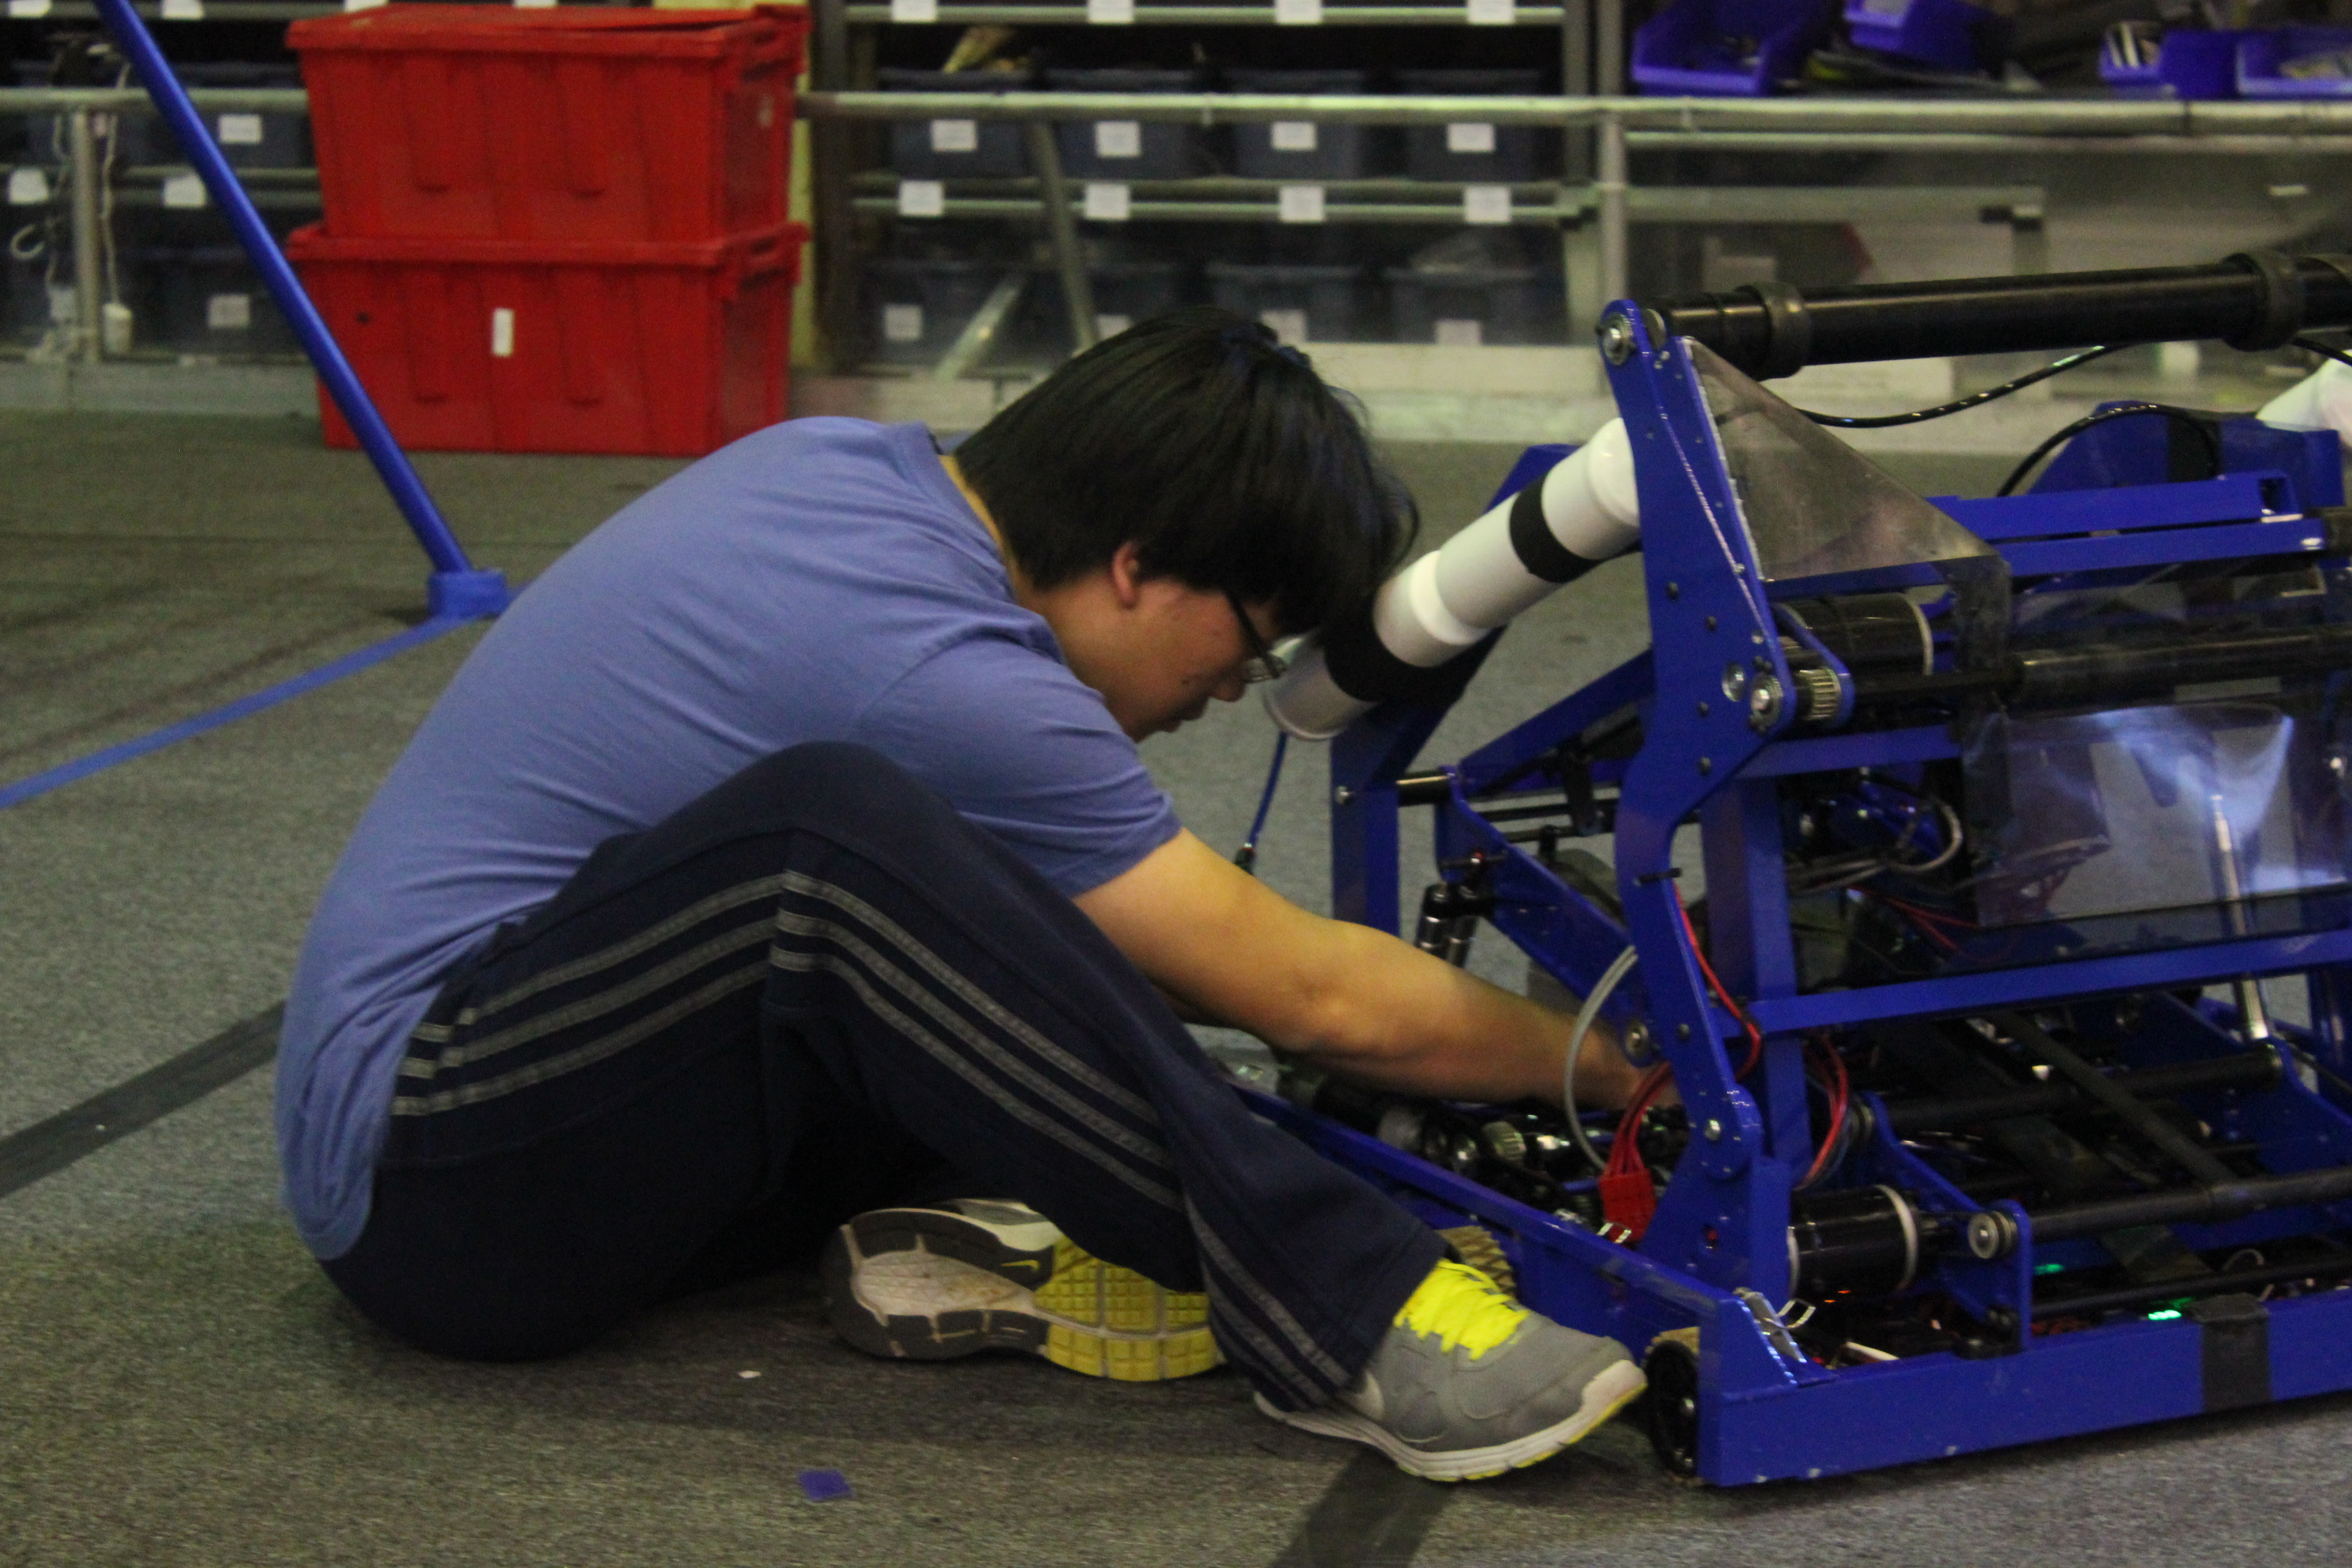
Students and mentors finished assembly of the intake and attached the superstructure frame. With the intake mounted to both the practice and competition robots, students and mentors plan to continue testing and tweaking the intake tonight. Students also put together the conveyor system and attached it to the superstructure of the practice robot. After some quick adjustments and temporary Gaffers tape, the conveyor worked fairly well. However, it was discovered that the side plate of the intake needed to be redesigned to allow for more spacing. In addition, one of the top crossbars of the intake was removed after students discovered that frisbees were getting stuck at a certain spot in the intake. Removing the bar greatly improved the results.
Students machining a polycarbonate plate for the intake
The competition robot in its current form
Testing the mounted intake and conveyor on the practice robot
CAD
Team members continued working on the CAD for the hangar, and are now close to being finalized. With 4 hooks, we plan to be able to climb and hang extremely quickly.
Programming
Students continued work on their Frisbee Thrower Simulator. This will calculate all the possible throws the robot can make from various positions on the field. We then use this data to determine an optimal shooting angle and speed. After approval from the programming mentors, the programmers plan on posting the source code and their results to ChiefDelphi forums to help out other teams.

Programming the simulator, written in Java
Field
Students finished mounting the blue-side Goals, vaccumed the field, and cleaned up miscellaneous parts and tools.
The finished and mostly-cleaned field!
Action Items
-
Continue cleaning field and lab for Scrimmage
-
Continue machining parts and assembling the robot
Lab Closing Time: 6:00 AM
Day #35: Field & Intake Assembly; Manufacturing
Manufacturing
Today, students and mentors continued work on manufacturing parts which will be anodized. These parts must be finished by Wednesday night in order to be sent to anodization Thursday, with a return on Friday. Many new materials were received for the intake and shooter. These were also cut and CNC’d for the conveyor, shooter, as well as the hanger.
Intake
We received powdercoated intake parts, and the intake mount was attached to the competition robot.
Field
The upper blue goal was mounted onto the structure that supports it, after much work on the support structure to ensure that the field wall and structure were leveled.
Action Items
- Finish Practice Bumpers
- Ensure field is complete for scrimmage
- Finish parts which will be anodized
Lab Closing Time: 4:40 AM
Day #34: Intake and Field Assembly
CAD
Today students went through the entire CAD and made sure that all of the necessary parts and materials to complete the robot have been purchased. To do this, he used a special feature in Solidworks that automatically created a bill of materials for the entire robot. He then cross-referenced this with our existing bill of materials to make sure that all the parts have been ordered. As of now, most of the parts have been ordered, however we still need to complete one more order with McMaster to obtain everything we need.
Nagy Hakim checking the Bill of Materials
Manufacturing
A lot of work was completed on the CNC today. Machining for the conveyor side plates is complete and ready for powdercoat. Machining for additional parts on the CNC, such as a structural gusset for the shooter, has begun.
Finished Conveyor Side Plates
Additionaly, manufacturing for more shooter parts have begun. Students with the help of mentors finished machining the cross-pieces for the shooter assembly. These pieces will act as spacers for the shooter side plates and provide support for the entire assembly.
Precision Milling with Pat and Nick
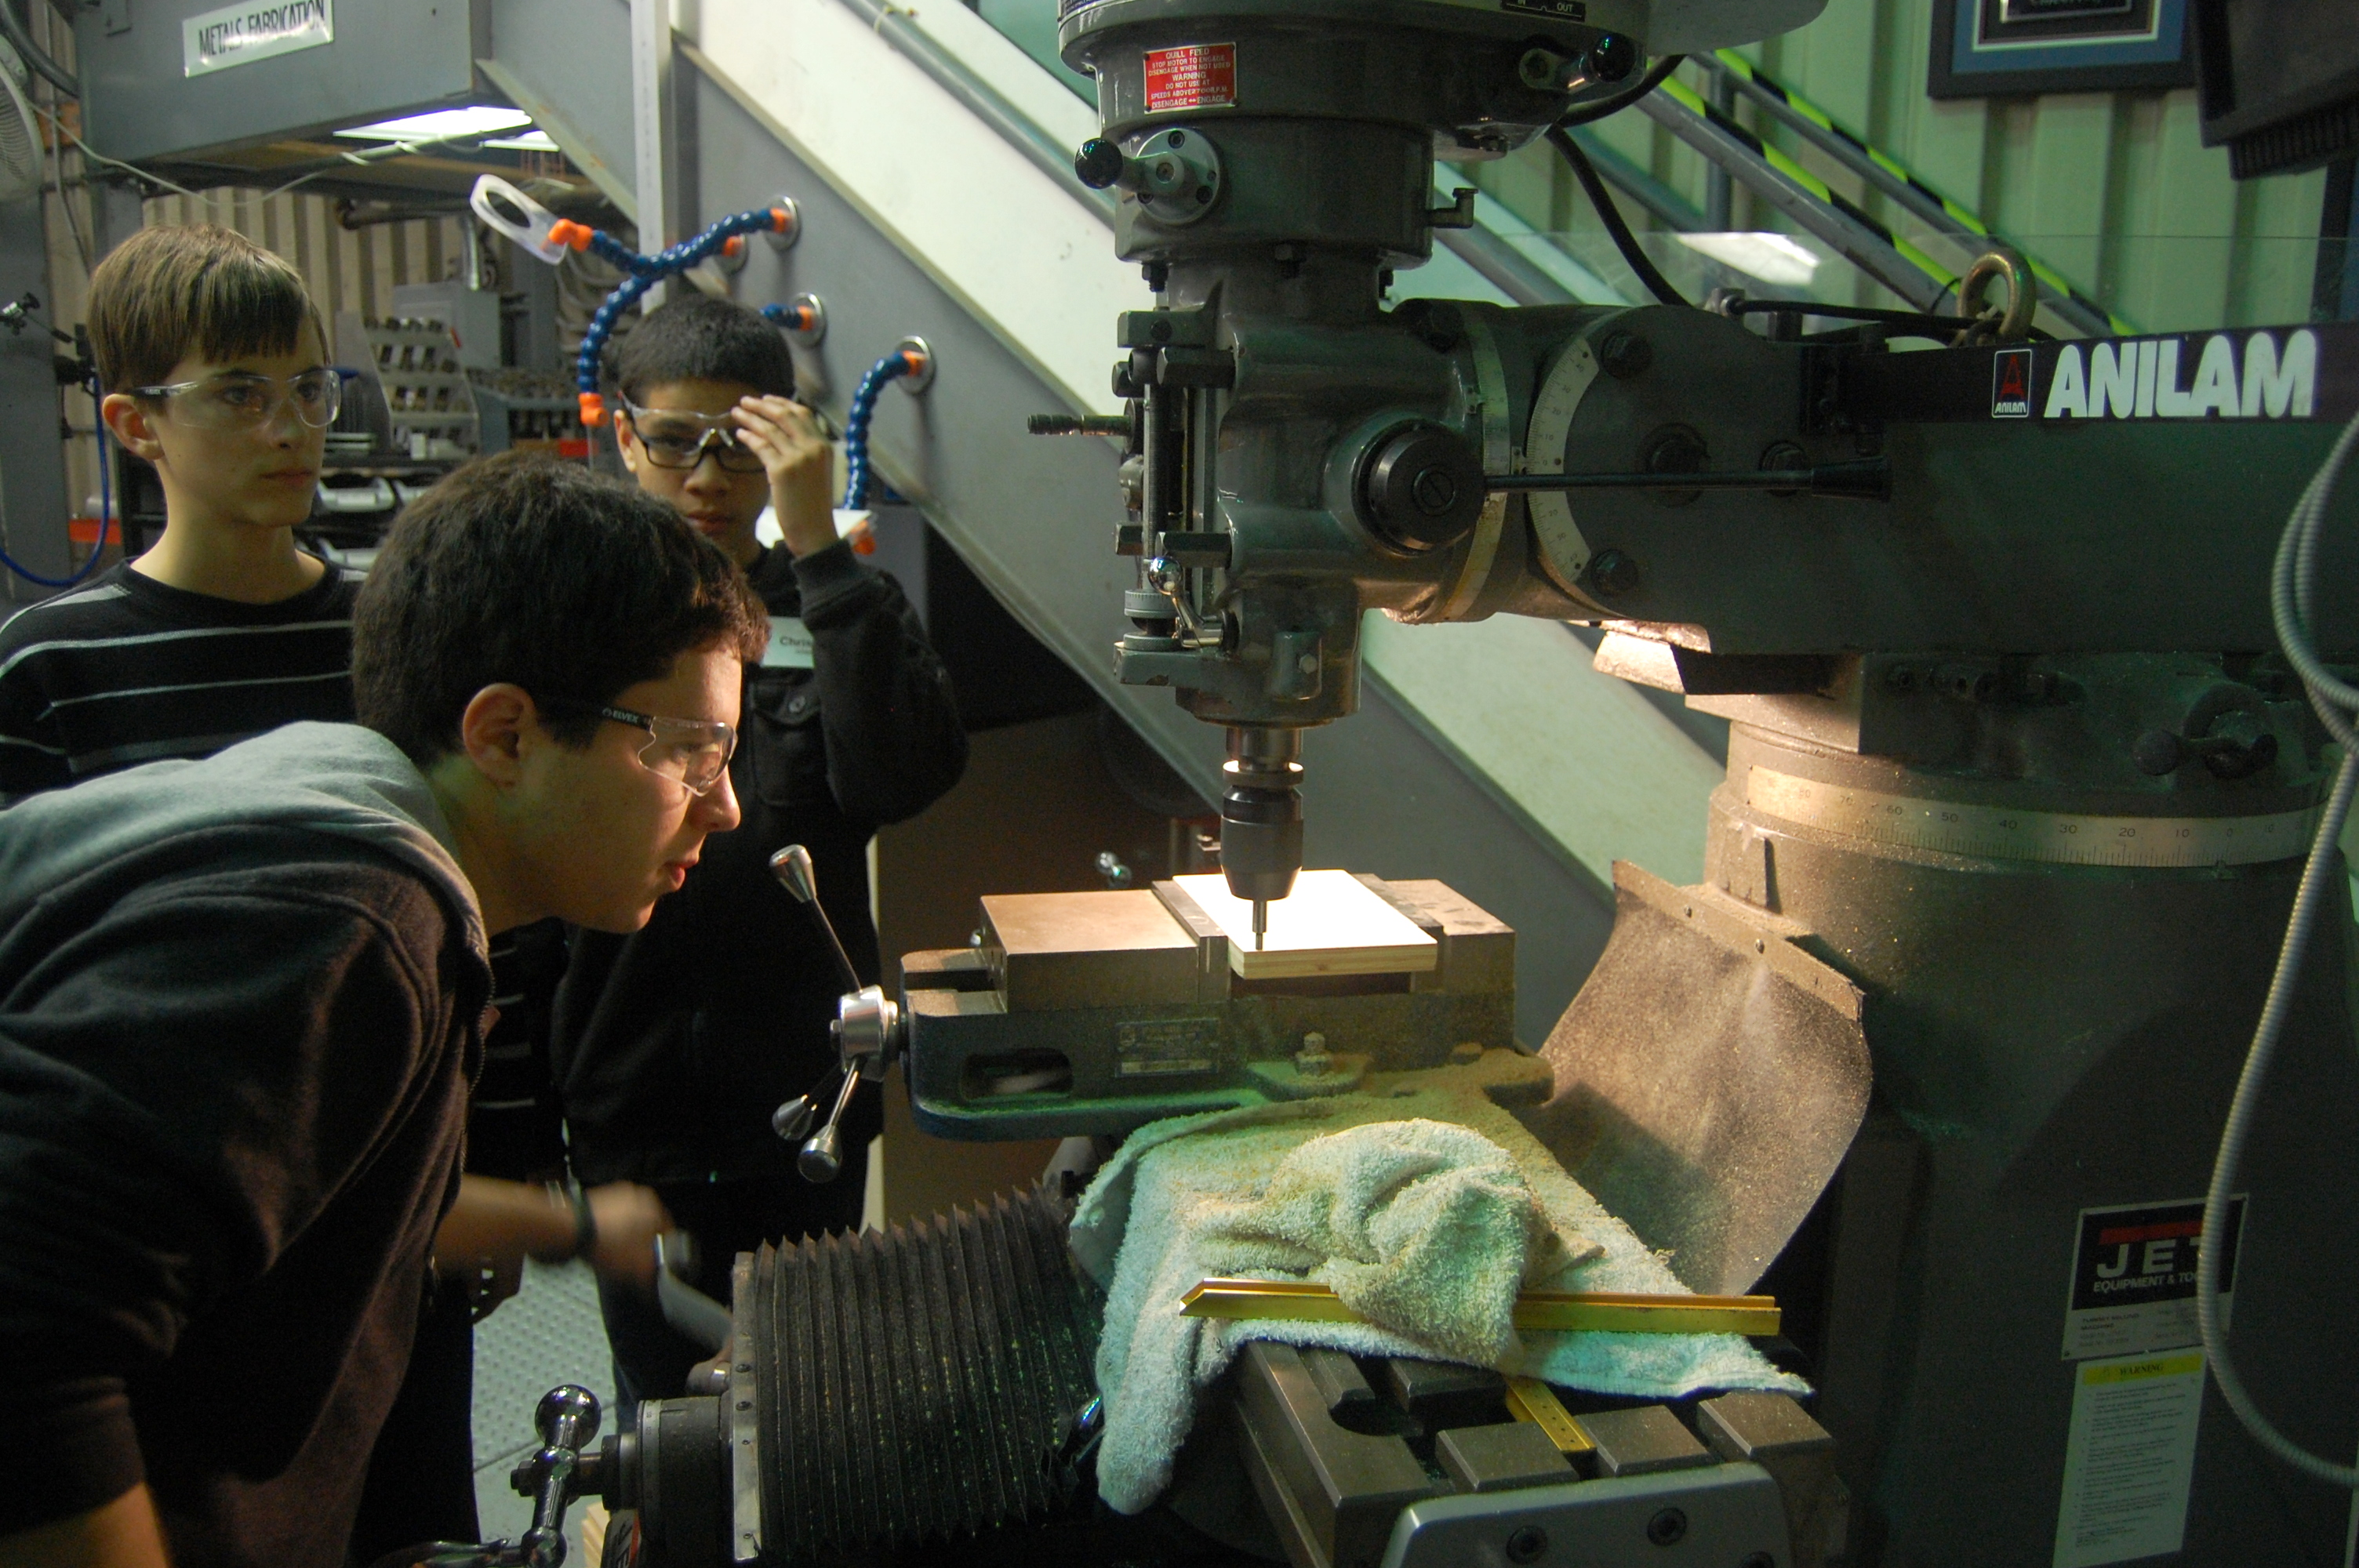
Intake
Students with the help of mentors assembled the intake today. First, bearings were pressed into the intake side plates, and some were attached using bearing retaining screws. Then the rollers were fitted with BBD to help grip the frisbees. Team 254 debuted the use of a new BBD for the front intake roller, which is twice as large as the previous BBD used. Next, the intake gearbox was assembled and lubricated, and the was attached to a mini-CIM motor. This entire assembly was then mounted to one of the intake side plates.

Assembling the Intake
Addionaly, the intake was mounted to the practice robot for testing. Students along with the help of mentors assembled and lubricated the VEX pro planetary gearbox powering the mechanism lifting the intake. This is a special gearbox which will allow for a 100:1 gear reduction in a small volume, which increases torque. It also transfers energy coaxially, or along the axis of a shaft. A BaneBots 550 motor was attached to the gearbox, and this assembly was attached to the intake mount. At the same time, students countersunk VEXpro gears for the intake, and mounted them on the intake and the intake mount.
Counter-sunk Gears
 EJ and Jonathan mount the Intake
Field
Several students and mentors worked on fixing the structural supports for the goals that were created yesterday. Students first worked on creating new wooden shims to keep the vertical supports in the right place. They then worked on getting the structures on both sides of the field attached and aligned on the driver station wall. With Travis’s help, students also leveled the top of the driver station walls using a sawzall tool. This allows for the goals to lie flush on the supports. Students then worked on getting the goals mounted on the structures by first mounting the frames onto the structure, then placing the goals inside the frames. As of today, the red side of the field has been completed.
Art Kalb machining the wooden shims
 Students and Mentors align and mount the goals
 The Red Side is Done
Action Items
- Finish attaching Blue Goals
- Finish machining shooter parts
Lab Closing Time: 3:30 AM
Day #33: Field Assembly and Programming
Field Assembly
Today, students set up the support structures at the two ends of the field to mount the high and medium goals. They finished milling holes into the wooden support blocks and attached them to the metal and PVC pipe frame. The "blue" side of the field's goal frame has been set up and aligned with the center of the blue pyramid on the field. The "red" side's goal frame is almost completely built, but requires alignment.
The red pyramid was positioned on the field today as well. The metal leg plates and the wooden floor plates have been set, but the carpet has not yet been cut and laid down over the pyramid base.
The goal support frames
The aligned red pyramid
Manufacturing
Students continued work on manufacturing the conveyor by cutting shafts to length.
Meanwhile, students stapled and stretched the cordura over the bumper skeleton to make the edges and corners thinner, as well as to place markings on it with tape. They measured and positioned the "254" logo on the bumper fabric by printing out a real-life size of the logo, which will help for embroidering the logo later. Afterwards, the red and blue bumper fabrics were brought to Mrs. DePalmo (a parent of a Team 254 alumnus) for embroidering the numbers onto the cordura.
Conveyor plates began being machined and are half complete.
Programming
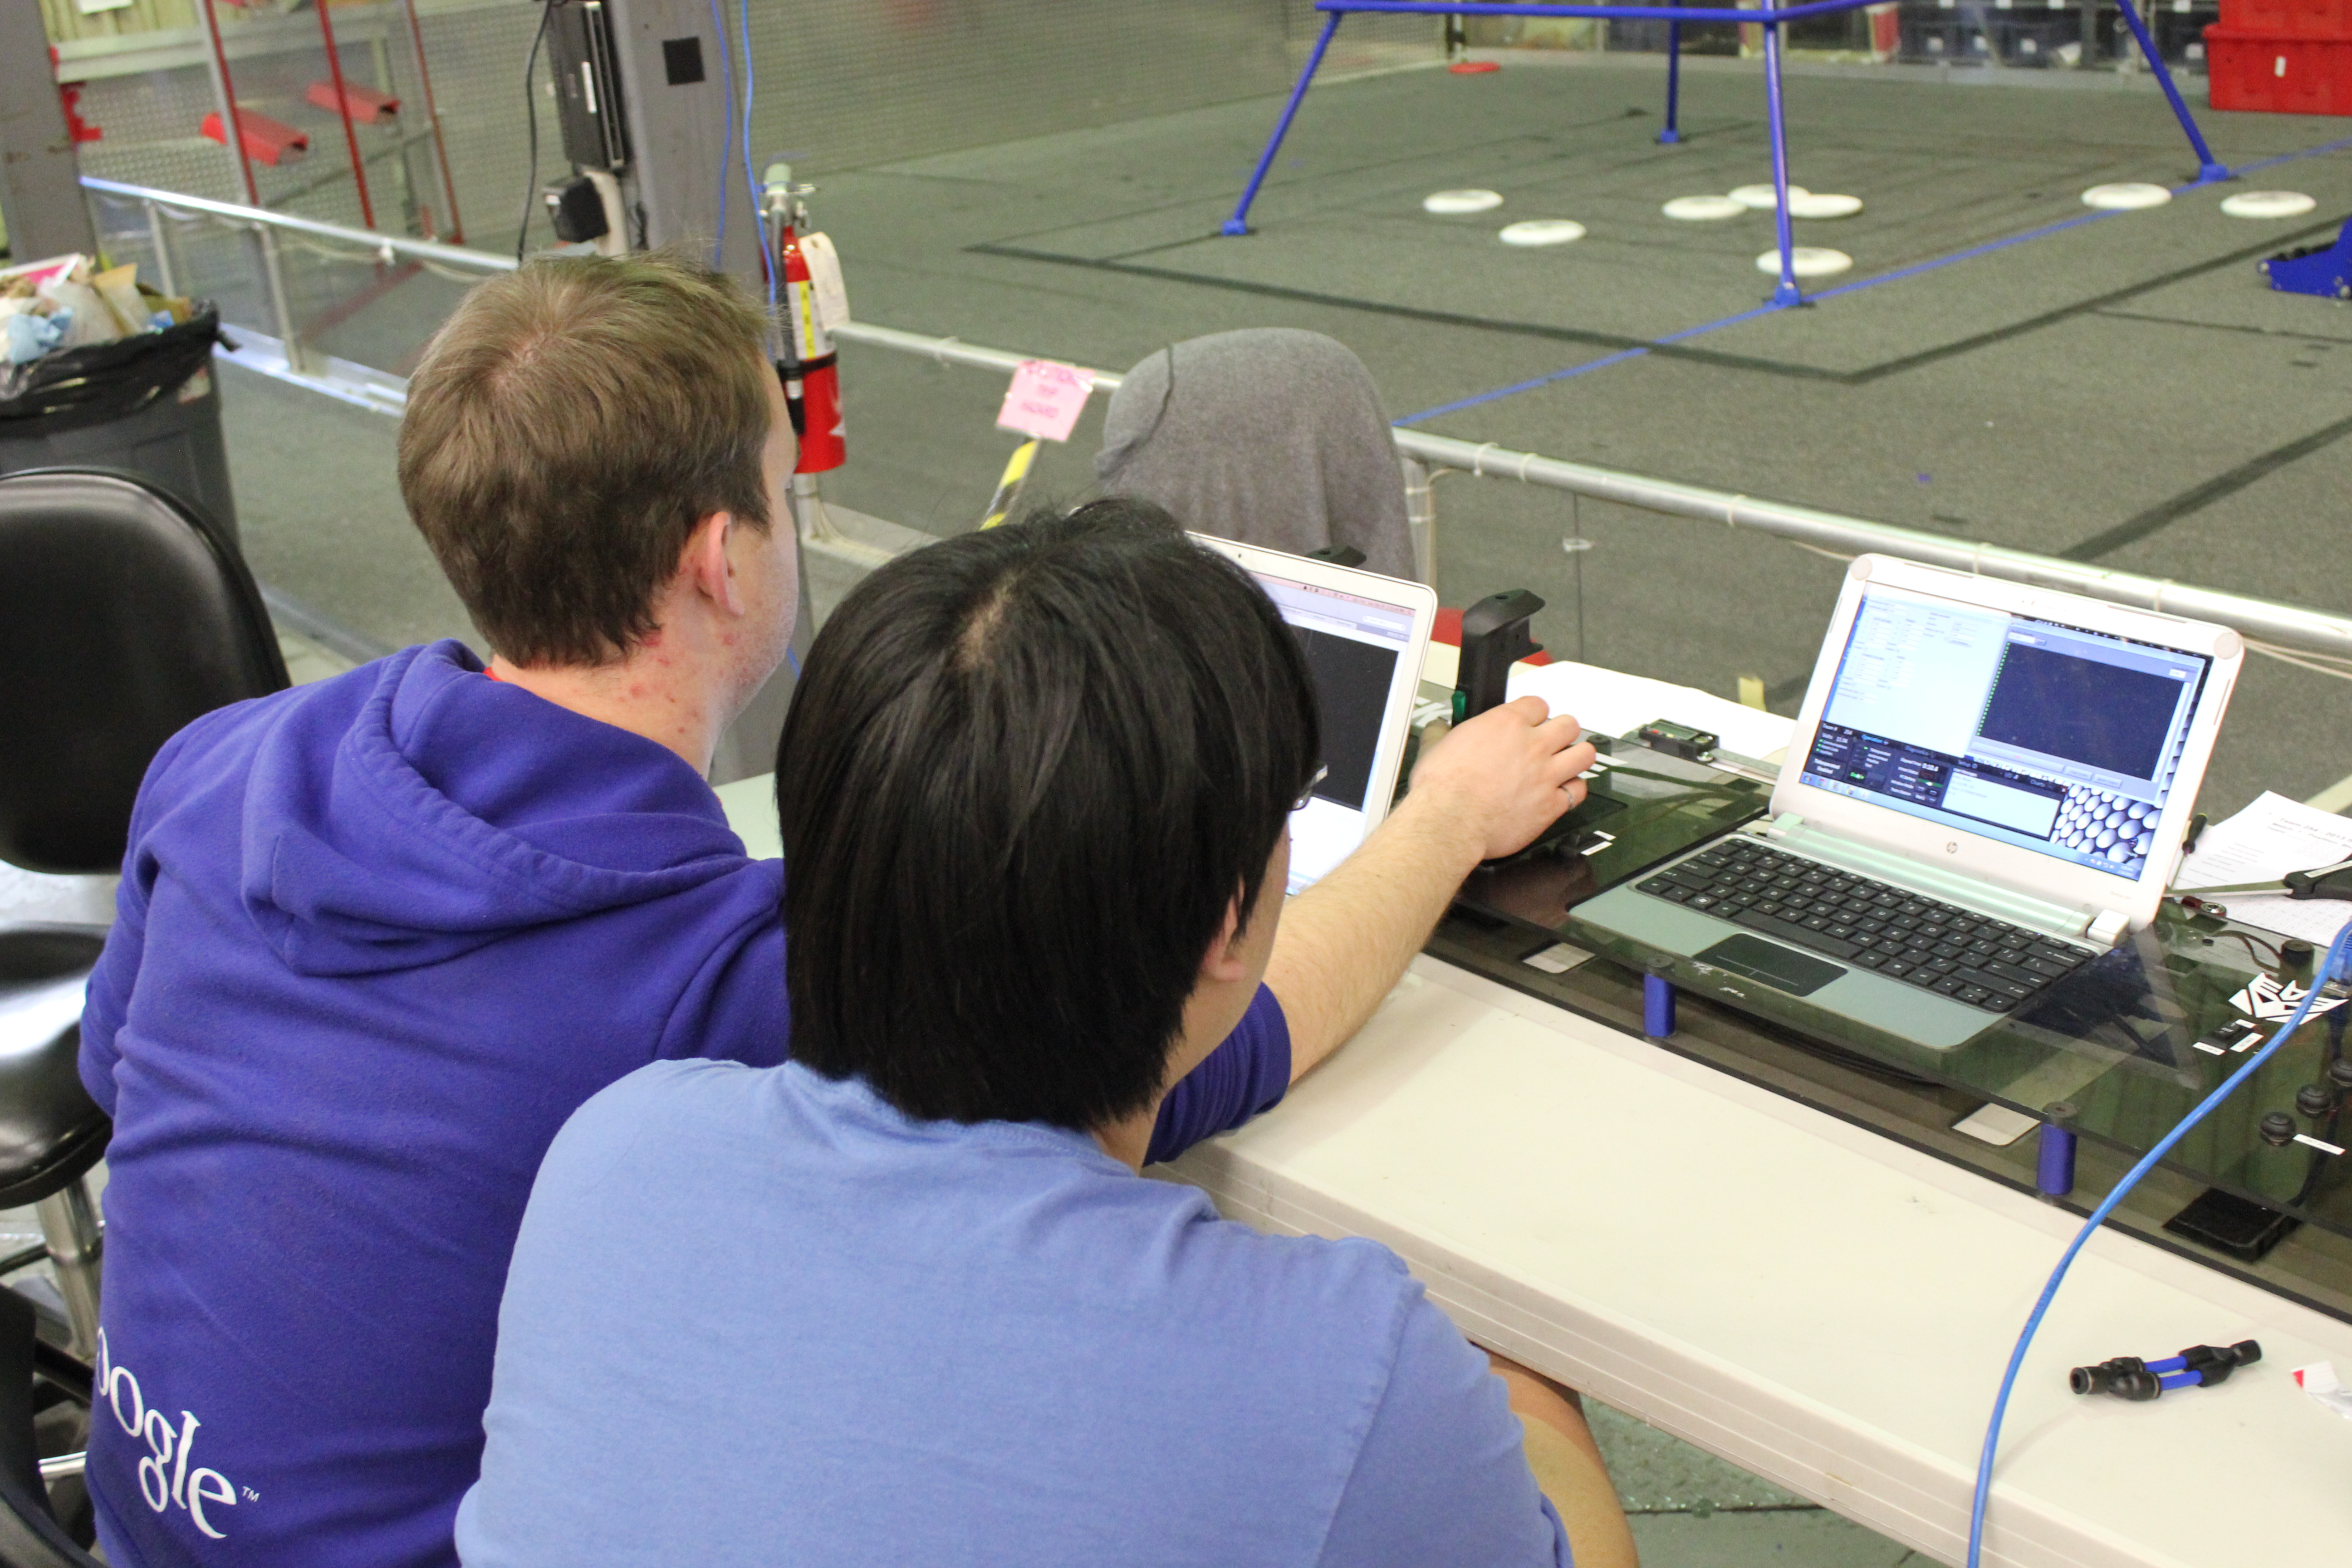
Today, the programmers implemented a profiled PID controller for the drive train. Essentially, this lets the robot accelerate at a constant acceleration to a set "peak velocity", then drive at that velocity for a while, then decelerate at that same acceleration. When graphing velocity versus time, the graph looks like a trapezoid. This is useful for driving a set distance without too much overshooting.
In addition, the programmers wrote up a PID tuner that would send data from the robot via TCP (instead of UDP). As discovered before, UDP is not supported by the cRIO's JVM, so the students rewrote the code accordingly. When completed, the robot can send values such as current distance, target distance, etc. to a web browser, which can then graph the values. This would be useful later for PID tuning the drive, turn, shooter, and other subsystems. The sending method has not yet been tested.
Testing the profiled PID controller on the drive
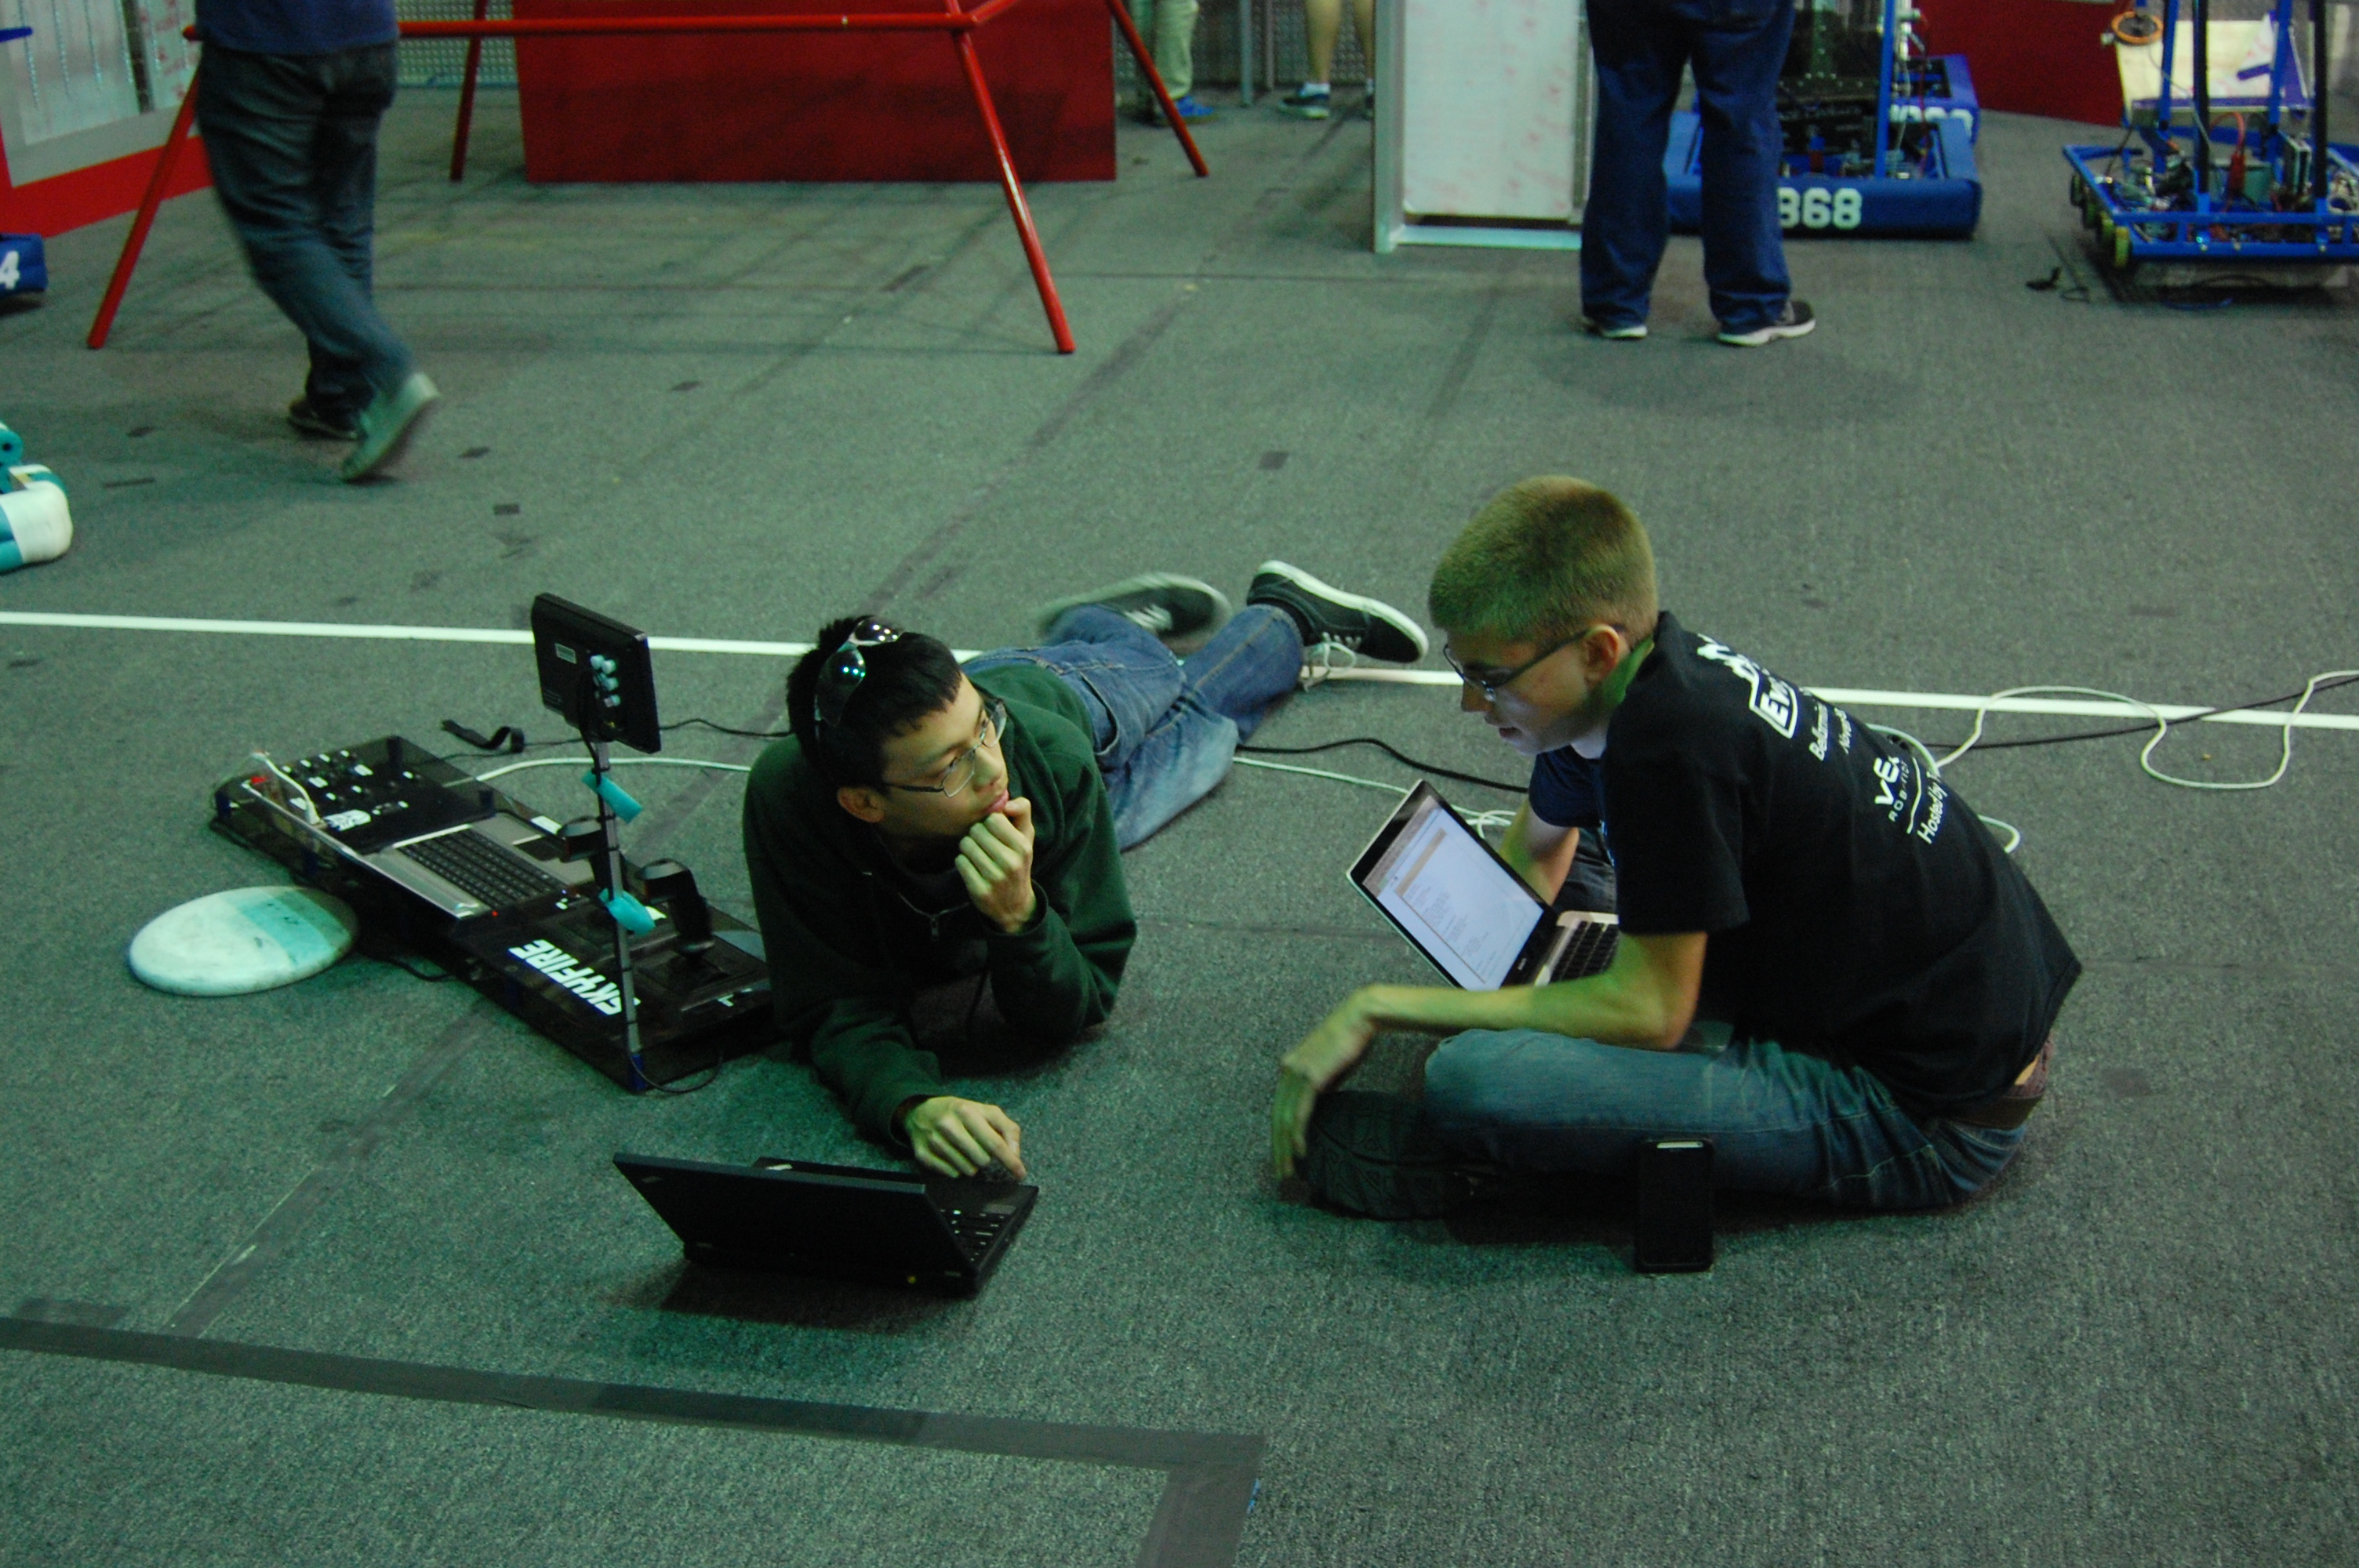
Driver Practice
The team's driver got a bit of practice time today. Abhi Kumar, this year's primary driver, practiced navigating around the legs of the assembled pyramids. At first, the robot was in "low gear" and was making turns with a substantially large radius. However, with a flip of a switch on the turning joystick, the robot switched over to high gear, which was more sensitive and offered a much lower turn radius.
Action Items
-
Lay carpet over red pyramid base
-
Continue manufacturing of conveyor
Lab closing time for the night was: 4:30 AM
Day #32: Bumpers and Machining
Bumpers
The wood and end-brackets for the bumpers were finished and assembled today. Afterwards some students worked on taping pool noodles to the sides of them (pool noodles are required by FRC as the official compressant in bumper assemblies). With the pool noodles on, the students worked on cutting cordura (fabric) to length and marking spots that the 254 logo would go.
Cutting the bumper fabric to length
Bumper skeleton
Manufacturing
The team worked on making shafts for the intake and conveyor. Meanwhile, Cory worked on CNC'ing the intake side plates. Students also used the mill to create wooden supports for field assembly. They are currently working on a way to mount the frisbee goals on the field walls.
Manufactured wooden supports
The wooden pieces attached
Programming
The programmers worked on fixing/tuning drive code to be more responsive both at lower and higher speeds. Later, the programmers also tested autonomous commands. The robot was able to drive for a certain distance and stop; the drive was controlled by a new PID controller. In addition, students implemented a second PID controller for turning.
Robot driving under the pyramid
The programmers also started tinkering with sending values over the internet to graph on a web browser. Some students worked on the web side, which dealt with getting the graph to display and plot points in a browser. They based their program off of last year's code. Meanwhile, other students were working on getting the robot to send the data via UDP. However, it was discovered that the JVM the cRIO is running doesn't support the 'datagram' protocol. The programmers will look into TCP to accomplish this goal.
Programming and researching the web grapher
Driver Practice
Towards the end of the day, the team's primary driver, Abhi Kumar, continued driver practice. He practiced navigating the robot around frisbees on the floor, as well as making 180-degree turns after driving forward.
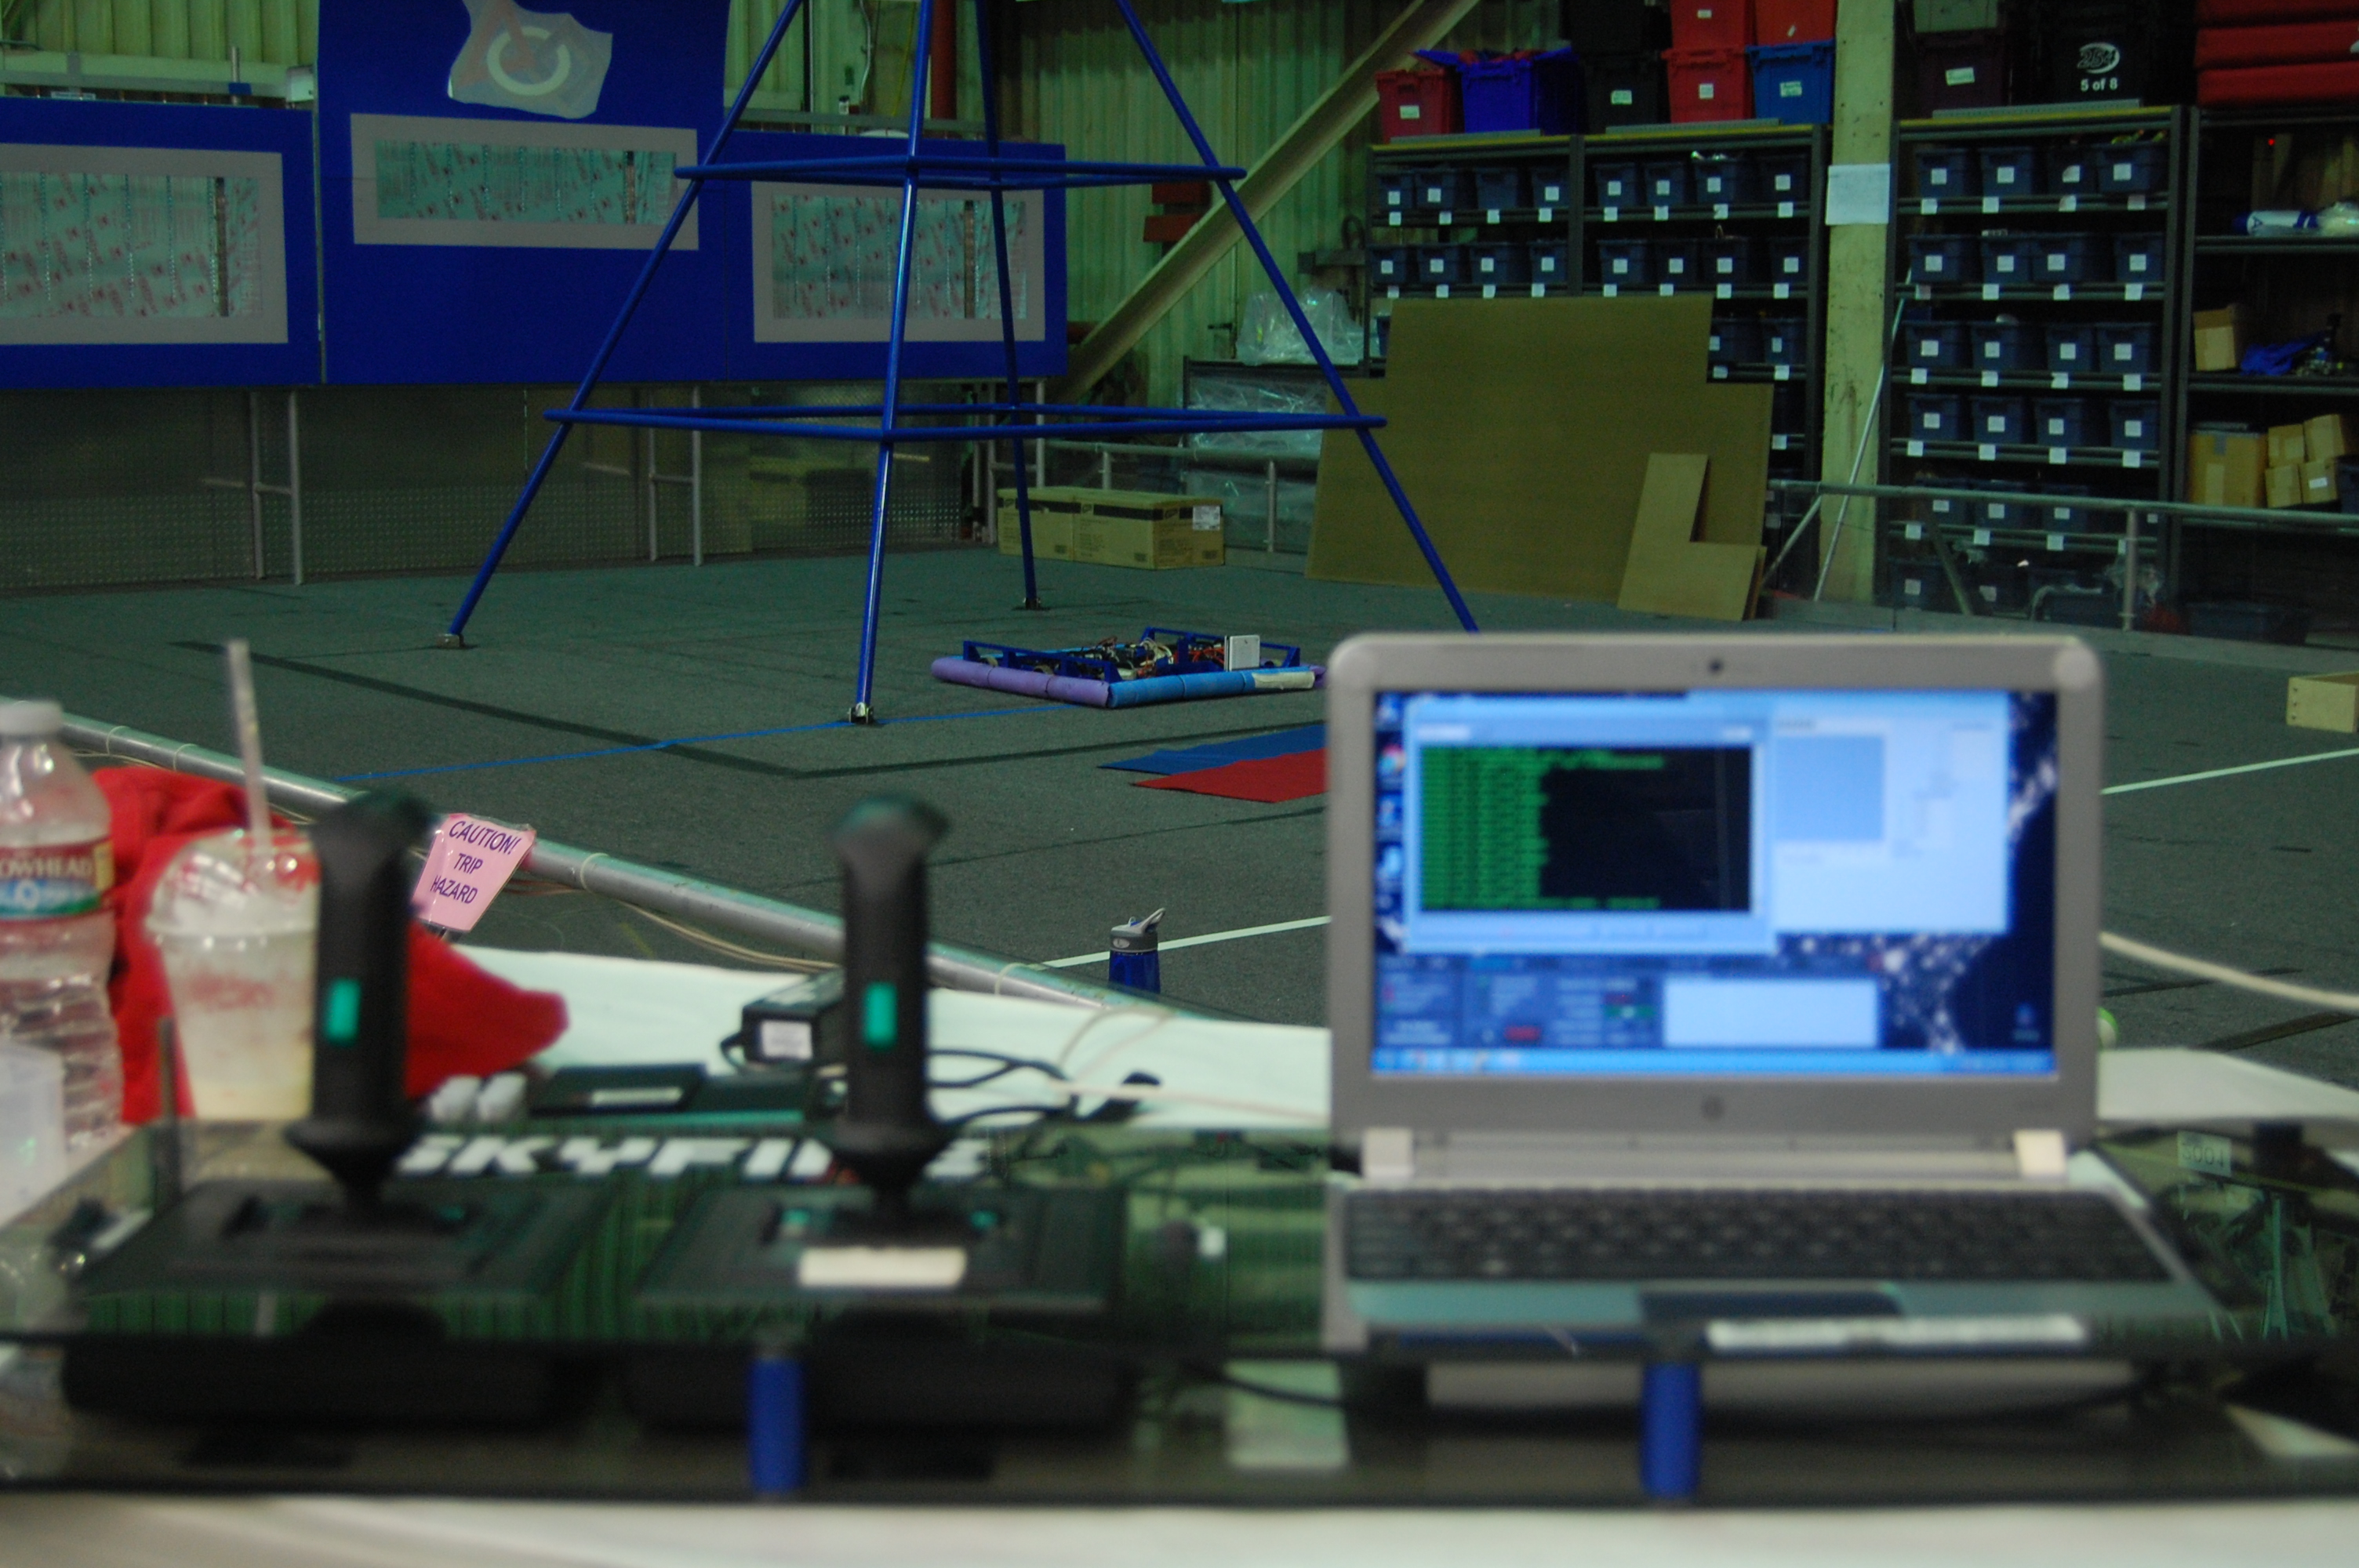
The view from the control board
Action Items
-
Continue driver practice
-
Continue manufacturing for intake and conveyor
-
Continue bumper assembly
-
Fix/tune drive code
Lab closing time for the night was: 4:20 am
Day #31: Field Assembly
Practice Field Assembly
Without a doubt, the highlight of the day was the arrival of the official field pieces. Students spent much of the night organizing the many parts that arrived at the lab today and assembling the field elements themselves. The pyramids were the first objects completed, with both pyramids being fully assembled by around 6 pm. Between completion of the pyramids and dinnertime, students worked together to unpack and sort various field components, as well as cleaning up miscellaneous parts lying around in the lab to make way for the new arrivals. After dinner, the whole team got right back to work putting together the goals, the trusses they rest on, and the corner feeder stations and low goals. Due to size constraints, we will have only 2 of the 4 corner feeder stations, and the goals will need to be mounted in a unique way. The netting will be assembled at a later date. The field is very large, but also really unique and cool. We are excited to have the official setup and will begin practicing as soon our robot’s shooter and climber are functional.
Programming
Though the field assembly was the main job of the night, other tasks were being worked on as well. The programming team began the night by working on fixing the Cheesy Drive code to address the issues that had been discovered the night before. The deadband value of 0.1 was found to be too high, so it was reduced to 0.02, a value judged to be more reasonable given deadband values from prior years. An investigation is currently ongoing into what is causing a strange drive bug where rapidly switching from full forward throttle to full backward throttle causes the robot to exhibit unusual “jumpiness” while on low battery. Finally, work continued on finishing a graphing system for the Smart Dashboard.
CAD
Students and mentors continued work on finalizing the CAD. Currently the intake has been finalized, and the conveyer and shooter are close to being complete. The climbing mechanism position has been determined, but mounting is still being finalized.
Machining
Students used the mill to make aluminum angles to mount the wooden bumper segments together. Once the wood segments are complete we can assemble the bumpers.
Students also used the lathe to make shafts with snap ring grooves for the conveyer. These will be used with the Polyurethane Tubes and mounted once we finish machining the rest of the superstructure.
Action Items
- Complete field assembly
- Contnue investigation on Cheesy Drive
- Finish grapher for Smart Dashboard
- Continue machining parts for the superstructure
- Finalize the CAD of the converyer, shooter, and climber
Day #30: Driver Practice and Field Teardown
Field Teardown
Today, students helped to tear down the team-built game elements on the field in anticipation of the arrival of official game elements. The high goal, pyramid, its top goal, the feeder station, and all prototypes (shooter, intake, indexer, conveyor) were taken apart. The wood has been taken to the outside shed area, and the metal and other pieces have been stored away. In addition, the field was cleaned and vacuumed, and the robots on the field were moved to one corner to allow for sufficient space for the driver to practice.
Meanwhile, students also removed vital electronics from the 2010 robot. The team helped remove its power distribution board, digital sidecar, spike relay, and compressor to store for (possible) future use. PWM wires, encoder wires, and miscellaneous screws and nuts were returned to their appropriate bin.
Driver Practice
The team’s primary driver, Abhi Kumar, practiced driving around on the field. A circle was made on the field with tape for the driver to practice driving in circles. In addition, three frisbees were placed on the field as obstacles to practice driving around. The 2013 practice robot was used to drive around the field. For more security and safety, students attached pool noodles to the four sides of the robot to prevent scratches and damage in the case of collisions.

Manufacturing
The team also continued manfacturing parts on the lathe and the mill. Students made two different kinds of spacers for the gearbox using the lathe. Additionally, the front roller tubes for the intake were manufactured on the lathe. The students plan to have these two tasks finished tonight.
Meanwhile, other students used the mill to create “pockets” in the wooden bumper frames. These indents in the wood would later be used to attach the metal hinges.
Milling pockets in the bumper wood
The bumper frame wood and the CAD drawing
Programming
The programmers worked on implementing the shooter loader solenoid in the Shooter subsystem class. They also got the code for the 2013 robot ready for driver practice. They found that the deadband for the right joystick’s x-axis was too high (0.1). Also, there seems to be some odd and jumpy turning behaviors, which the programmers believe is caused by the cheesy drive command. The current deadband simply ignores joystick input if its value is less than the deadband value, so there is a jump in power when the joystick is moved above the threshold. Ideally, the programmers want to modify the drive code so that the power builds up after the joystick has been moved past the deadband.
Tomorrow, the programmers will investigate these problems in greater detail.
Action Items
- Investigate problems in cheesy drive code
- Continue driver practice
- Continue bumper assembly and manufacturing
Day #29: Bumper Construction
Bumper
Over twenty students and two mentors collaborated on measuring and cutting the wood for the bumper. Students measured the bumpers to be 5" in height and lengths of 28.25", 28", and 8" for all of the sides of the perimeter. They then went outside to cut it with a miter saw. Students later brought the pieces to the mill to fine-tune the lengths to be precise. They will be assembled together next.
Milling wood frame to length
8" wood
Wiring
EJ and Jonathan Lee led other students to continue wiring on the drivebase. They then stripped, crimped, and soldered the encoder wires to the digital sidecar through PWM cables.
Encoders
 Hella clean wiring
Programming
Today, the programmers conducted more tests with the autonomous scripting command parsing. The team had a discussion at the whiteboard and talked about the sequence of excecutions of a mix of parallel and sequential commands in a CommandGroup. One topic that came up was the ability to treat a group of commands as one group that runs parallel to each other, and will not move on to the next command until all the grouped parallel commands were completed. However, it was decided that this logic should be used in the writing of the autonomous script, using a clever mix of parallel, sequential, and wait commands.
Meanwhile, students also implemented the Indexer class, which represents the system that grabs a frisbee from the intake and prepares it to load into the shooter. The indexer has two Solenoids as instance variables, and has getter and setter methods for the states of the two pistons.
Action Items:
-
Finish wiring the competition robot
-
Release more parts for manufacture
-
Mill pockets in bumper wood
-
Wire Pneumatics
Lab Closing Time: 12:30
