Blog - January 2011
Day 24: Manufacturing, Prototyping & Programming
Manufacturing
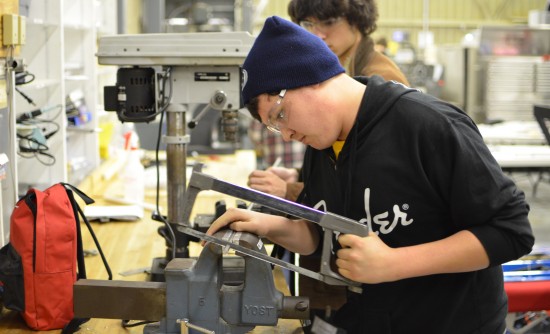
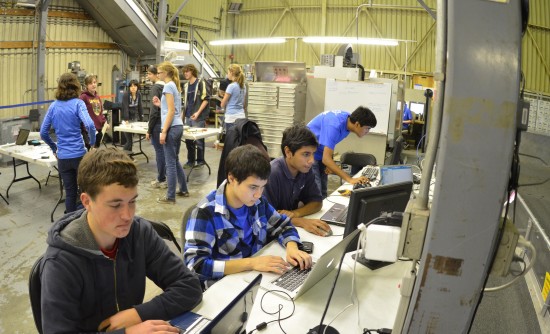
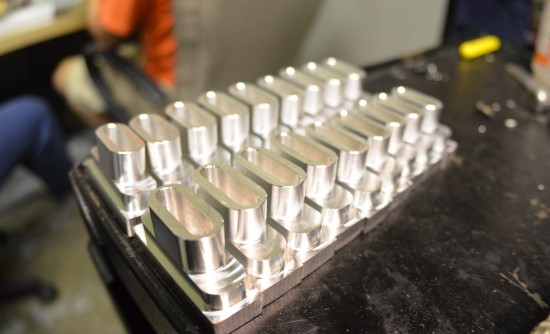
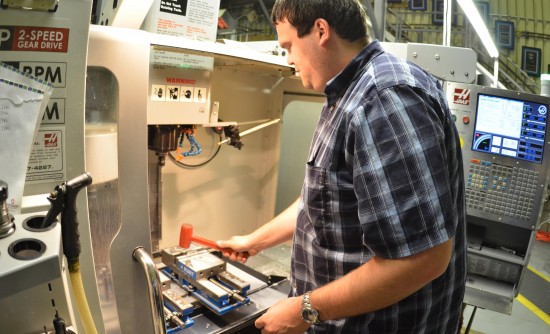
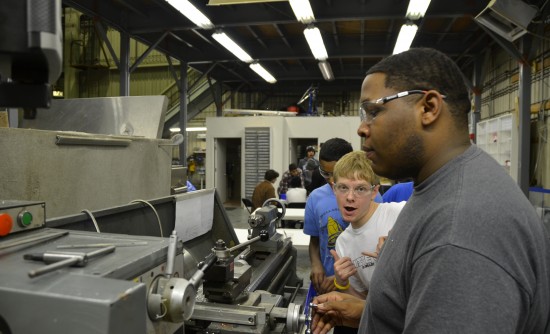
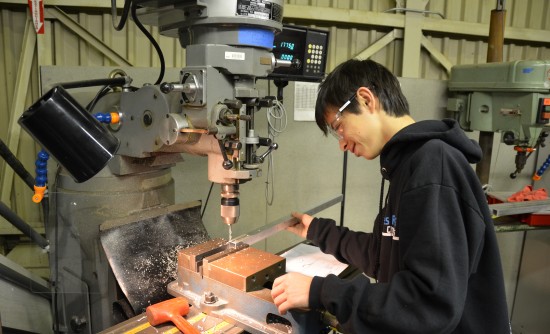
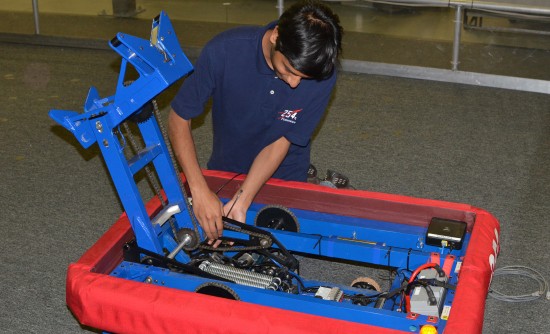
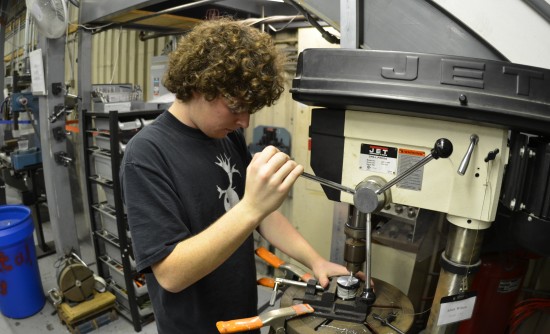
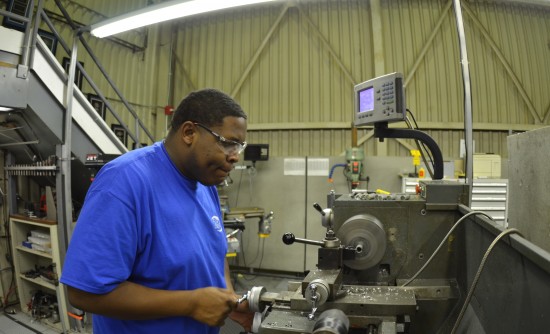
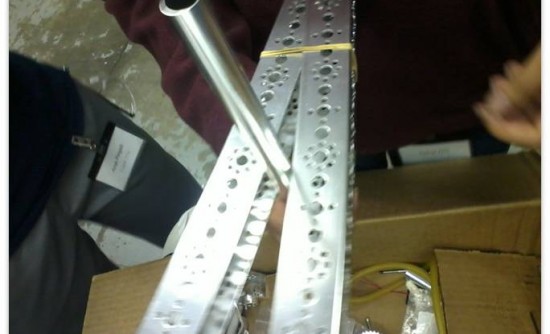
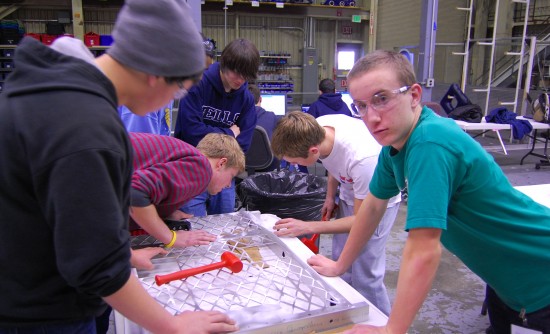
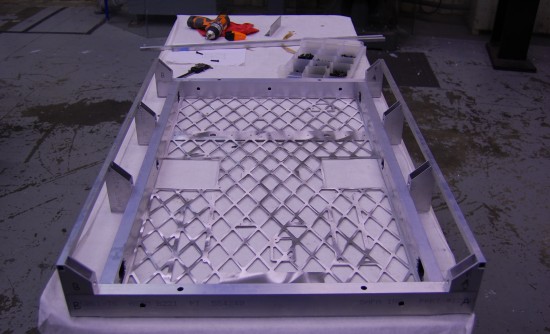
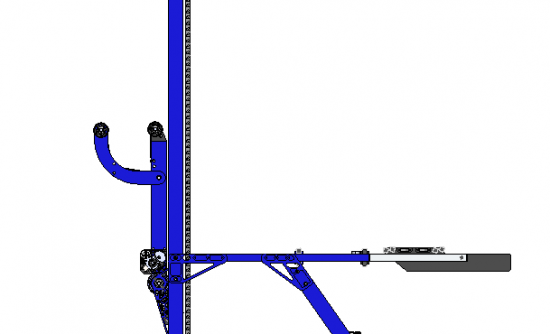
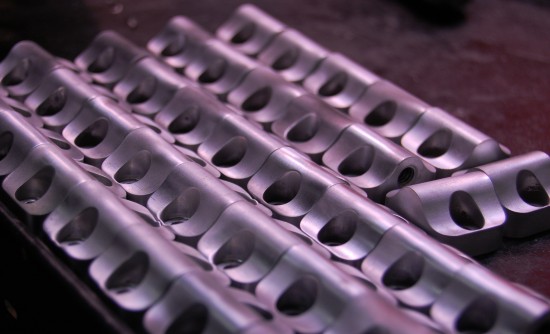
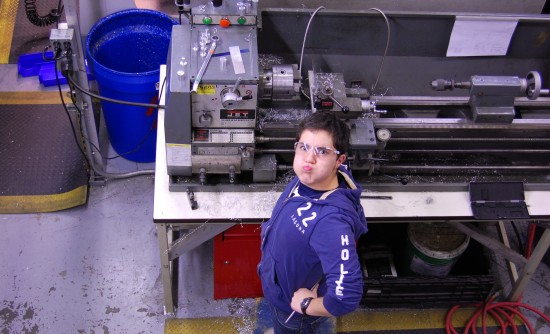
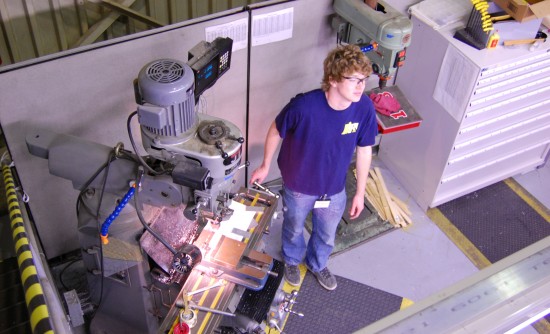
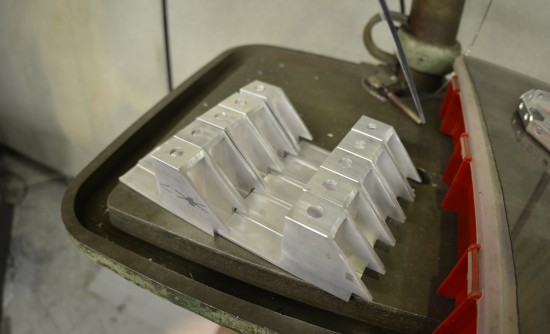
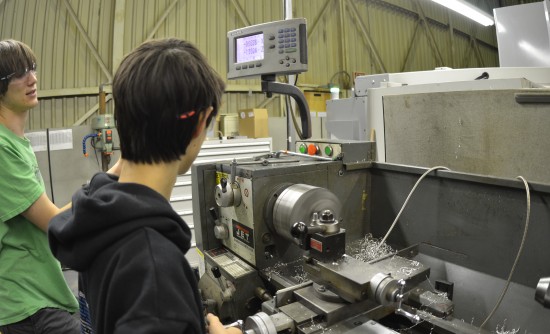
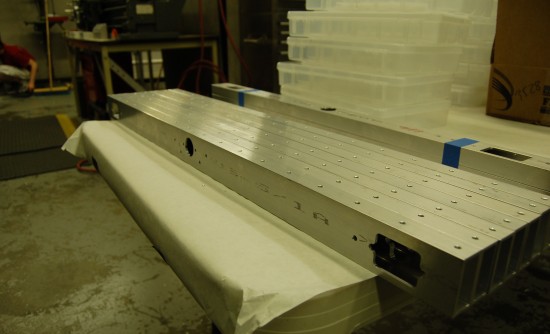
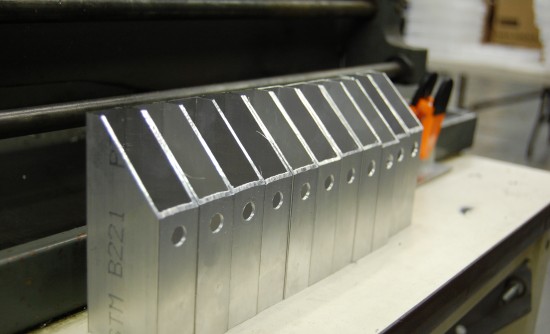
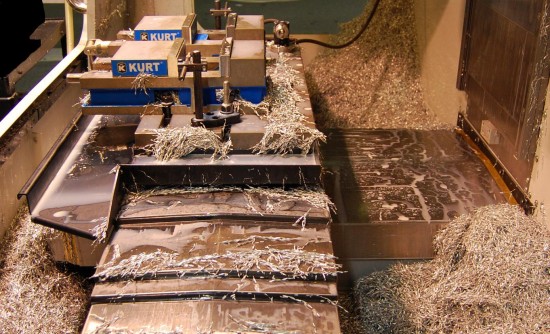
The manufacturing team was hard at work today on the mill, lathe and CNC mill. We made countless shafts and spacers, several major CNC’d parts that need to be powdercoated and worked on endcaps and the elevator second stage side rails on the manual mill.
Design & Prototyping
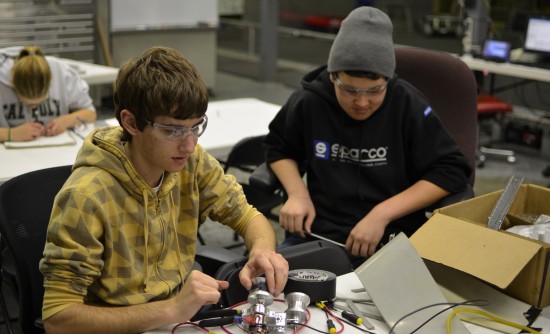
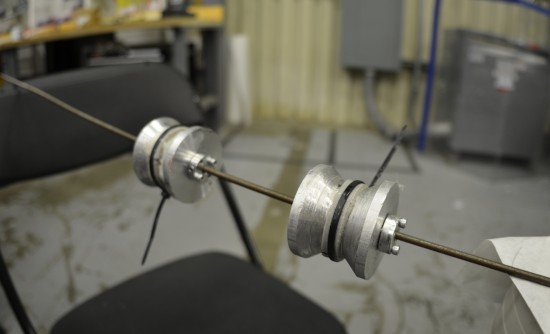
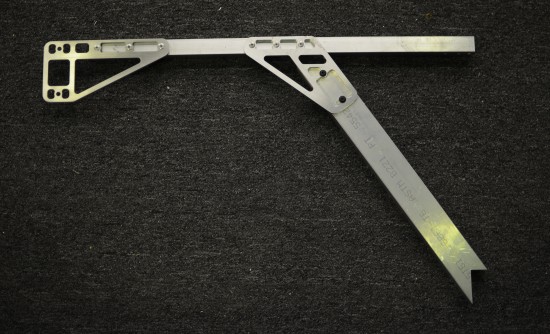
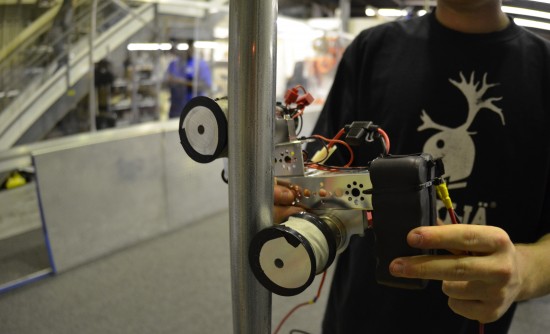
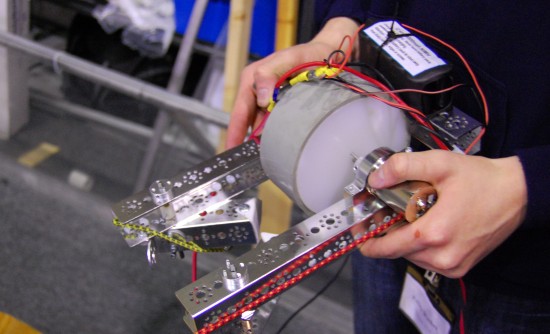
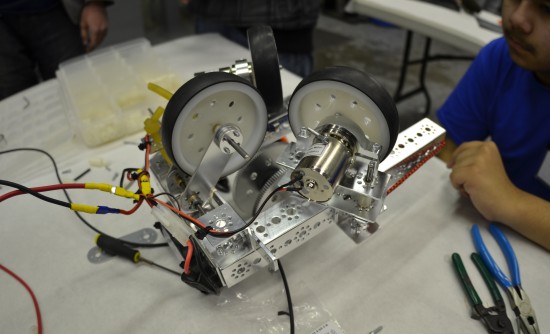
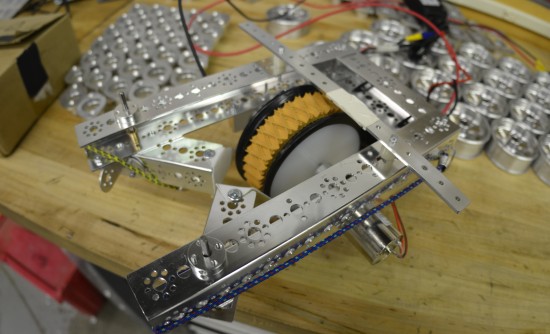
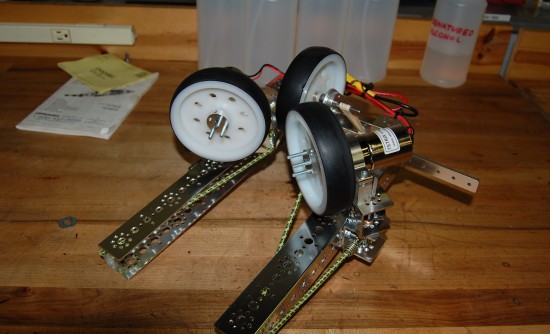
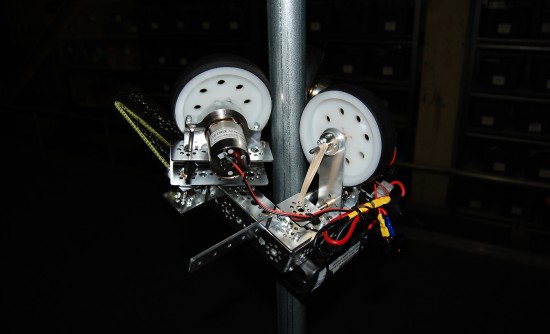
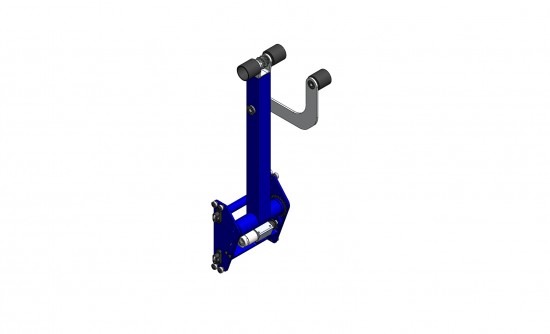
The design and prototyping groups were busy today working on their iteration of the minibot design. With this design, they are trying to make the robot as lightweight and fast as possible utilizing several minibot-legal custom parts including a sheet metal frame. The prototype was not yet completed.
Programming & Controls
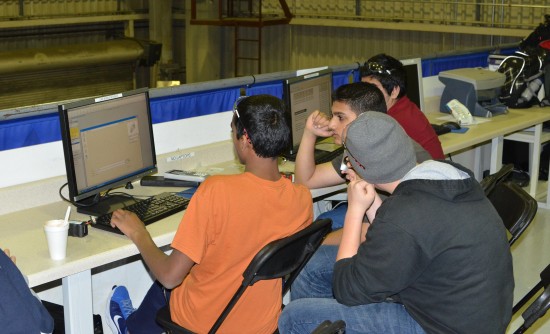
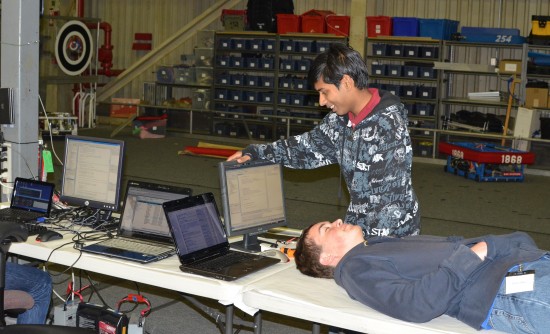
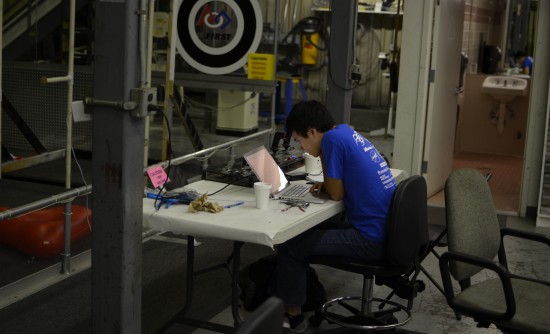
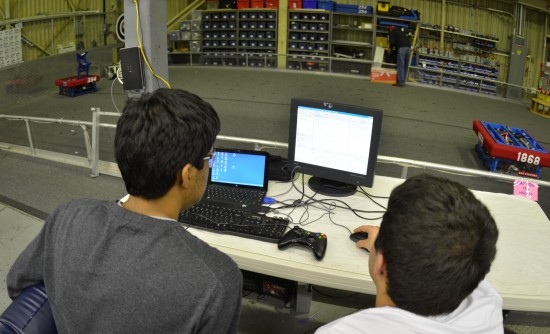
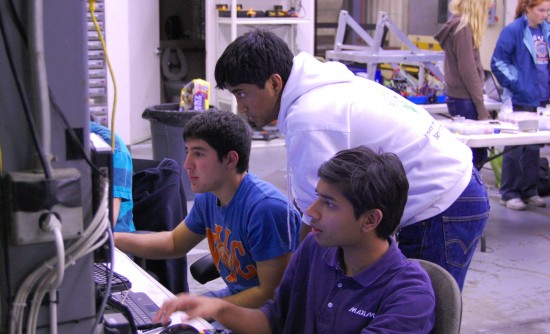
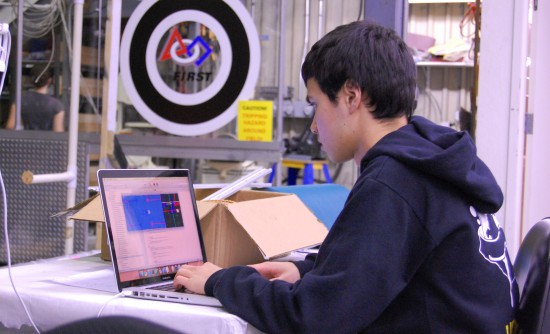
The programming & controls team was working on a number of tasks today including preparing our new Custom Controls Interface for interfacing with the software. Furthermore, they are working on the simulator and working to setup the new 2011 wireless bridge.
Day 23: Day Off
Today was our second day off of the season. We’re trying to take Sundays off so that team members have time to get all their homework done and just take a break from robotics.
Although there was no regular meeting at the lab, our sister team 1868 was meeting, so the mentors were still in and the CNC machine kept running. The arm tubes were completed today and will be ready for welding tomorrow.
Day 22: Programming, Prototyping, Manufacturing
Programming
Today, the programming team was hard at work on a number of projects. Their PID control of the robot is starting to work aweseome and the robot is at the point where it can traverse the whole field while only turning 1° (this translates to a ~1″ left-right difference from perfectly straight)
Furthermore, Daniel was able to implement motion control as a new method of controlling the robot. Using a PS3 controller, he has full control of the robot’s drivetrain, as demonstrated in the video below.
Prototyping
The prototyping group was hard at work today working on a completely new minibot prototype. After a review of the engineering design process, they worked on a new design that should deploy onto the pole even easier than any of the other prototypes. The design is slow and climbs the pole in about ten seconds, but is a step forward as far as deployment goes.
Manufacturing
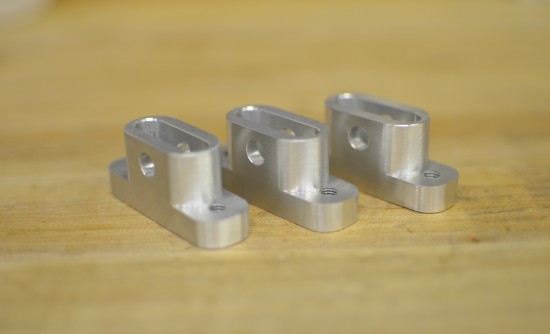
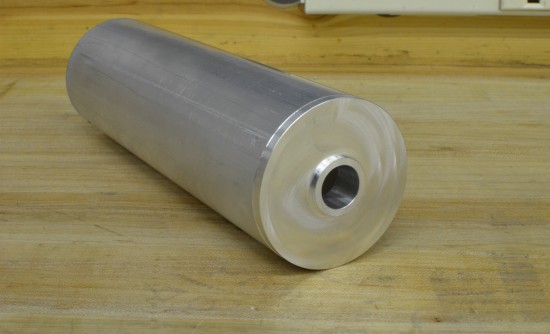
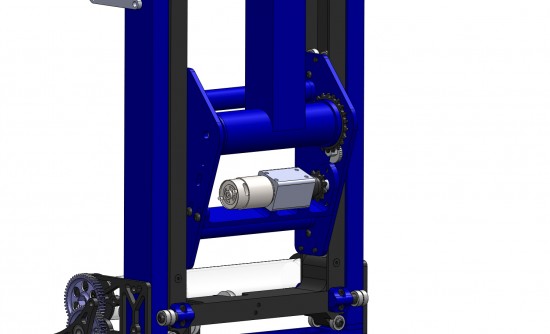
Today, the manufacturing team was working on a number of parts. They finished the carriage bearing blocks and grabber piston mount pieces. Furthermore, the group was able to machine the short plugs for the arm pivot tube and the arm pivot tubes. Finally, they turned the polycarbonate spool body for the elevator spool.
Day 21: Design, Manufacturing, Programming
Design
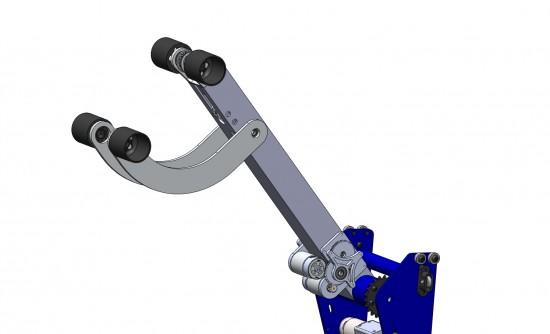
Today, the minibot group worked to put their minibot design into the computer. Furthermore, another group worked on finalizing the arm design. It was decided that the arm would need to be longer in order to properly grab the tube.
Manufacturing
The manufacturing team was working hard today to finish some parts. The parts are coming along great and we hope to finish all welded parts by tomorrow.
Programming
Today, the programming team was hard at work installing another encoder so that they can better drive in straight lines.
Day 20: Prototyping, Manufacturing, Programming
Prototyping
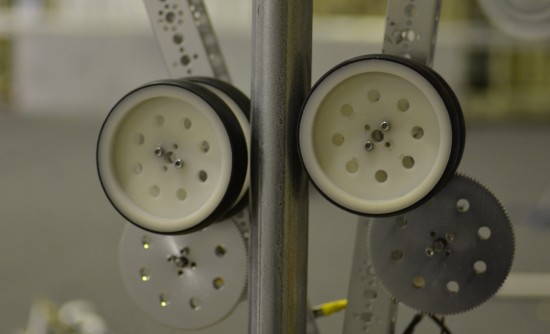
Today, the minibot prototyping group continued to work on their small prototype utilizing small, machined concave-style wheels. They attached tread to the wheels and worked on weight distribution.
Manufacturing
Today, the manufacturing team was working on all of our machines in the lab. The lathe group worked on drive gearbox spacers. The mill team was drilling holes and preparing the rear supports for the elevator. Finally, the CNC group was milling several gusset plates for the elevator rear supports.
At the end, we were able to assemble one of the drivetrain rear supports.
Programming
Today, the programming team was here working on several crucial parts of the code. Groups were working on the robot, simulator and dashboard.
Day 19: Prototyping, Manufacturing, Programming & Design
Prototyping
Today, the prototyping team was hard at work on another minibot prototype. This prototype has had much of the weight removed in order to speed ascension times.
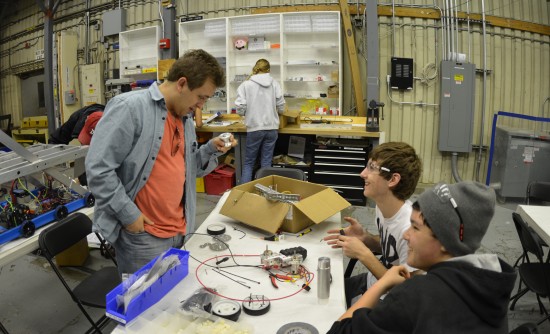
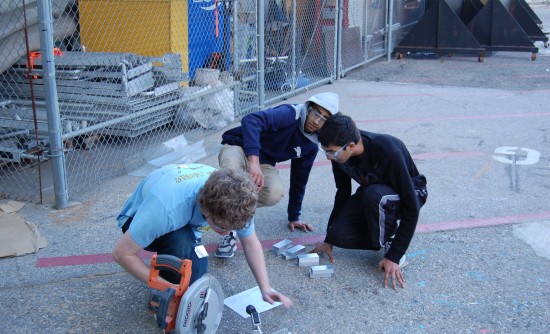
Galen explains the technical information regarding hole tapping to several members of the prototyping group.
Manufacturing
Today, the manufacturing team worked to finish the drivetrain cams and start several superstructure gusset plates and gearbox spacers.
Programming
The programming team worked today on their straight drive code.
Design
Today, the design team worked on finalizing a list of bearings for the robot and parts to be manufactured. Furthermore, the team worked to detail the arm gearboxes, belts and rollers.
Day 18: Critical Design Review, Prototyping, Programming, Manufacturing
Critical Design Review
Today was our 2011 Critical Design Review (CDR). The CDR follows the Preliminary Design Review and includes nearly completed detailed designs. Many of the items presented may already be complete or in progress. This review phase is considered critical because it is at a point in the schedule where the detailed design should be complete and manufacturing is partially in progress, costs and completion dates are better known, and the remaining details have been worked through to ensure on time and thorough completion of the project fulfilling the objectives outlined in the PDR. It is critical in the sense that any unforeseen hurdles, oversights, delays in schedule, or design challenges may cause the project to be delayed or become unsuccessful. This review gives the key players (mentors, sponsors, and involved students) the opportunity to address concerns and to give a critical analysis of the design decisions made and the path forward being taken to ensure their time, money, and resources are being spent in the best possible manner.
Prototyping
Today, the prototyping team was hard at work working on the minibot. They developed a new concept for a clamping latch which has functioned well in the prototype tests.
Programming & Controls
Today, the programming team reached several major milestones. The simulator team successfully modeled a basic dead-reckoning autonomous mode. Furthermore, the robot team was able to successfully control Onslaught’s pneumatic system.
The controls team also came up with a preliminary list of sensors for the robot.
- 2 Drivetrain Encoders
- Drivetrain Gyro
- Elevator Encoder
- Arm Potentiometer
- 2 Roller Encoders
- Roller Limit Switch
Manufacturing
Today, the manufacturing and assembly team was very hard at work. We received the water jetted base plates from our sponsor BAE systems and assembled the frames. On the mill, the team was working on several parts for the elevator.
Tomorrow, we will bring our first batches of parts to the anodize and welding sponsors.
Day 17: Design, Manufacturing, Prototyping & Programming Progress
Design
The design of the robot is coming along spectacularly. Since Saturday, we have continued the detail work on the various robot gearboxes and have continued on into Subsystem #4: Minibot Deployment. We have decided to build a secondary linear slider that will extend out the back of the robot, very similar to a horizontal version of our elevator.
We are building this instead of buying COTS linear sliders because off the shelf aluminum linear sliders cost upwards of $150 each and will struggle to get the kind of extension that is needed to get outside of the robot bumper zone.
Furthermore, we have begun the long and painstaking process of going through the models and picking out each and every fastener that is needed. We then must search the lab for the fasteners and if needed, add them to an order list.
Manufacturing
The manufacturing team was very busy today working on a myriad of parts. From tube standoffs to spacers and plugs, a number of parts came off the production lines on the bandsaw, shear, mill, lathe and CNC mill.
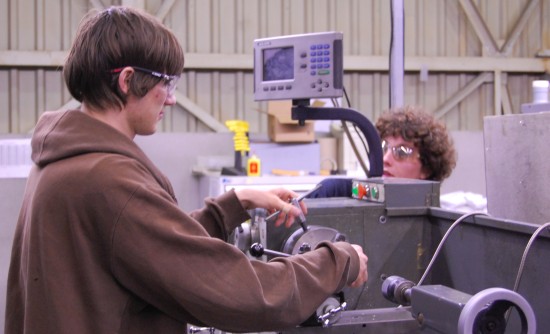
His name is El Sides and he likes to boogie. You may see him at the lab in his zip-up hoodie, turning parts on the lathe and he's like "Oh Goody!"
Prototyping
The minibot prototyping group was hard at work today changing up the design of the minibot. They are experimenting with different tread to see how it affects the climbing. Unfortunately, they blew a fuse on the minibot battery, so they are testing with an underpowered VEX battery for now.
Programming
The programming team has been hard at work! The robot team is working to implement PID control of the robot to ensure perfectly straight driving during autonomous. Furthermore, today they started looking at implementing control of the pneumatic systems of the robot.
Furthermore, the simulator team has successfully added a 3D view to the robot simulator and modeled the entire playing field and a mock-up of our robot with an elevator and an arm. The mock-up has the ability to hold on to tubes and score them on scoring pegs in all three dimensions of beautiful wireframe rendering.
Day 16: First Day Off
Today, we’re taking our first day off of the season so that everybody can relax and get caught up on homework. We will resume work tomorrow.
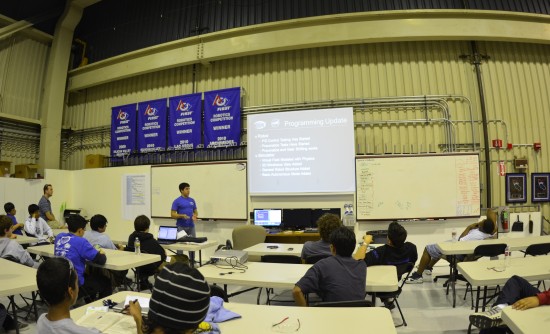
Programming Update
Robot Group:
Things we have accomplished so far:
Basic Tele-op drive.
Motors have been linearized.
Travel exact distance almost works.
Current things we are working on/To-Do:
Pneumatics control/Gear Shifting
PID/control driving
Turn Exact angle
Support for different sensors.
Dashboard for the driver station
Simulator Group:
Completed:
3D field is complete
Most of the physics
Current Things/To-Do:
Object Collision
Interacting with Robot
Autonomous Strategies
Autonomous Stragegy (This may change):
Goal 1: Score first ubertube as quickly as possible.
Goal 2: Make Goal 1 work robustly
Goal 3: Pick up another ubertube, and score again while avoiding collisions
Day 15: Prototyping, Manufacturing, Programming & Design Progress
Prototyping
Today, the prototyping group worked to improve the minibot’s ability to clamp onto the pole. Last night’s prototype climbed fine but didn’t clamp too well. Progress was made and the next prototype should be done soon.
Manufacturing
Today, the manufacturing team was hard at work on several crucial robot parts. On the lathe, we were working on tapped plugs to be welded into the elevator.
On the mill, we were working on the battery tabs.
On the CNC, we manufactured several parts including the frame front and rear rails and plugs to be welded into the bottom of the elevator side rails.
Programming
Today, the programming team continued to work on getting the robot to drive straight. Furthermore, they worked on how to create a dashboard for the driver station and use it to send data to the robot.
Design
Today, the design team worked on detailing the various gearboxes on the robot. The roller system is coming along great and we started working on the Minibot Deployment system and the elevator support structure.
Day 14: Prototyping, Manufacturing, Programming & Design Progress
Prototyping
Today, the prototype group worked very heavily on the minibot design. Towards the beginning of the day, they successfully finished Minibot Prototype 1 and it climbed the pole.
After building the first prototype, the group started to discuss how improvements could be made to lighten the whole robot while making it climb faster. They decided that having a single concave wheel driven by both motors could potentially improve the design.
Minibot prototype 2 was built with one large wheel covered in tread and two stabilizers covered in slick teflon pads. It was not a significant speed increase over prototype 1 but it was much more stable.
In the next few days, we will work on ways to make it clip onto the pole more reliably and climb faster.
Manufacturing
Today, the manufacturing team was hard at work on several tasks. We began by finishing the front and rear bumper supports.
Furthermore, the team was hard at work starting on the tapped inserts for the elevator tubes.
Programming
Today, many programmers were hard at work both improving on the simulator and trying to refine their control of the robot. Recently, the simulator team worked to add a 3D view to the simulator so that the field can be better visualized. The robot team was working on using PID control to allow the robot to drive precise distances.
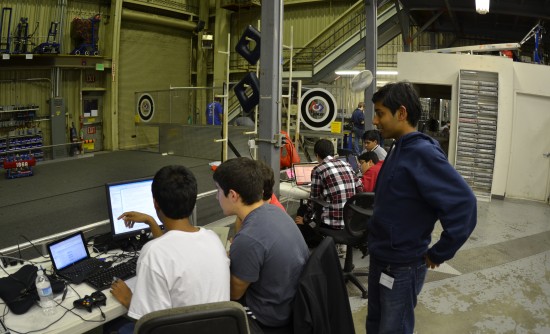
Most of the members of the programming team were present today, working hard on the simulator and the robot.
Design
Today, several members of the design team worked on the arm pivot gearbox. The gearbox is mostly complete.
Day 13: Prototyping, Manufacturing & Design
Prototyping
Today, the prototyping group worked extensively on the minibot. After the addition of a fourth stabilizing roller, the bot was able to climb the pole very quckly. The prototype is improving. The next step is to brainstorm alternative methods of pole climbing, test the alternative methods and compare the results.
Manufacturing
Today, the manufacturing team was working very hard on pieces for the drivetrain. The CNC was running all day cutting the sprockets for the drivetrain. After the drivetrain sprockets were done, they moved on to the front and back rails of the chassis. The manual machining team continued milling parts for the bumper supports.
Design
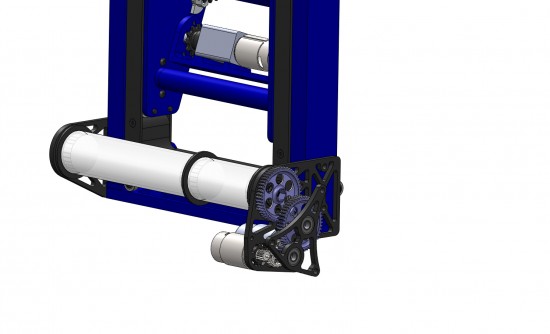
Today, the Design team worked primarily on the arm design. The team worked to design and begin detailing a symmetrical gearbox that will use two motors to independently drive both sets of rollers. We are very happy with the progress made on this gearbox. We also worked to finish detailing the drivebase and all of the remaining parts were sent to the manufacturing team.
Day 12: Prototyping, Manufacturing & Design Progress
Prototyping
Today, the prototyping group continued to work on prototypes for the Minibot. Their prototype successfully latches onto the bar, but does not have the proper weight distribution and contact with the pole to climb. With weight added to balance it, it can climb a few inches before popping off of the pole. More tweaking will happen tomorrow to try to improve the design.
Manufacturing
The machining for the frame side rails was completed today.
Furthermore, a separate team worked hard to cut and mill the bumper mount pieces. These should be completed tomorrow.
Design
The design team was working on the arm today. Progress is being made on the design.
The design team also finalized the mounting of the motor to pivot the arm within the carriage. The whole motor is mounted to a plate that slides vertically to tension the chain.
Day 11: Design, Manufacturing & Prototyping Progress
Design
Today was our 2011 Preliminary Design Review. We met as a whole team at the lab to discuss our game objectives and the direction we are going in with the robot. Everyone seems to approve of the design and we will move forward to finalize the design in the coming days.
Manufacturing
The manufacturing team was working hard today on various pieces for the drivetrain (1110500). They worked on the bumper support pieces and the siderails. We plan to have the frames ready for welding on Monday.
Prototyping
The prototyping group received our shipment of Tetrix parts from FIRST Choice Today. They started to put together a prototype for a pole climbing minibot mechanism. The prototype shows promise but is not close to being complete and will be perfected over the coming days.
Day 10: Prototyping, Manufacturing & Design Progress
Prototyping
Today, a prototyping group met to finish the roller prototype that was almost complete yesterday. Round belt pulleys were fabricated and round belts were added so that one motor could be used to power both wheels simultaneously. The prototype was made mobile and we tested picking up tubes off of the floor and spitting them onto pegs. It works very well but has issues picking up the corners of the triangles.
Manufacturing
Today, the wheels were finished. The first operations were performed on the chassis siderails which should be completed tomorrow.
Design
The design is coming along great. The baseplate is almost complete and the spool gearbox is nearing completion as well. We are on track to be finishing the robot design within a week.
Day 9: Rollers Prototyped, Wheels Complete & Preliminary Electronics Layout
Rollers Prototyped
Today, our prototyping group finished putting together a jig for testing tube intake rollers. The prototype was very successful and successfully picks up and holds tubes. Furthermore, we were able to rotate tubes within its grasp by rotating the two rollers at different rates.
The design still needs to be tweaked for optimum tube grabbing performance.
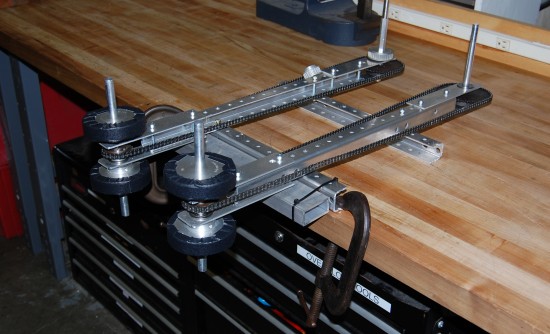
The initial roller prototype. Driven by drills, the prototype is very effective at sucking tubes in and holds them quite well once they are in its grasp.
Manufacturing
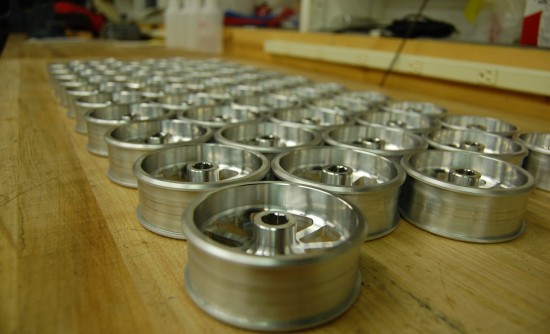
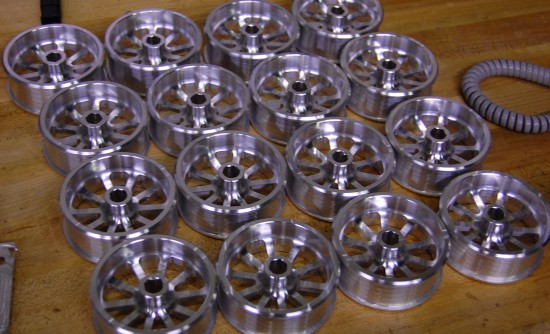
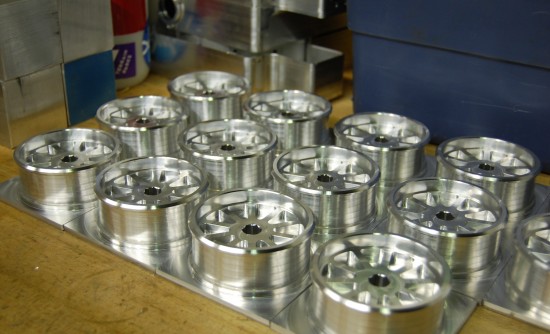
After several days of hard work, the drivetrain wheels are finally complete. During machining, there was an issue with the original CNC code where the spokes were not being milled deep enough. This was resolved and the problem wheels were fixed.
The wheels look great and are visibly much smaller than previous wheels, as shown in the image below. The wheels will be anodized by sponsor Pacific Coast Metal.
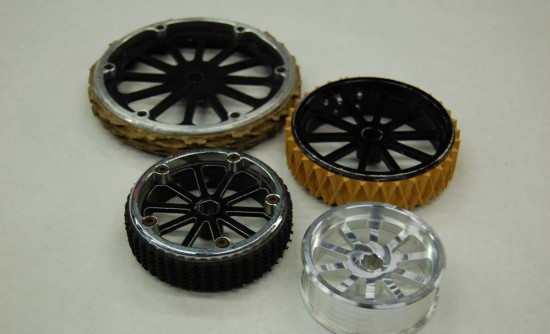
The Evolution of Cheesy Poof Wheels. From left to right: 2006 6" Wheels, 2008 4" Wheels, 2010 4.5" Wheels, 2011 3.5" Wheels.
The DXF CAD drawing for the gearbox sideplates was created and sent to Mike D of Team 233 for Manufacture.
Design
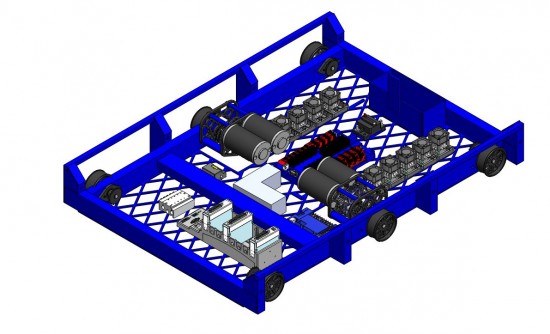
Today, the design team worked on the electronics layout, the spool gearbox and preliminary design for the minibot. The electronics board is coming along great. We are happy with the positioning of most of the elecronics but are still not clear on where we want our compressor.
A second team worked on CADing the spool gearbox. An issue arose where one of the needed gears was not available, so we had to modify the gear ratios slightly. The design for the gearbox is coming along and should be finished tomorrow.
A third team started to analyze the parts available for the minibot and started to develop preliminary ideas for how to efficiently lift the small robot to the top of the pole. Work will continue into the next week.
Bellarmine VEX Regional
This past weekend, Bellarmine College Prep held its 3rd annual VEX Robotics regional. 51 teams from throughout the Bay Area flocked to Sobrato Theater to compete in the largest Northern California VEX Regional of all time. Thanks to Bellarmine’s generous funding, we were able to offer a registration price of only $25, much less than the usual $80. As a result, many more teams took the opportunity to participate in a competitive VEX regional.
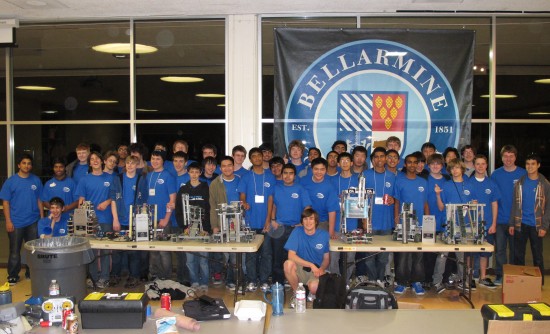
Throughout the first semester, all 7 Cheesy Poof teams worked hard to design, assemble, test, and program their competition robots in preparation for this tournament. By January, our collective success was evident as team 254 won every VEX tournament that it attended this season (Merrill F. West High Regional, All Star Championship, Vanden High Regional, Pan Pacific Championship, and Cal High Regional).
In preparation for the tournament on Saturday, students and parents of team 254 gathered Friday afternoon to set up the robot pits in Liccardo Center and the tournament fields in Sobrato Theater. Bellarmine directed three competition fields (including one practice field in Liccardo), one of which was generously donated by our friends at Cal High in San Ramon and another by the president of the Robotics Education & Competition (REC) Foundation and a founder of team 254, Jason Morella.
The tournament officially began at 7:30 AM on Saturday when all 51 teams piled into Liccardo and settled into their pits. By 10 AM, the judges had inspected all teams and the 4 hour block of qualification matches and skills challenges ensued ahead of schedule. Due to the size of the tournament, eliminations were run with 10 alliances of 3 instead of the usual 8. Team 254 was represented in alliance #2 with 254E, 254H, and 254D and in alliance #4 with 254B and 254A.
Both alliances breezed through quarterfinals but alliance #2 hit a setback as they lost the 2 out of 3 round in semis. By the final round, alliance #4 faced 3129A, 1935A, and 1000B. With 3 matches and dangerously close scores, 254B, 254A, and their partner 5203P took the tournament victory. Team 254H also won the Programming Skills award for the highest scoring autonomous route.
Tournament Awards
Champions: 254B, 254A, 5203P
Finalists: 3129A, 1935A, 1000B
Excellence: 3129A
Programming Skills: 254H
Robot Skills: 1000A
Amaze: 563
Judge’s Awards: 920A, 1935A
Team 254 would like to thank all our parents, students, volunteer judges, field coordinators, and our MC, Mark Leon, for making this tournament possible. Special thanks also go out to Mr. Gerhard Mueller, our tournament coordinator, for successfully running the Bellarmine VEX regional for the 3rd time in a row. Congratulations to all the teams for a great showing on Saturday and for making this a great tournament!
Update: Bellarmine’s VEX tournament was featured in the Local News section of the January 17th San Jose Mercury News. More pictures are available online at http://www.mercurynews.com/business/ci_17108626?IADID=Search-www.mercurynews.com-www.mercurynews.com&nclick_check=1.
Day 8: Design & Manufacturing Progress
Design
Today, we worked on space claim analysis and tried to figure out how we could even fit a roller claw onto our elevator and still have room for a minibot while building a nice looking robot.
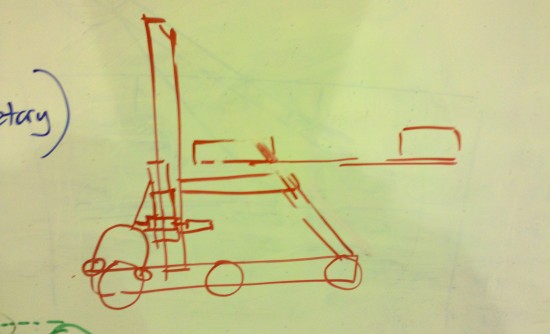
Space Claim Analysis Sketch for the robot. The minibot is housed on top of the horizontal elevator support and can slide out backwards to attach to the pole.
Next, we started to analyze what our tube grabber could be shaped like. We knew that one of the major issues would be getting the tube grabber over the bumpers to pick up tubes on the floor. To solve this problem, we thought about creating an arm that would come down from the elevator carriage and have a second roller below it.
A second issue we were worrying about was depositing the tubes on the rack. Our experience with the 2007 FRC game as well as the 2011 VEX game led us to believe that simply spitting the tubes out of the rollers could result in unpredictable scoring. To eliminate this issue, we thought about having the two rollers separate with a pneumatic piston so that the tube could be gracefully released and deposited on the rack in one fluid motion.

The Raised Tube Grabber. The grabber would be able to raise to perfectly vertical so that the tubes can be carried entirely within the volume of the robot.
We also talked some about the speeds for the elevator. We decided that we could use one BaneBots 775 Motor and one Fisher Price Motor on the spool gearbox to still leave enough motors for the rest of the robot. We decided to gear for a faster cable speed than either of the elevators we have built (for comparison, the 2007 robot’s elevator moved at 3.6 ft/sec and the 2011 will move at 5 ft/sec).
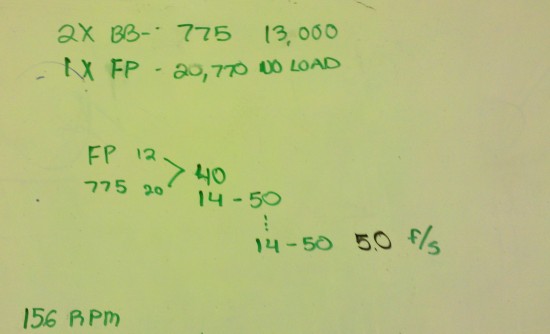
The gear ratios for the 2011 elevator. The first stage will use 32DP gears and the other two stages will use 20DP Gears.
Prototyping and Testing
We decided to build some prototypes to test how much force would be needed to keep the tube grabber closed. We built a jig to hold two wheels at a specific angle and allow us to apply force between them. It was found that with the tubes, once the wheels had passed the diameter of the tube, the frictional force was so great that the tubes could not be freed from the grabber.
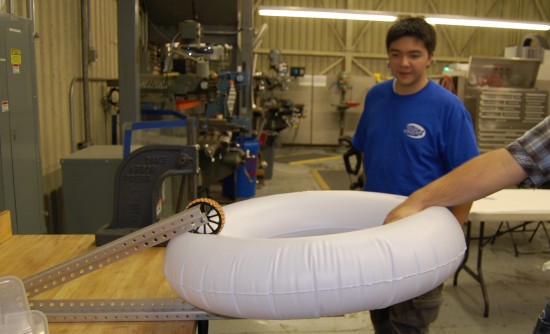
Testing using two wheels as a tube grabber. With static wheels, once the wheels pass the diameter of the tube, the tube cannot be freed from the grabber by pulling.
Another issue we addressed was the tendency for the tubes to rotate in the grabber. By putting a metal tube behind the tubes, it improved tube centering on most tubes. Problems, however, arose when testing on the corners of the square and especially triangular tubes.
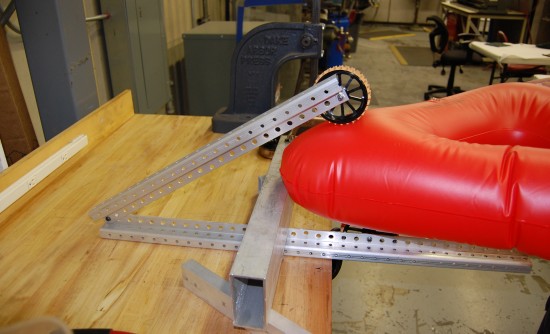
On the corners of the triangle, the wheels cannot get past the major diameter of the tube, causing more difficult tube retention.
To allow the tubes to still be held on the corners, we tried applying various amounts of force to the top of the lever. We found that after about 12lbs of force, it was extremely difficult to dislodge the tube from the grabber.
Manufacturing
The machining of the wheels is coming along very well. The first operation is complete on almost all of the wheels. We hope to complete the wheels tomorrow.
Last year, we had an issue where the hole in the wheels created by the rotary hex broach was not big enough for the hex shaft. This year, we have purchased a new hex broach to fix this issue. The wheel fits very nicely on its shaft.
VEX Tournament Setup & T-Shirts Arrived
Today, we setup for the Bellarmine VEX Robotics tournament which will be occurring tomorrow in the Sobrato Center at Bellarmine College Prep in San Jose. For the most part, the setup ran smoothly and we are very excited for tomorrow’s tournament.
On a separate note, the 2010-2011 team t-shirts have arrived. We began distributing them today to the students who were volunteering for the VEX tournament setup and will continue handing them out at the tournament tomorrow and into next week. Students who have their new shirts should wear them to the tournament tomorrow.

